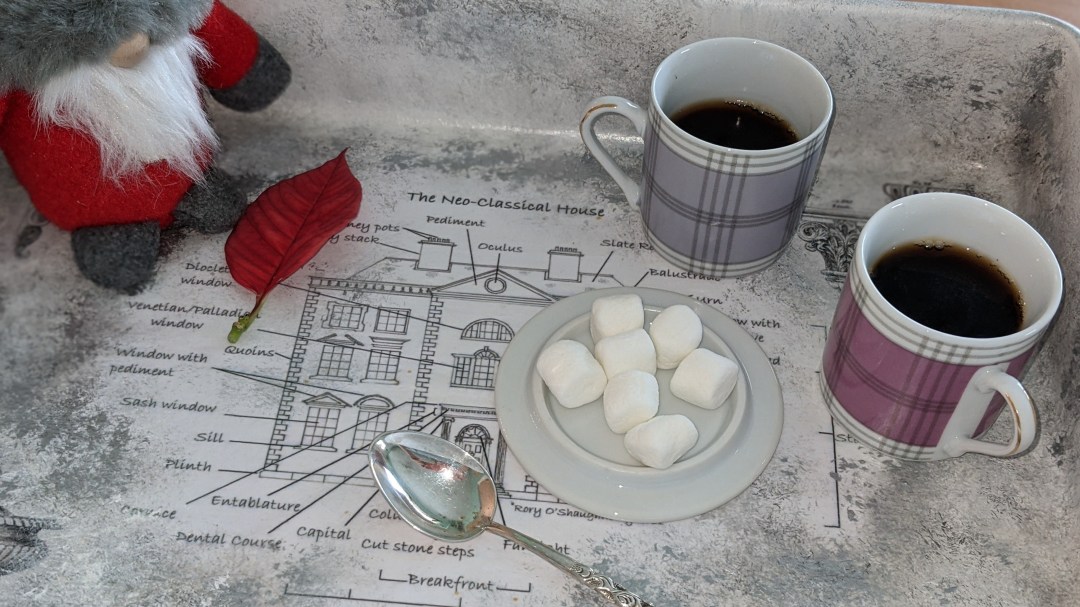
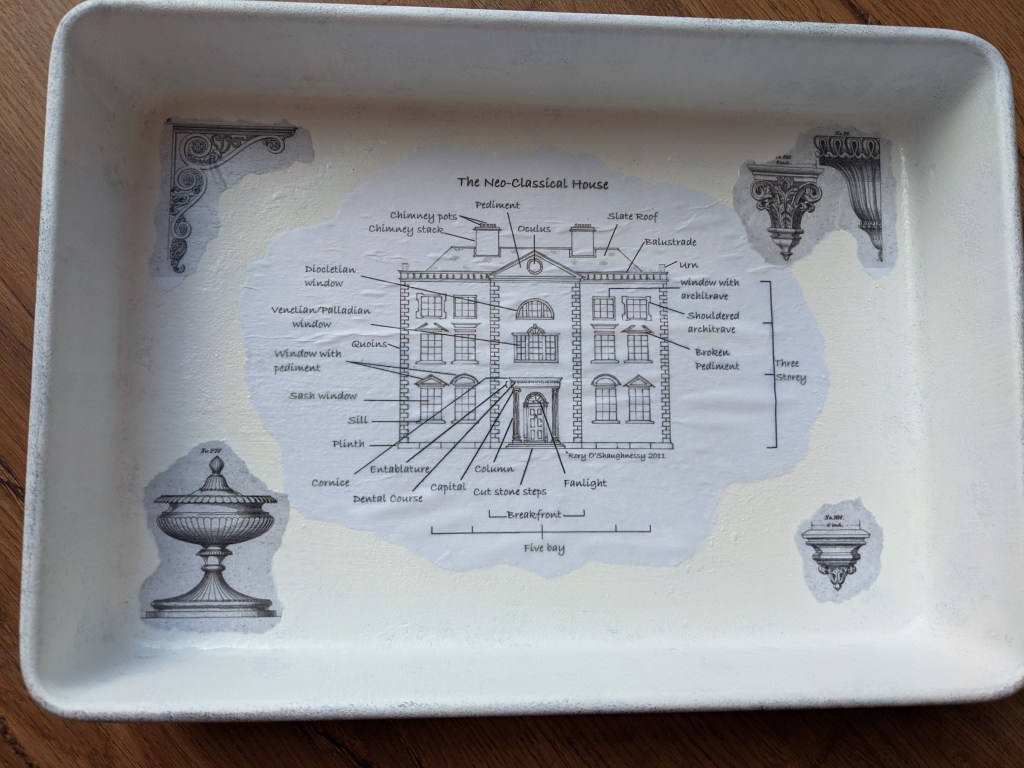
Coffee, anyone? An old pan for oven looked like a crazy idea for decoupage, but it turned out pretty well, especially with some architectural décor images! Those old pans and pots can totally be turned into very useful and pretty things! Plus it is a fun and win-win craft project with kids to do together!
Over the years I have used and thrown away so may oven and fry pans & pots. I am sure everyone did :). They can be so rusty and ugly to cook with and seam so useless, that getting rid of them is the only way, but no! There are so many ways you can transform and repurpose your cooking and baking dishes into something cute and useful. It can be a kitchen tray, a wall décor, stool seat, outdoor flower pot or just a garden decoration. Not to mention that it is a very sustainable thing to do – saves it from the trash heap all around our Planet!
Here is a quick DIY of how we turned our old and rusty oven pan into a nice kitchen tray – you will need:
- an old oven pan/cooking dish
- all-purpose primer or enamel paint (stain-blocking paint and primer)
- acrylic paint (I used metallic acrylic paint over the images that were glued to the surface to give it a vintage effect)
- dabbing sponges & any synthetic brushes to apply glue and varnish (top coat)
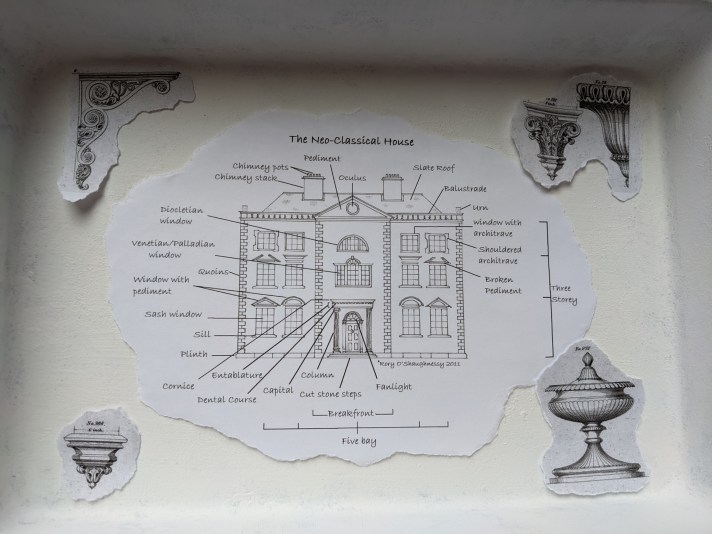
- printed images of any style that you would like to glue (if you are using decoupage technique)
- clear water in a jar and a cloth / paper napkin to dry your brushes
Instructions:
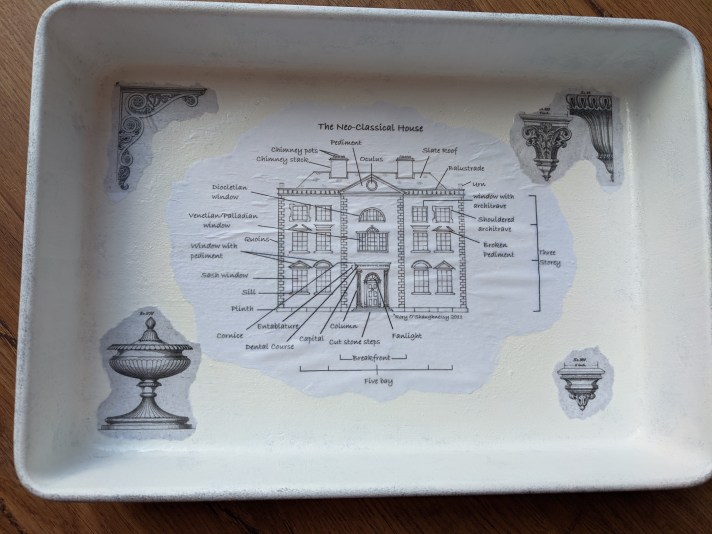
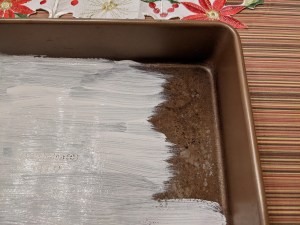
Step 1. Sand the pan a little bit if it is very rusty prior to applying the primer – we used all-purpose primer to cover the pan (one layer was enough).
Step 2. Choose any images that you like (printouts from google, napkins, wrapping paper, rice paper) and tear them with your fingers for a more realistic look.

Step 3. Once the pan dried, we used an Acrylic Medium Matte gel as a glue to attach the paper printouts. Worked very well, dried fast.
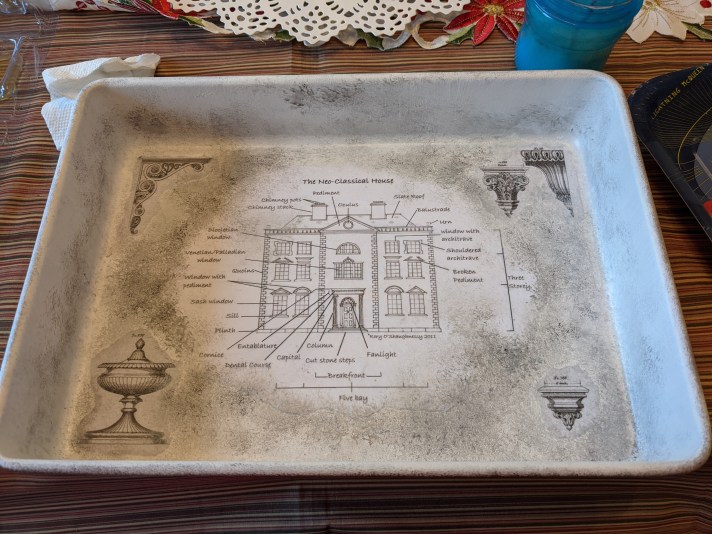
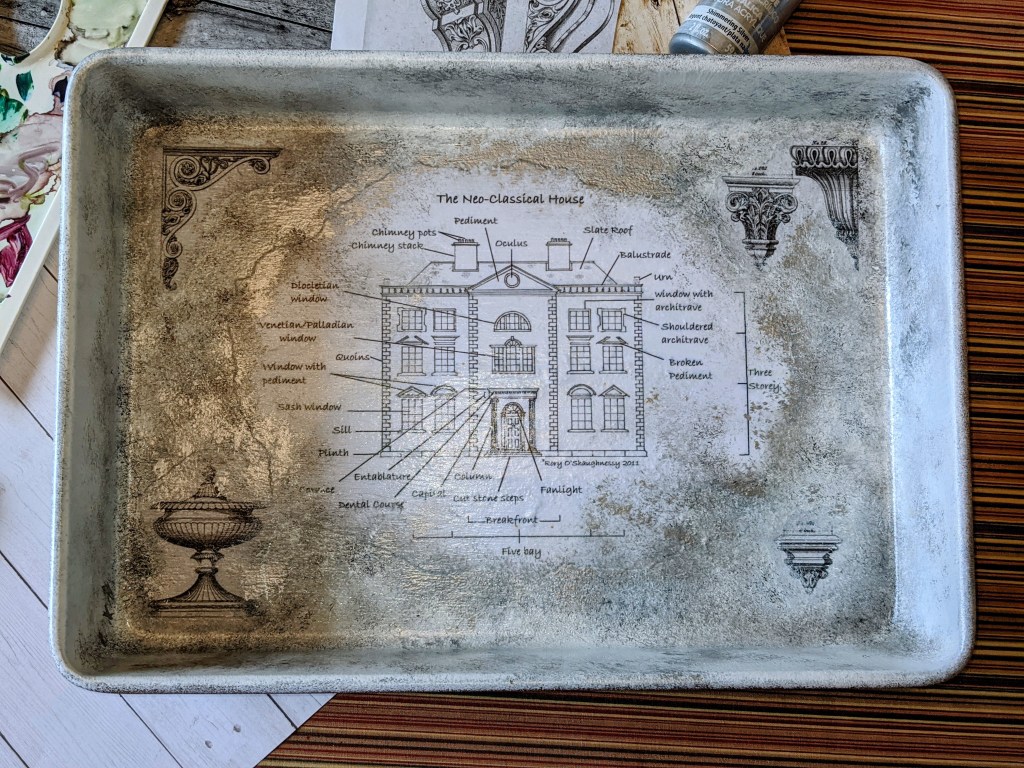
Step 4. Then I applied some mix of white and black acrylic paint over it to give it an old effect (just use a synthetic brush to dab it all over).

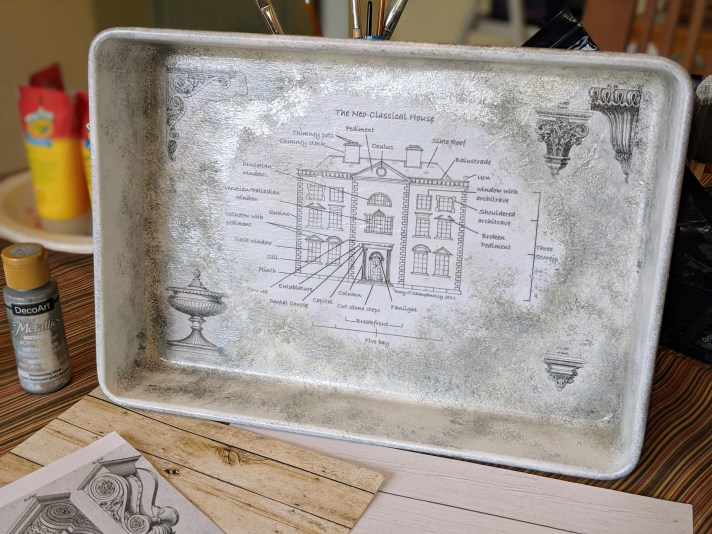
Step 5. After that I dabbed on a DecoArt metallic acrylic paint to give it a shiny look (could be a bronze color as well).
Step 6. Once all dried I used Sargent acrylic gloss varnish as a top coat (it is water resistant). It can also be covered with Mod Podge which is dishwasher safe, or food safe epoxy resin.