Watercolor technique is one of the most beautiful, but at the same type challenging, technique. The only was to succeed in this medium is to practice, and practice every day, step by step, little by little. Lots of artists share their experience with watercolors and 99% of them agree, that practice and patience is the best way to learn this technique. So, don’t be upset if something doesn’t work right away – take another piece of paper and start all over again! 🙂
There are several supply materials that are essential for beginners:
- Watercolor paints – For 4-5 years old kids I would suggest to start with cake (pan) paints – they look like circle or square blocks of pigment.
- Watercolor paper – Amazon has a variety of 140 lb (300 gsm) paper albums that will suite beginners perfectly.
- Brushes – any watercolor suitable set that you can find will work for kids. I would suggest to get a set with several different bristle shapes.
- Palette – any plastic palette for color mixing will work.
- Pencil and eraser for sketching.
- Water jar – any type, that works better for you, I change the water several times during one lesson to make sure it is clean and not mudding the paint.
Instructions:
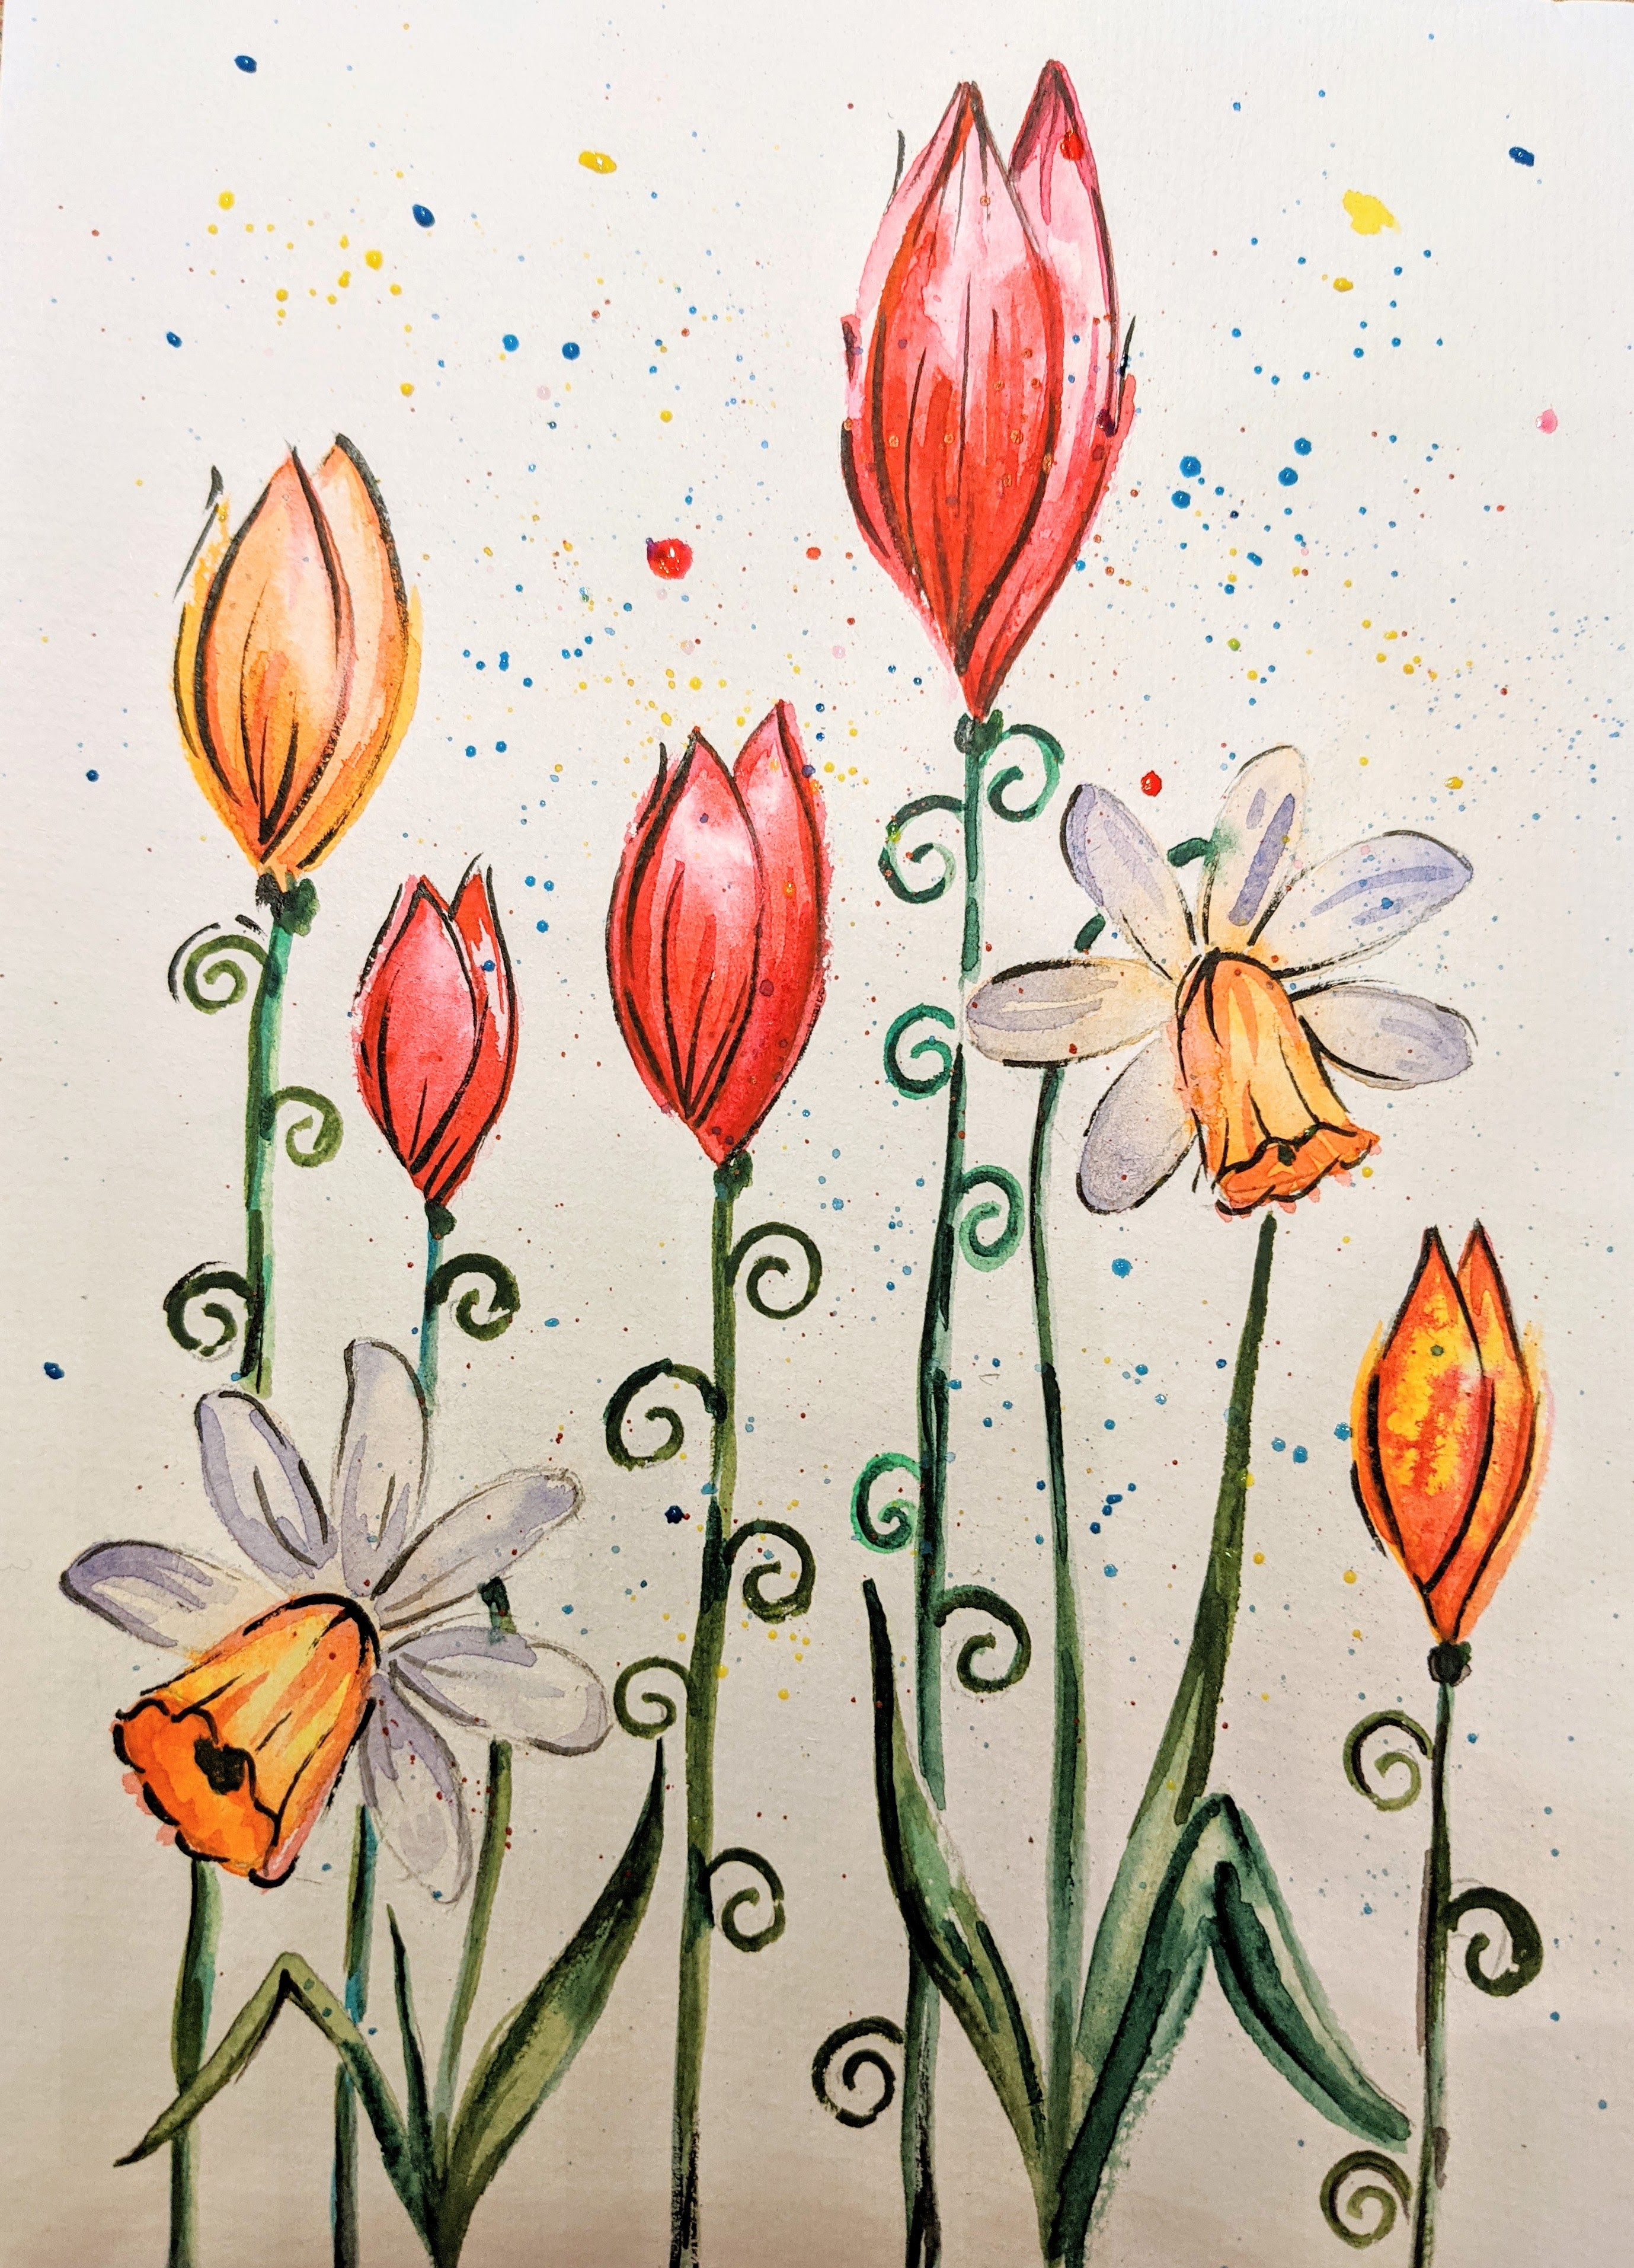
This drawing is mostly done using wet watercolor technique – painting over the wet paper.
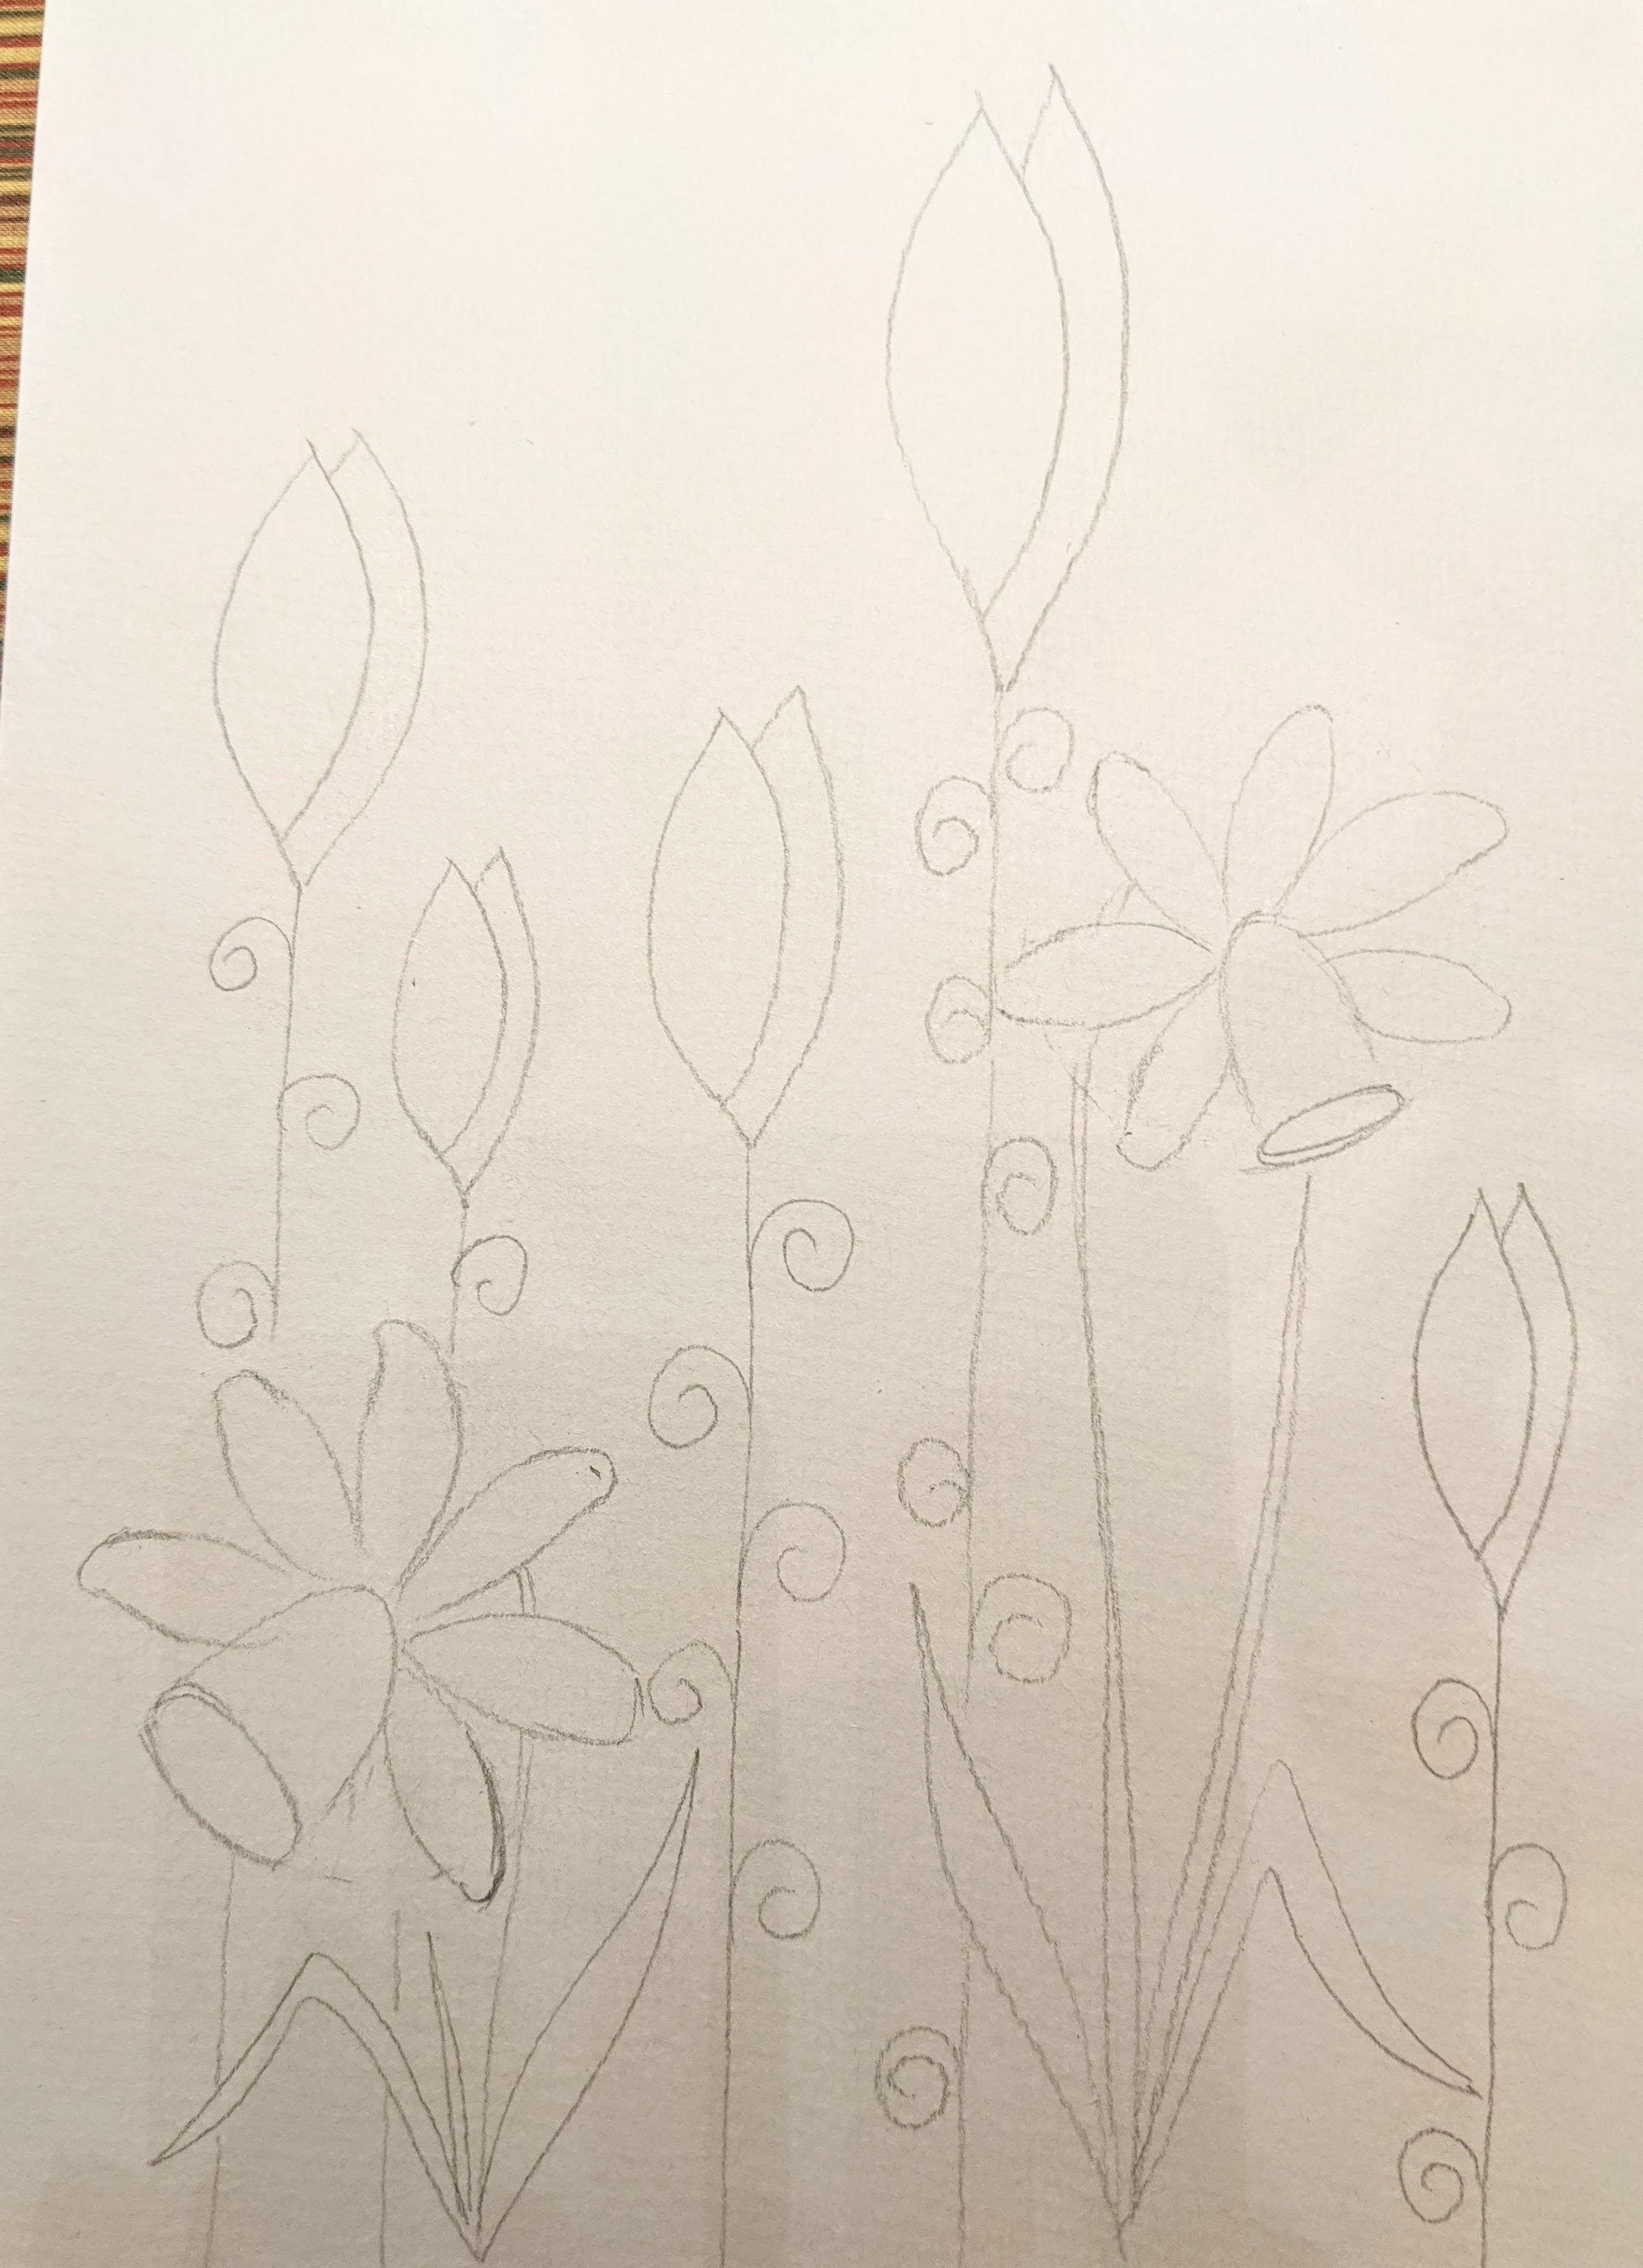
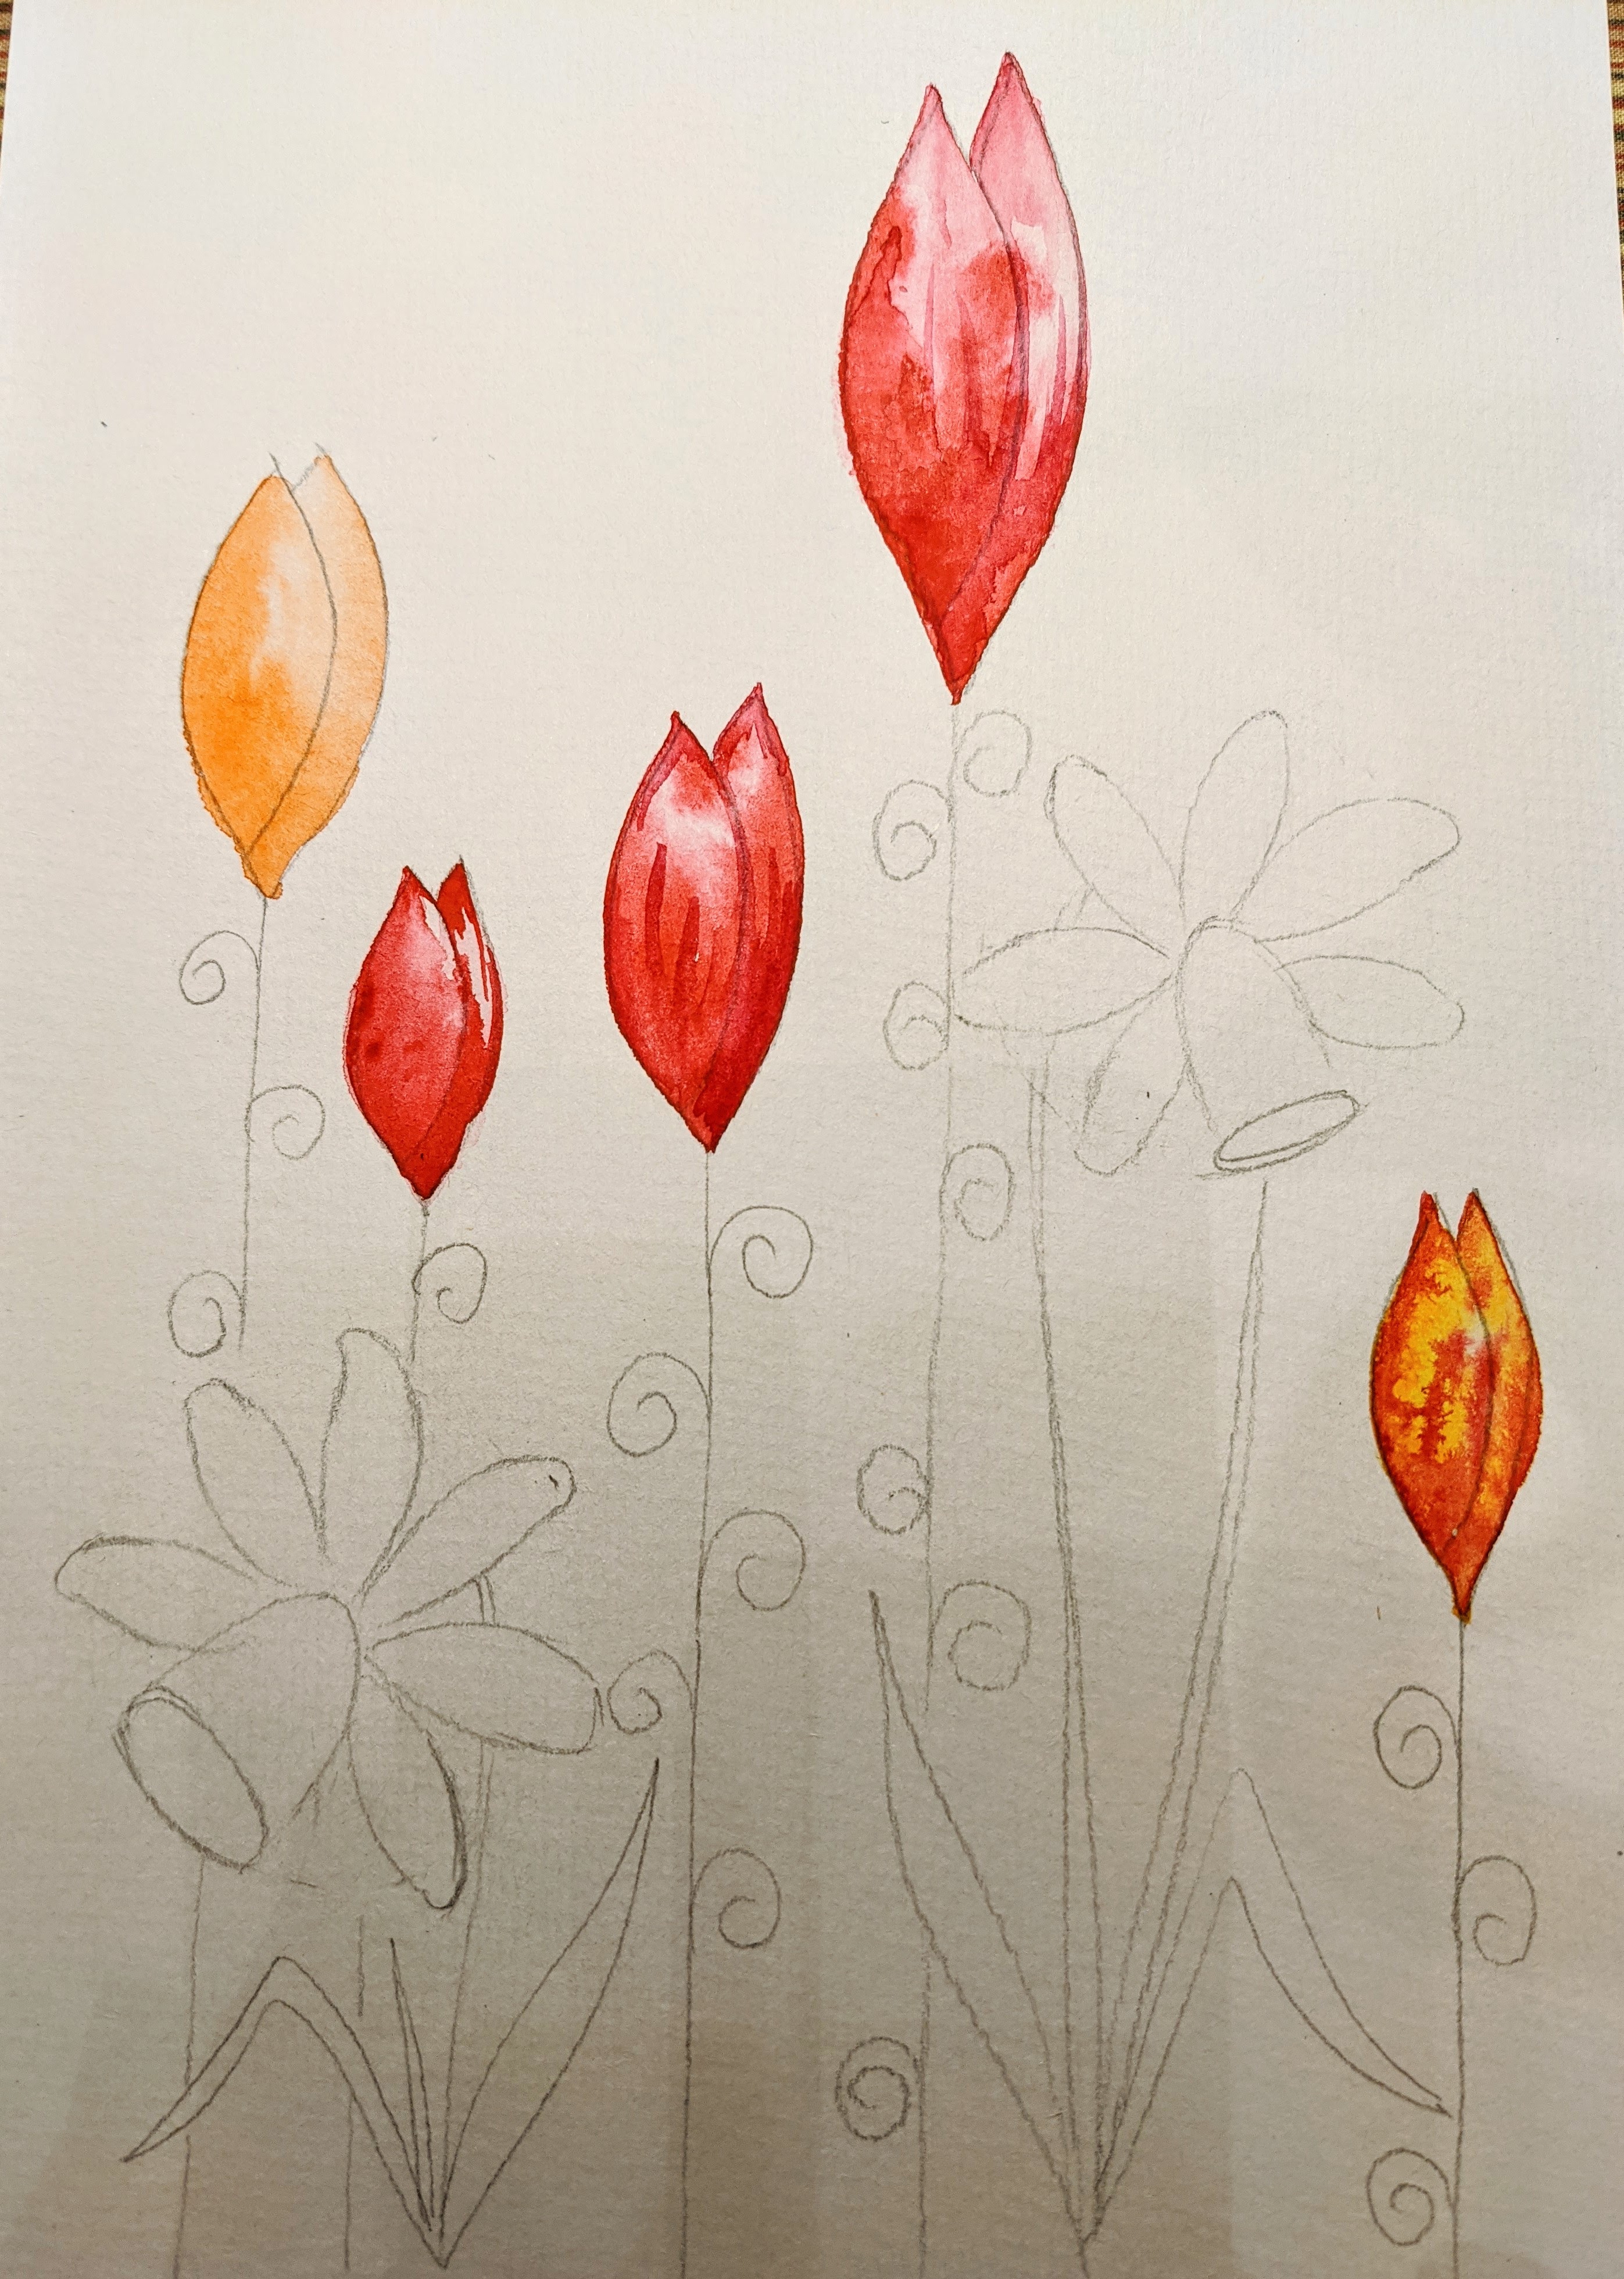
- Below is the step-by-step gallery, when I started with the pencil sketch to draw flowers first.
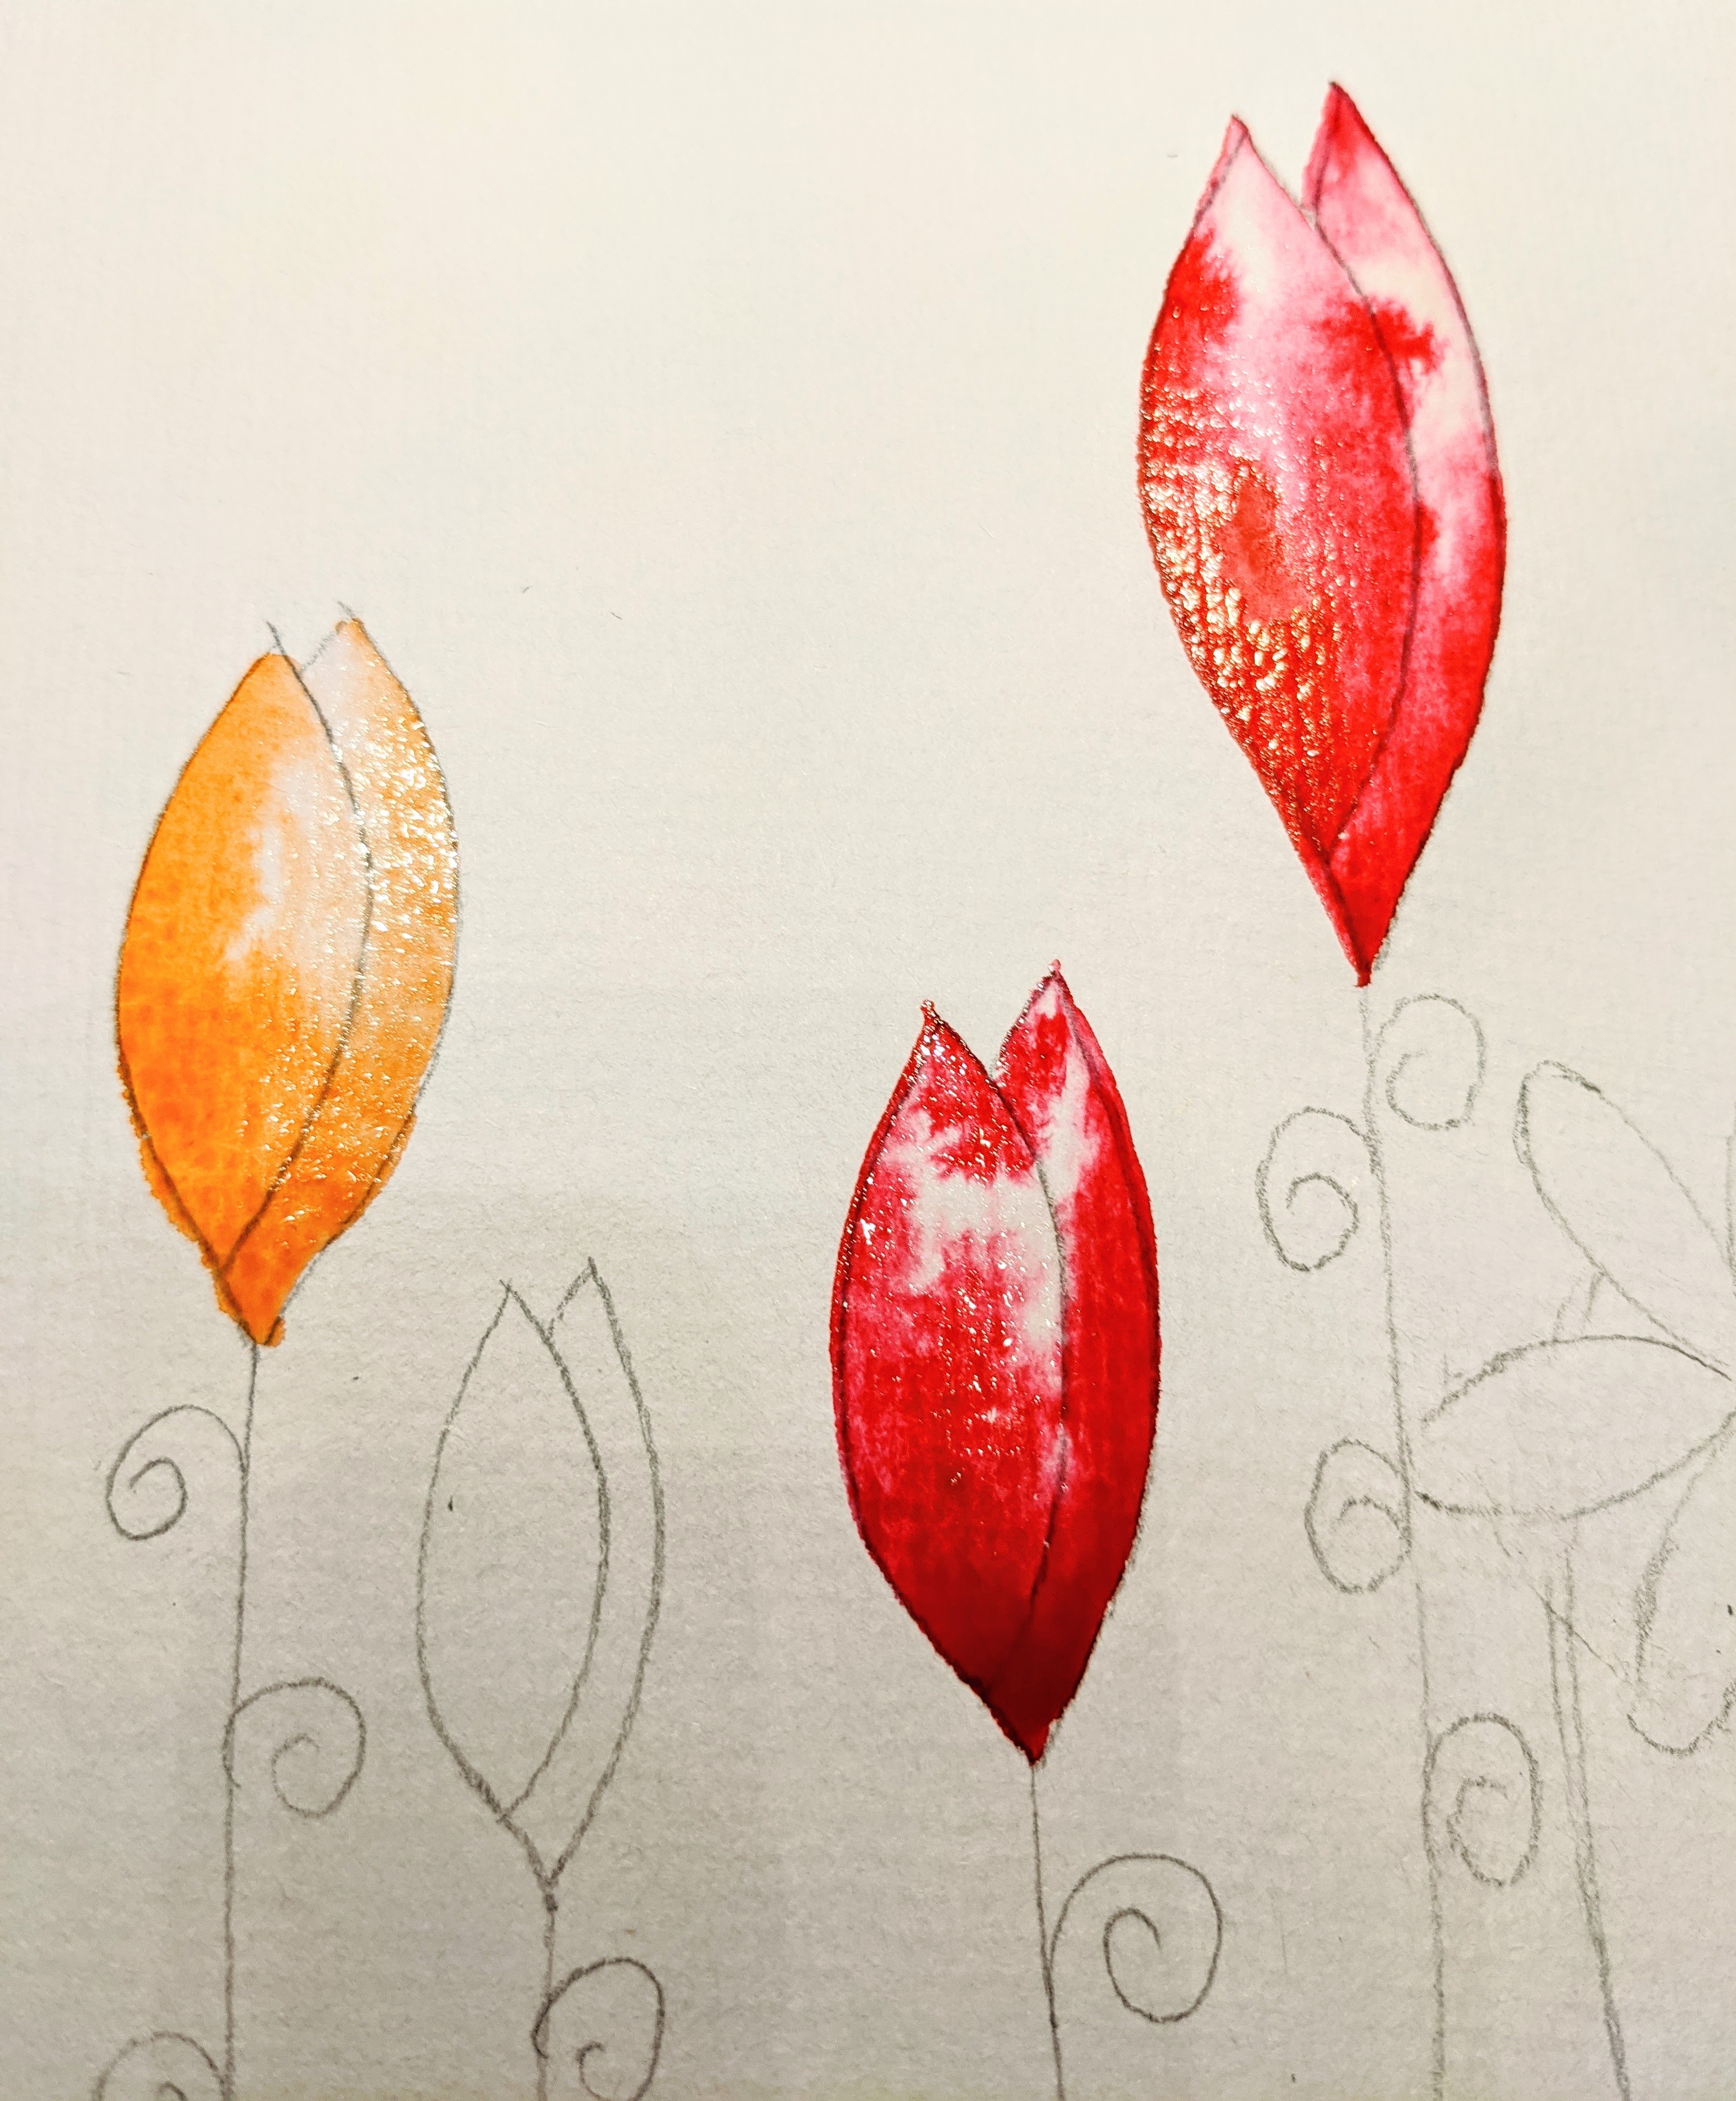
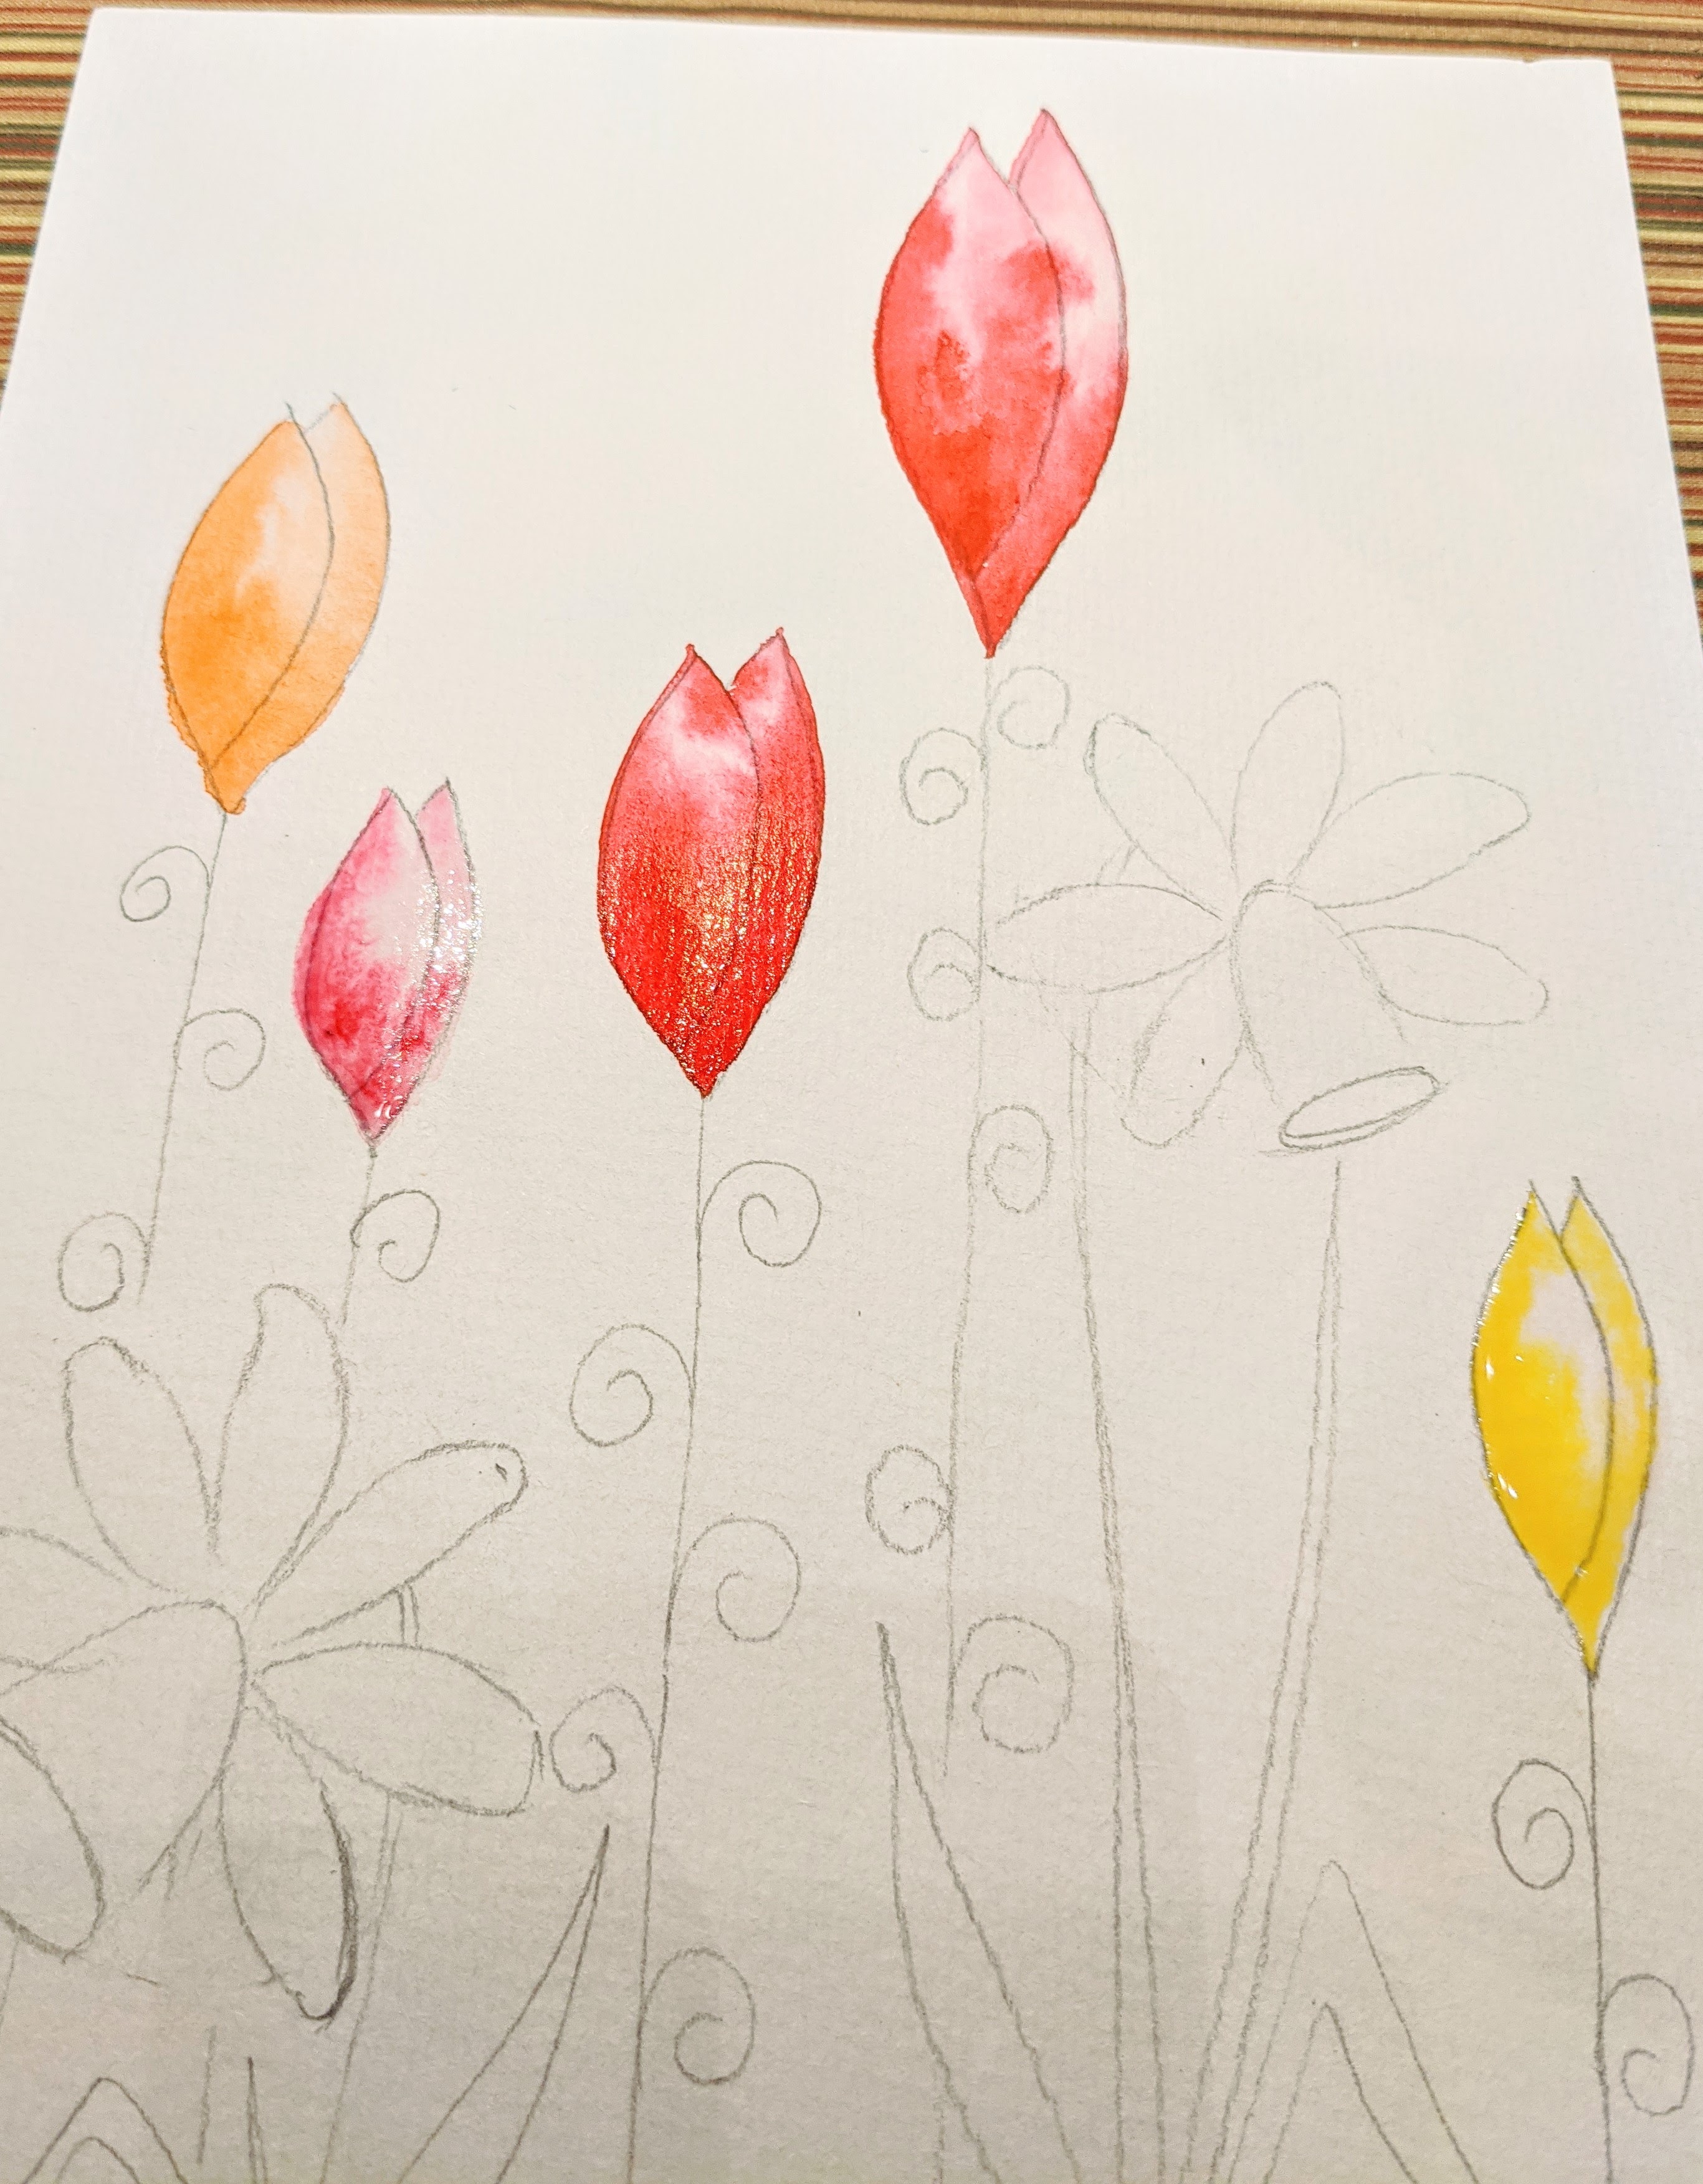
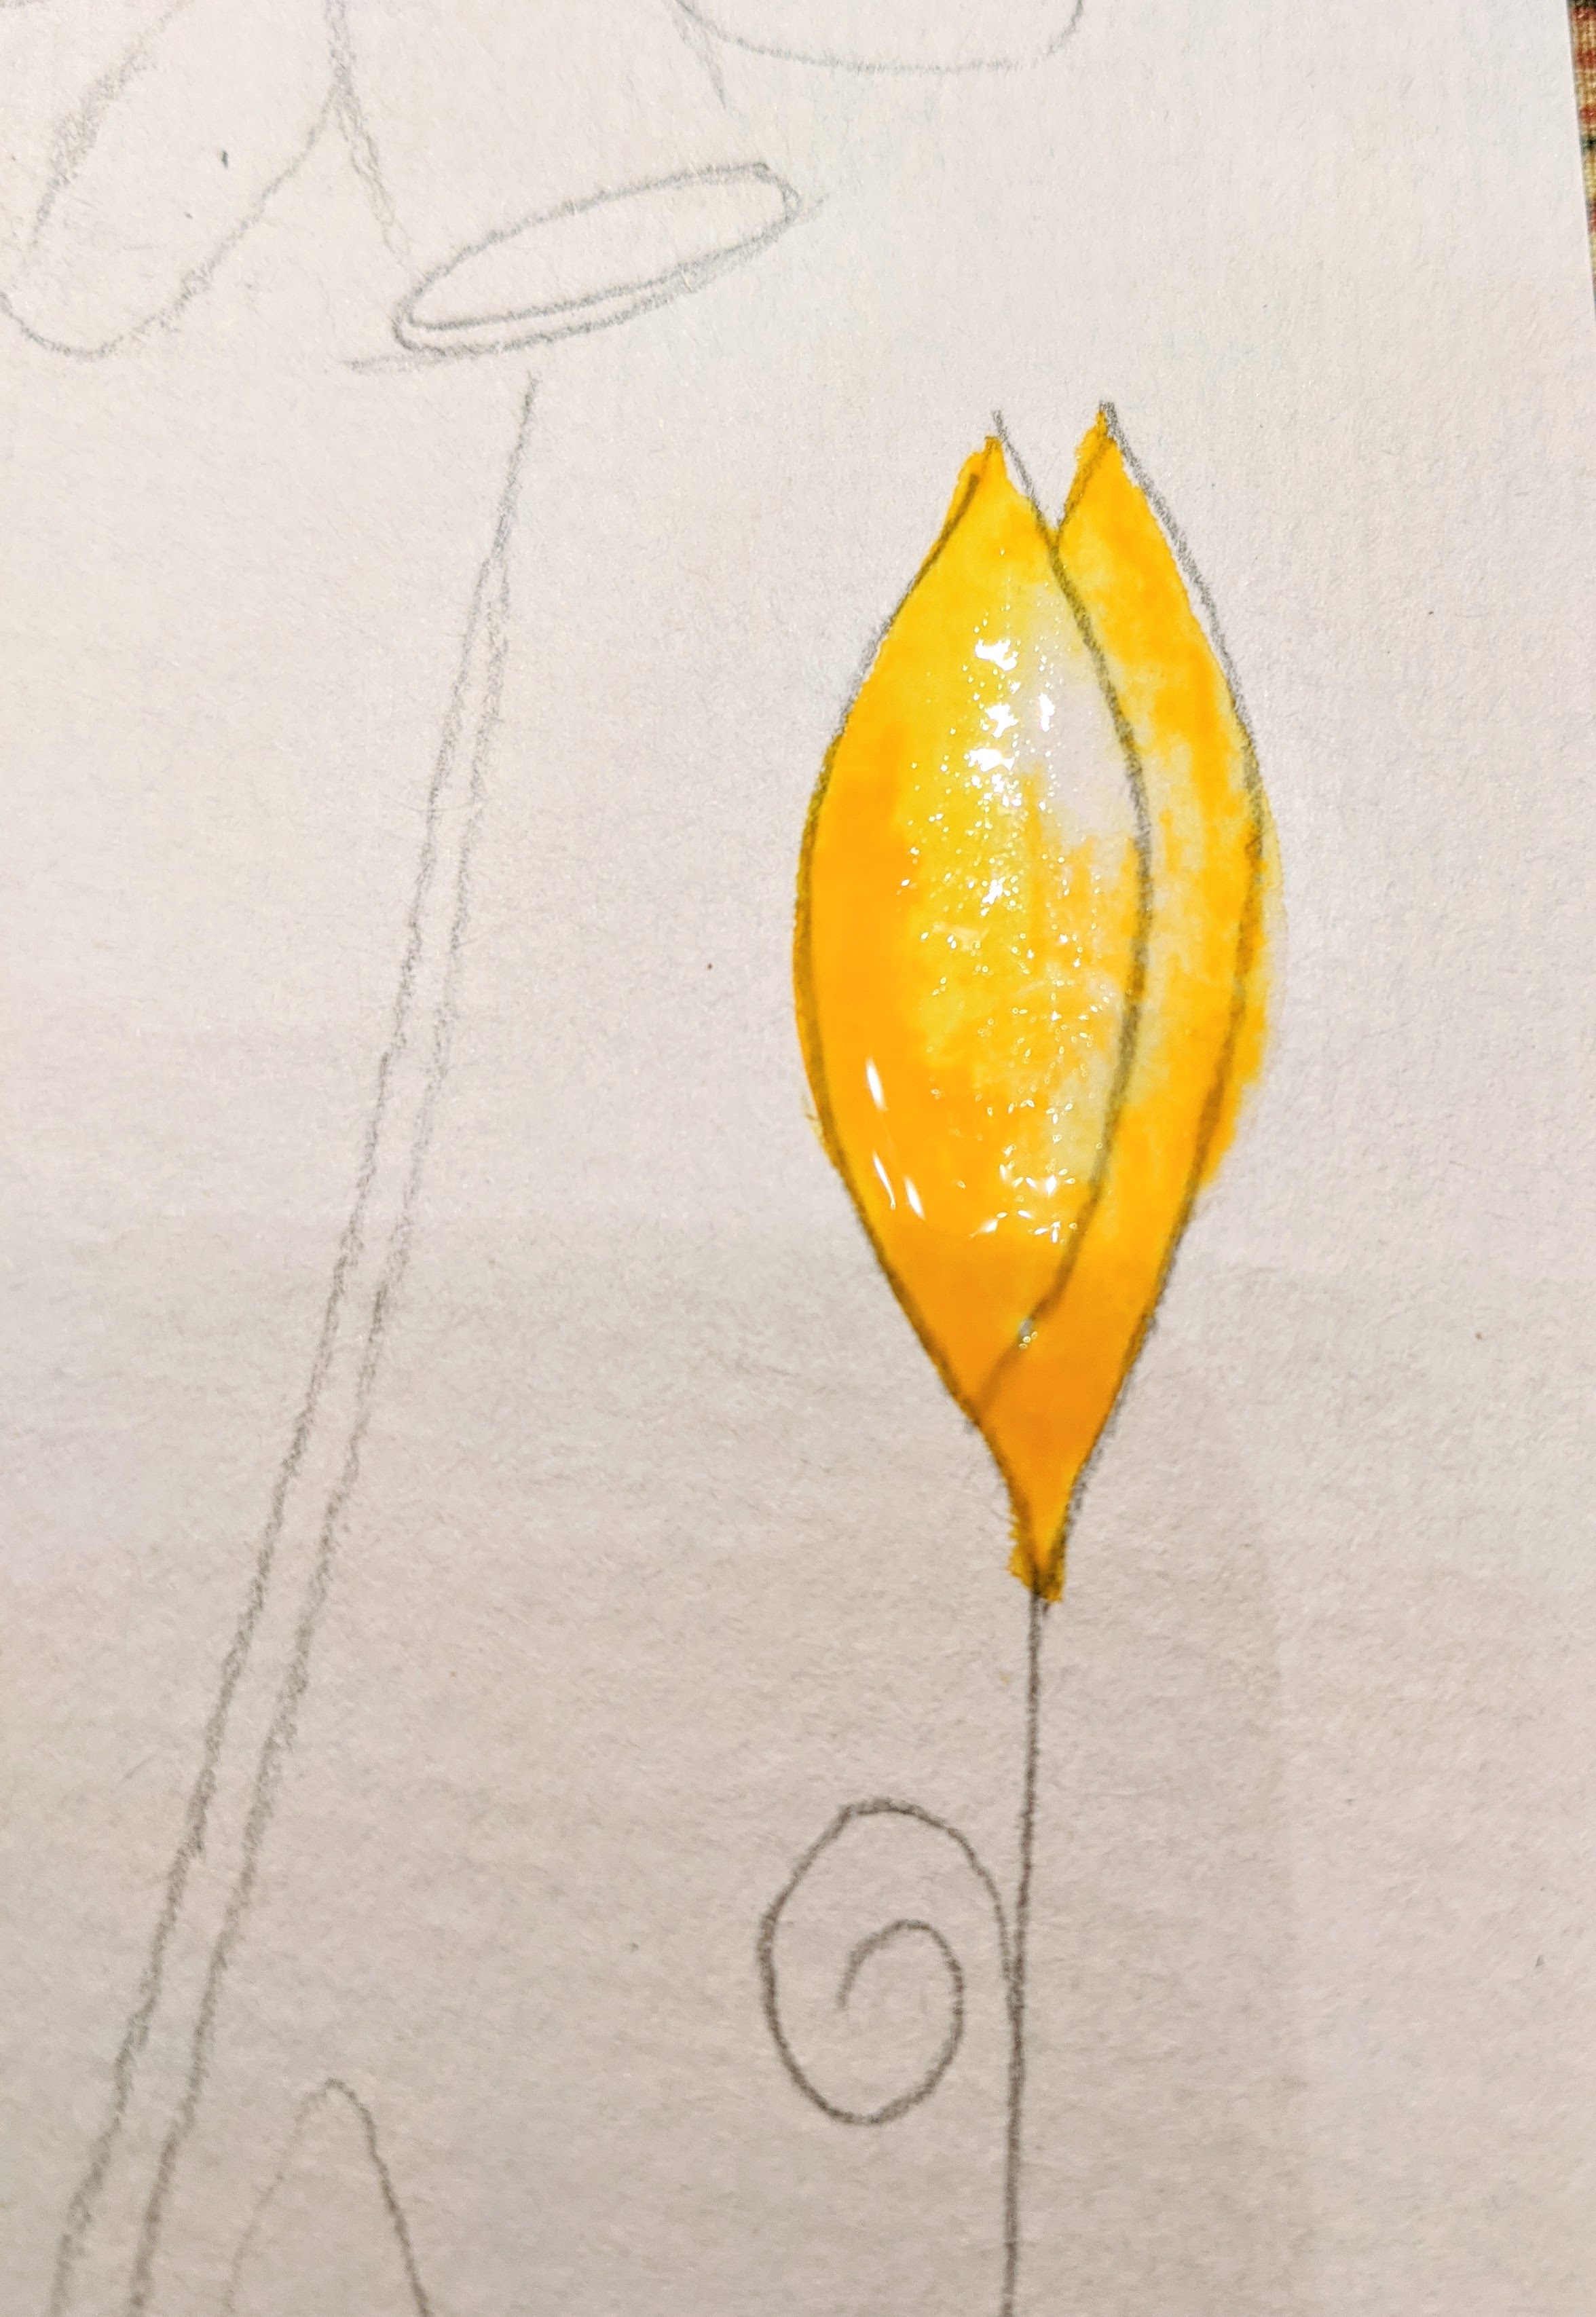
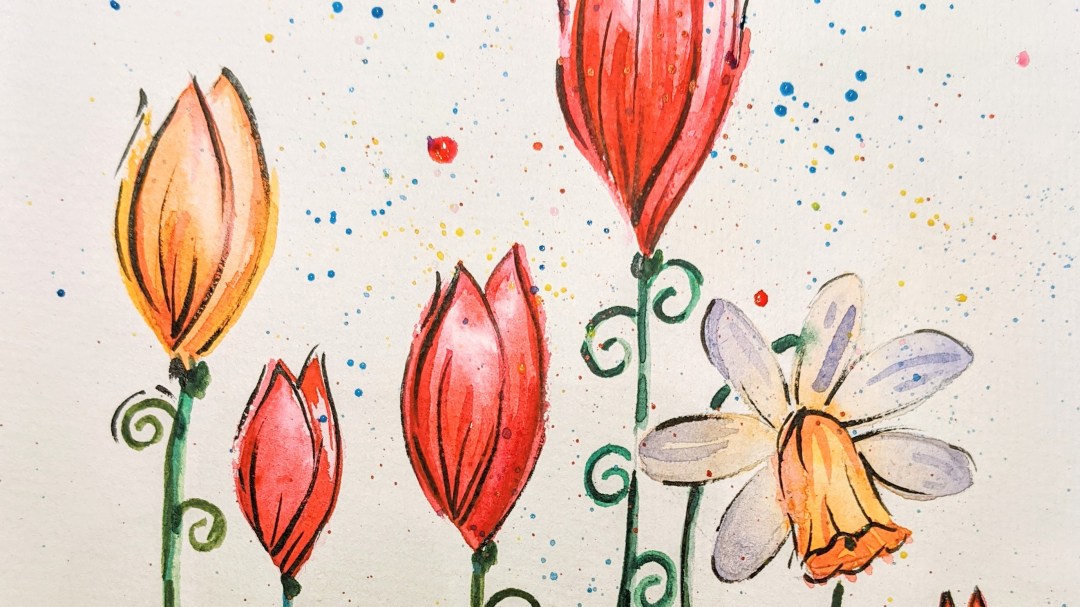
- Then I applied water to each flower and started adding color to allow it to blend by itself. Give it up to several minutes for each flower to start drying and add another portion of color. Try to keep some areas on the flowers free of paint to achieve lighter spot. You can try to add multiple applications of color to one and the same flower (but no more that 4-5 to keep the color from become muddy). I was using red, orange and yellow colors without mixing them this time.
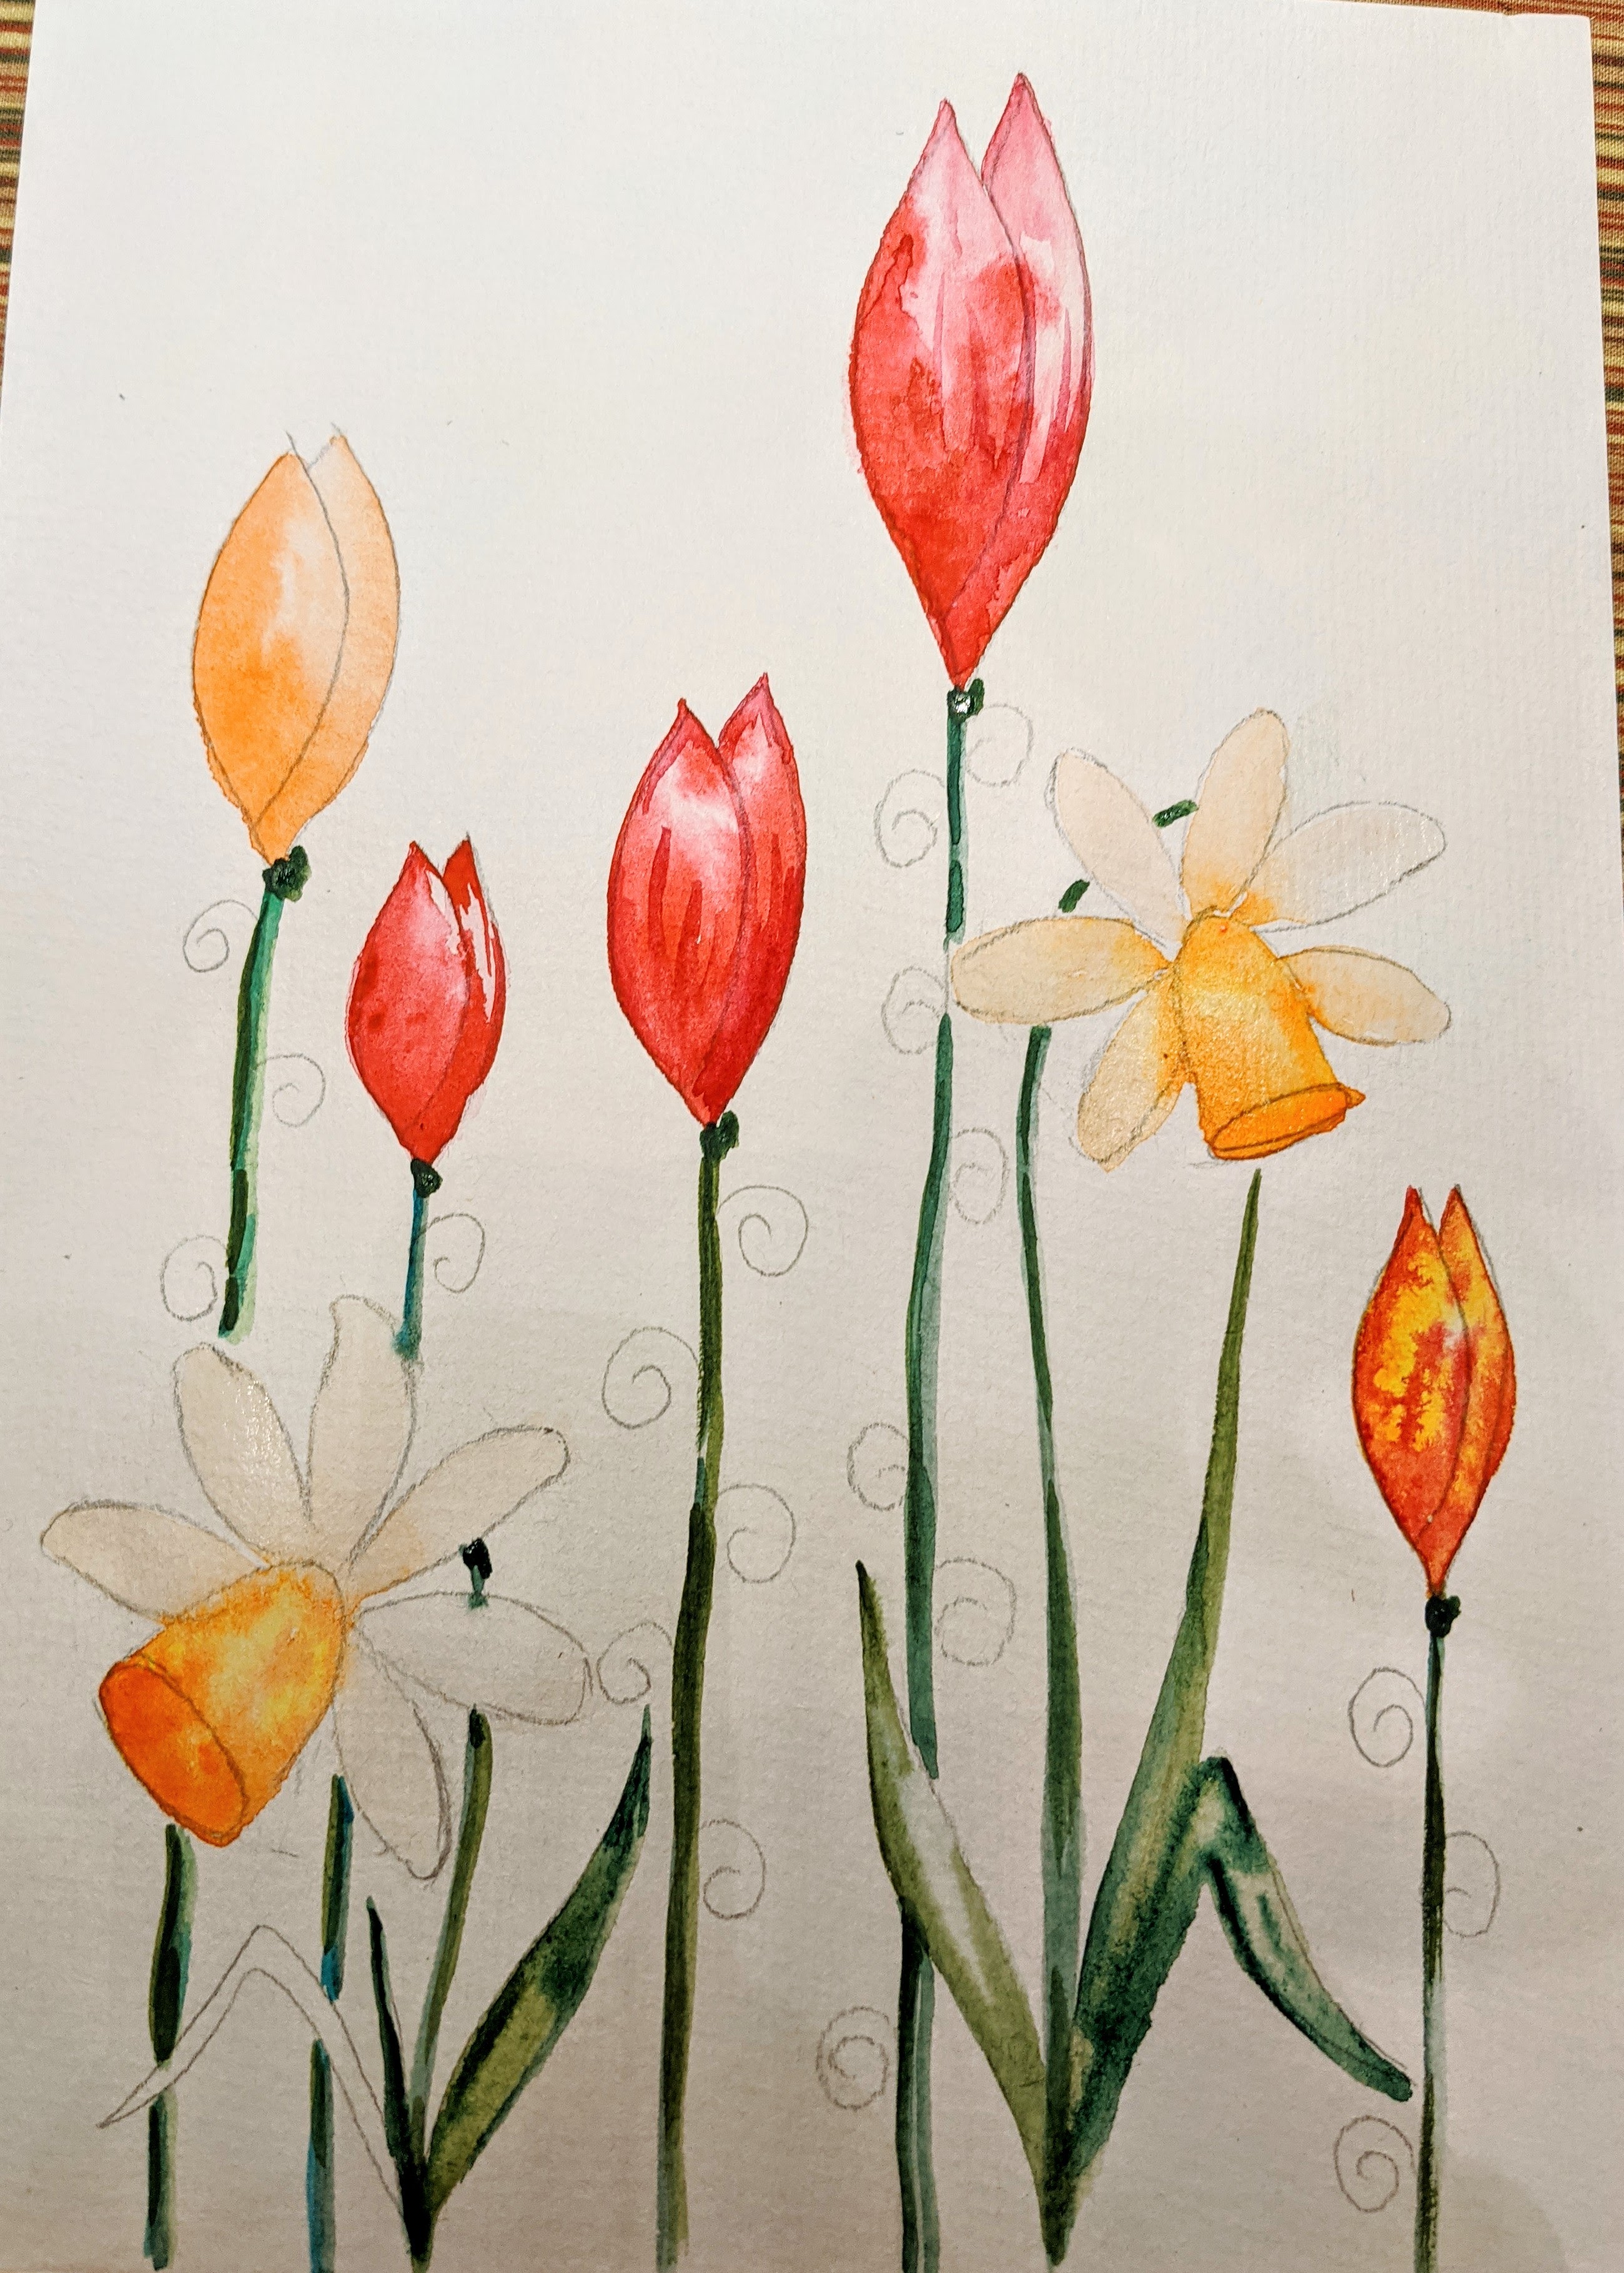
- Once the flowers are dry, apply light green color to stems and leaves, allowing them to dry and them adding darker green to show the shape of it.
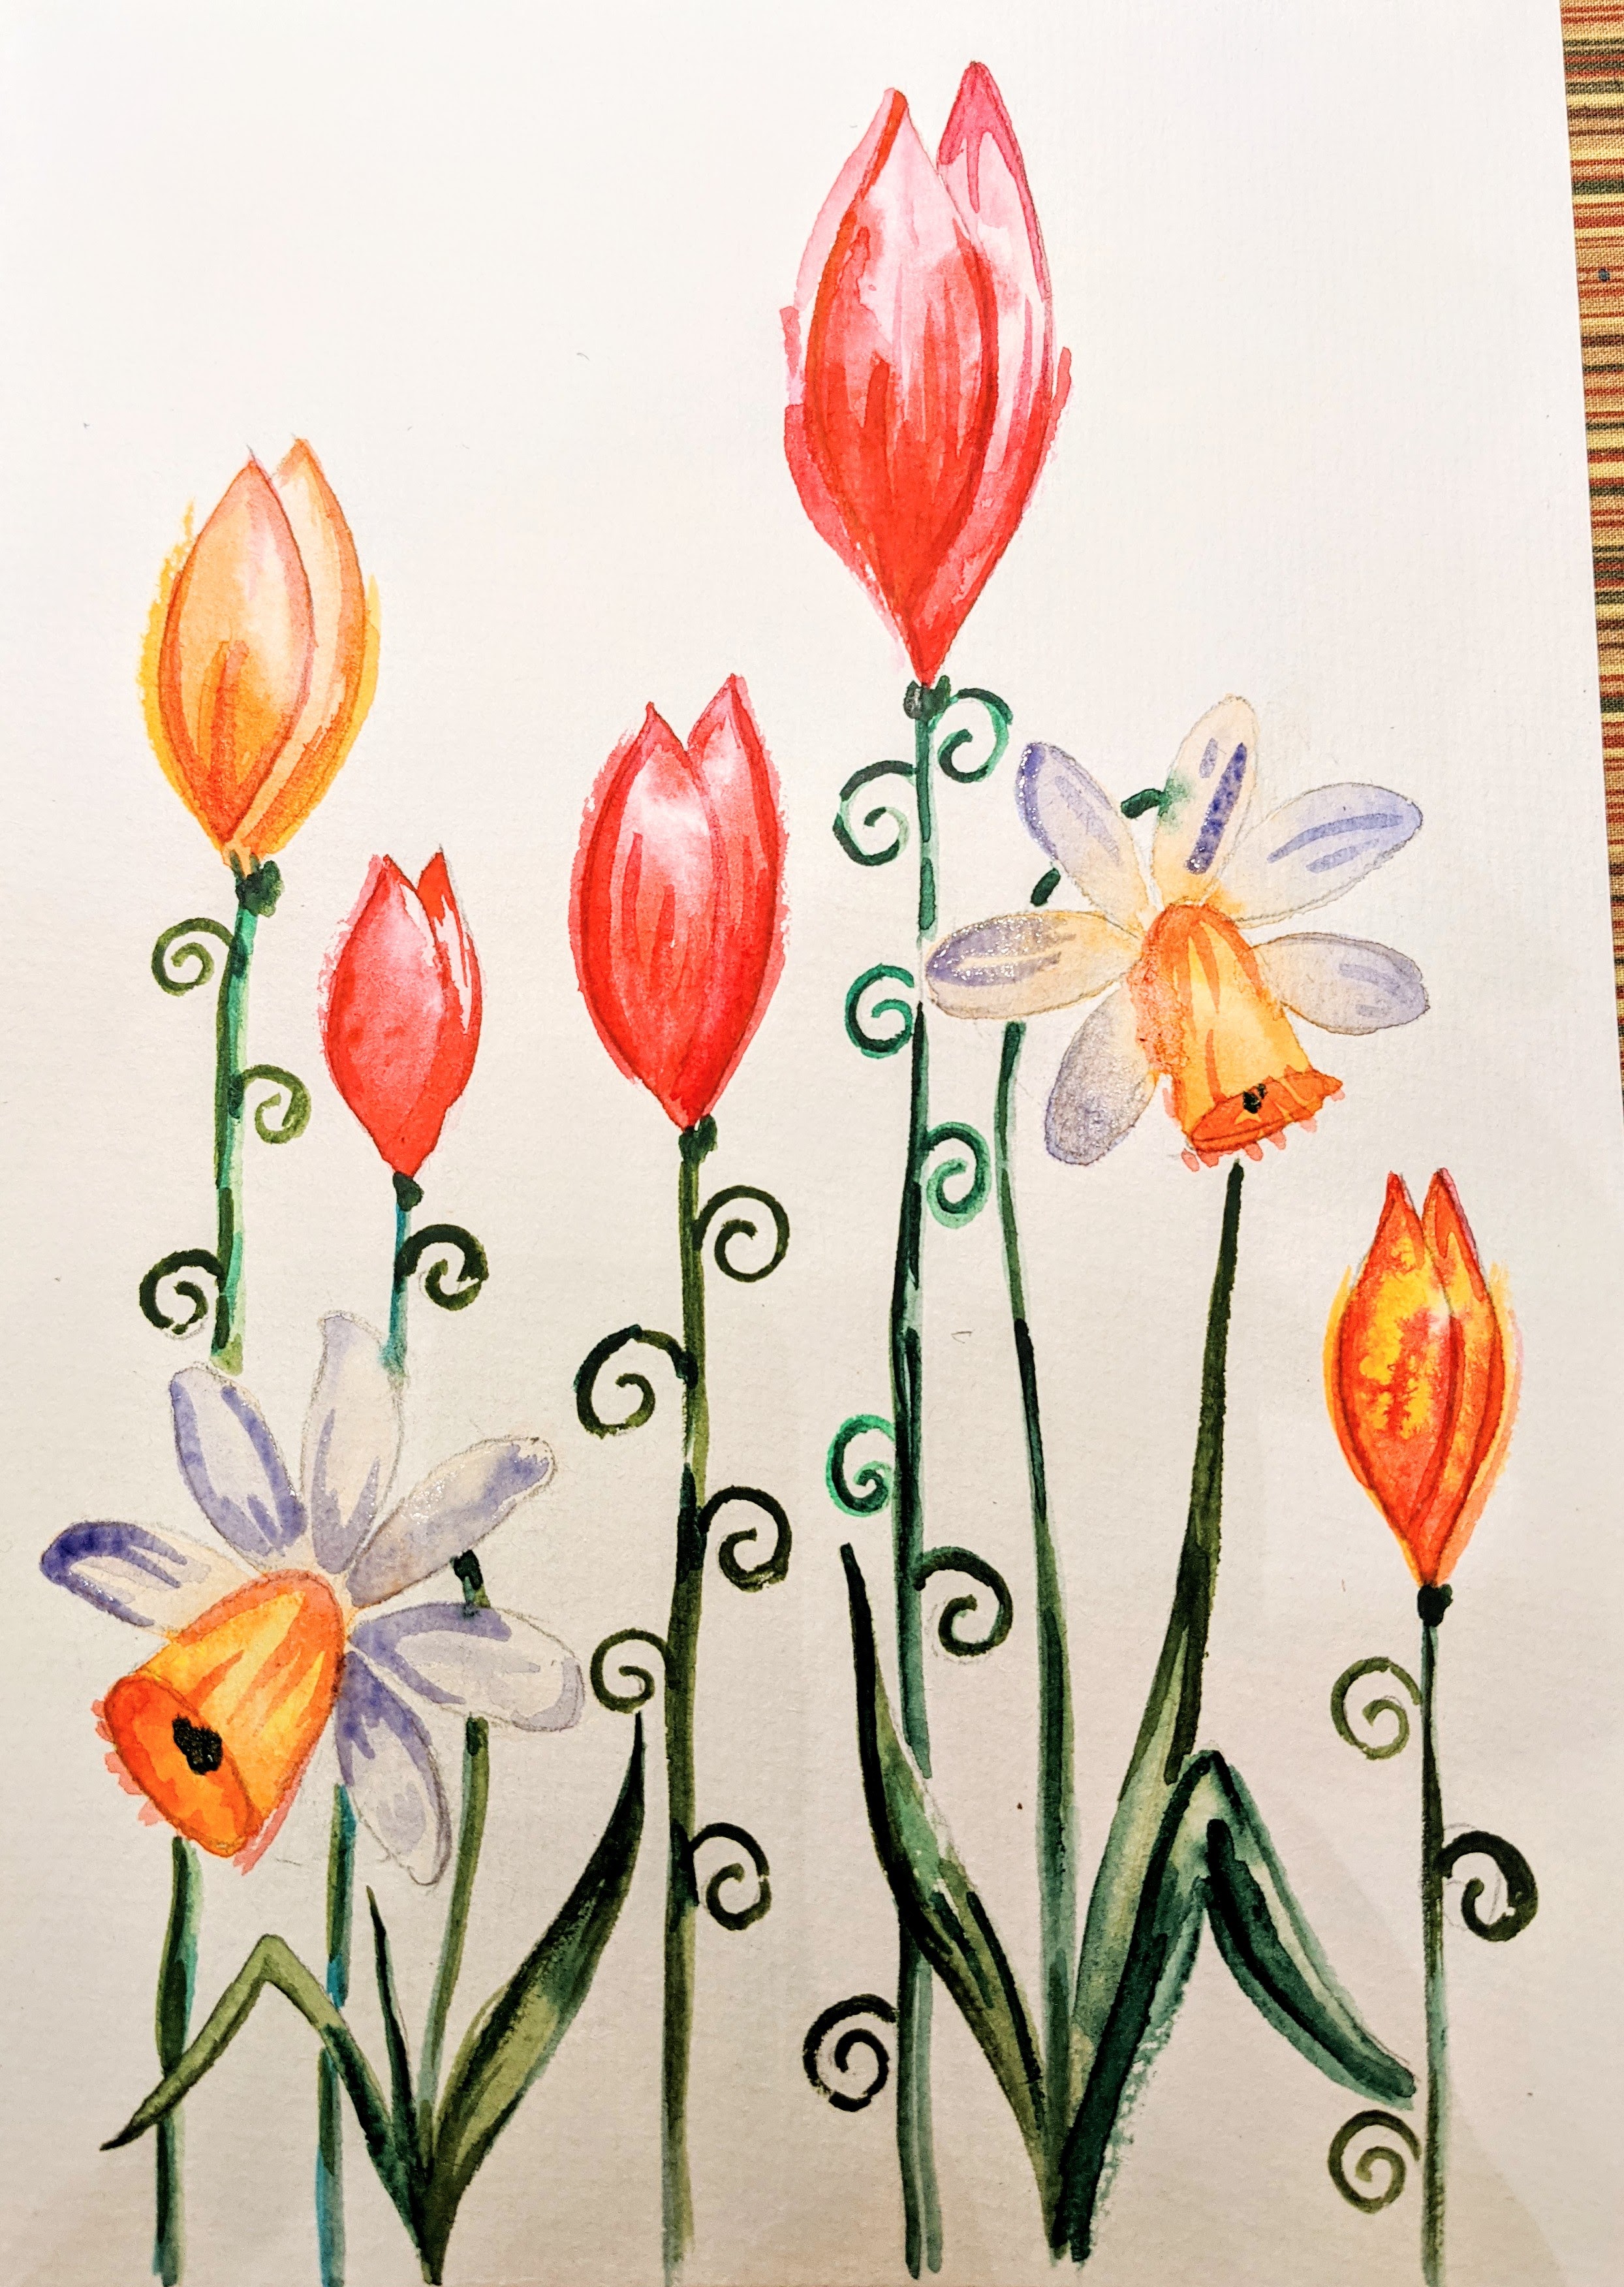
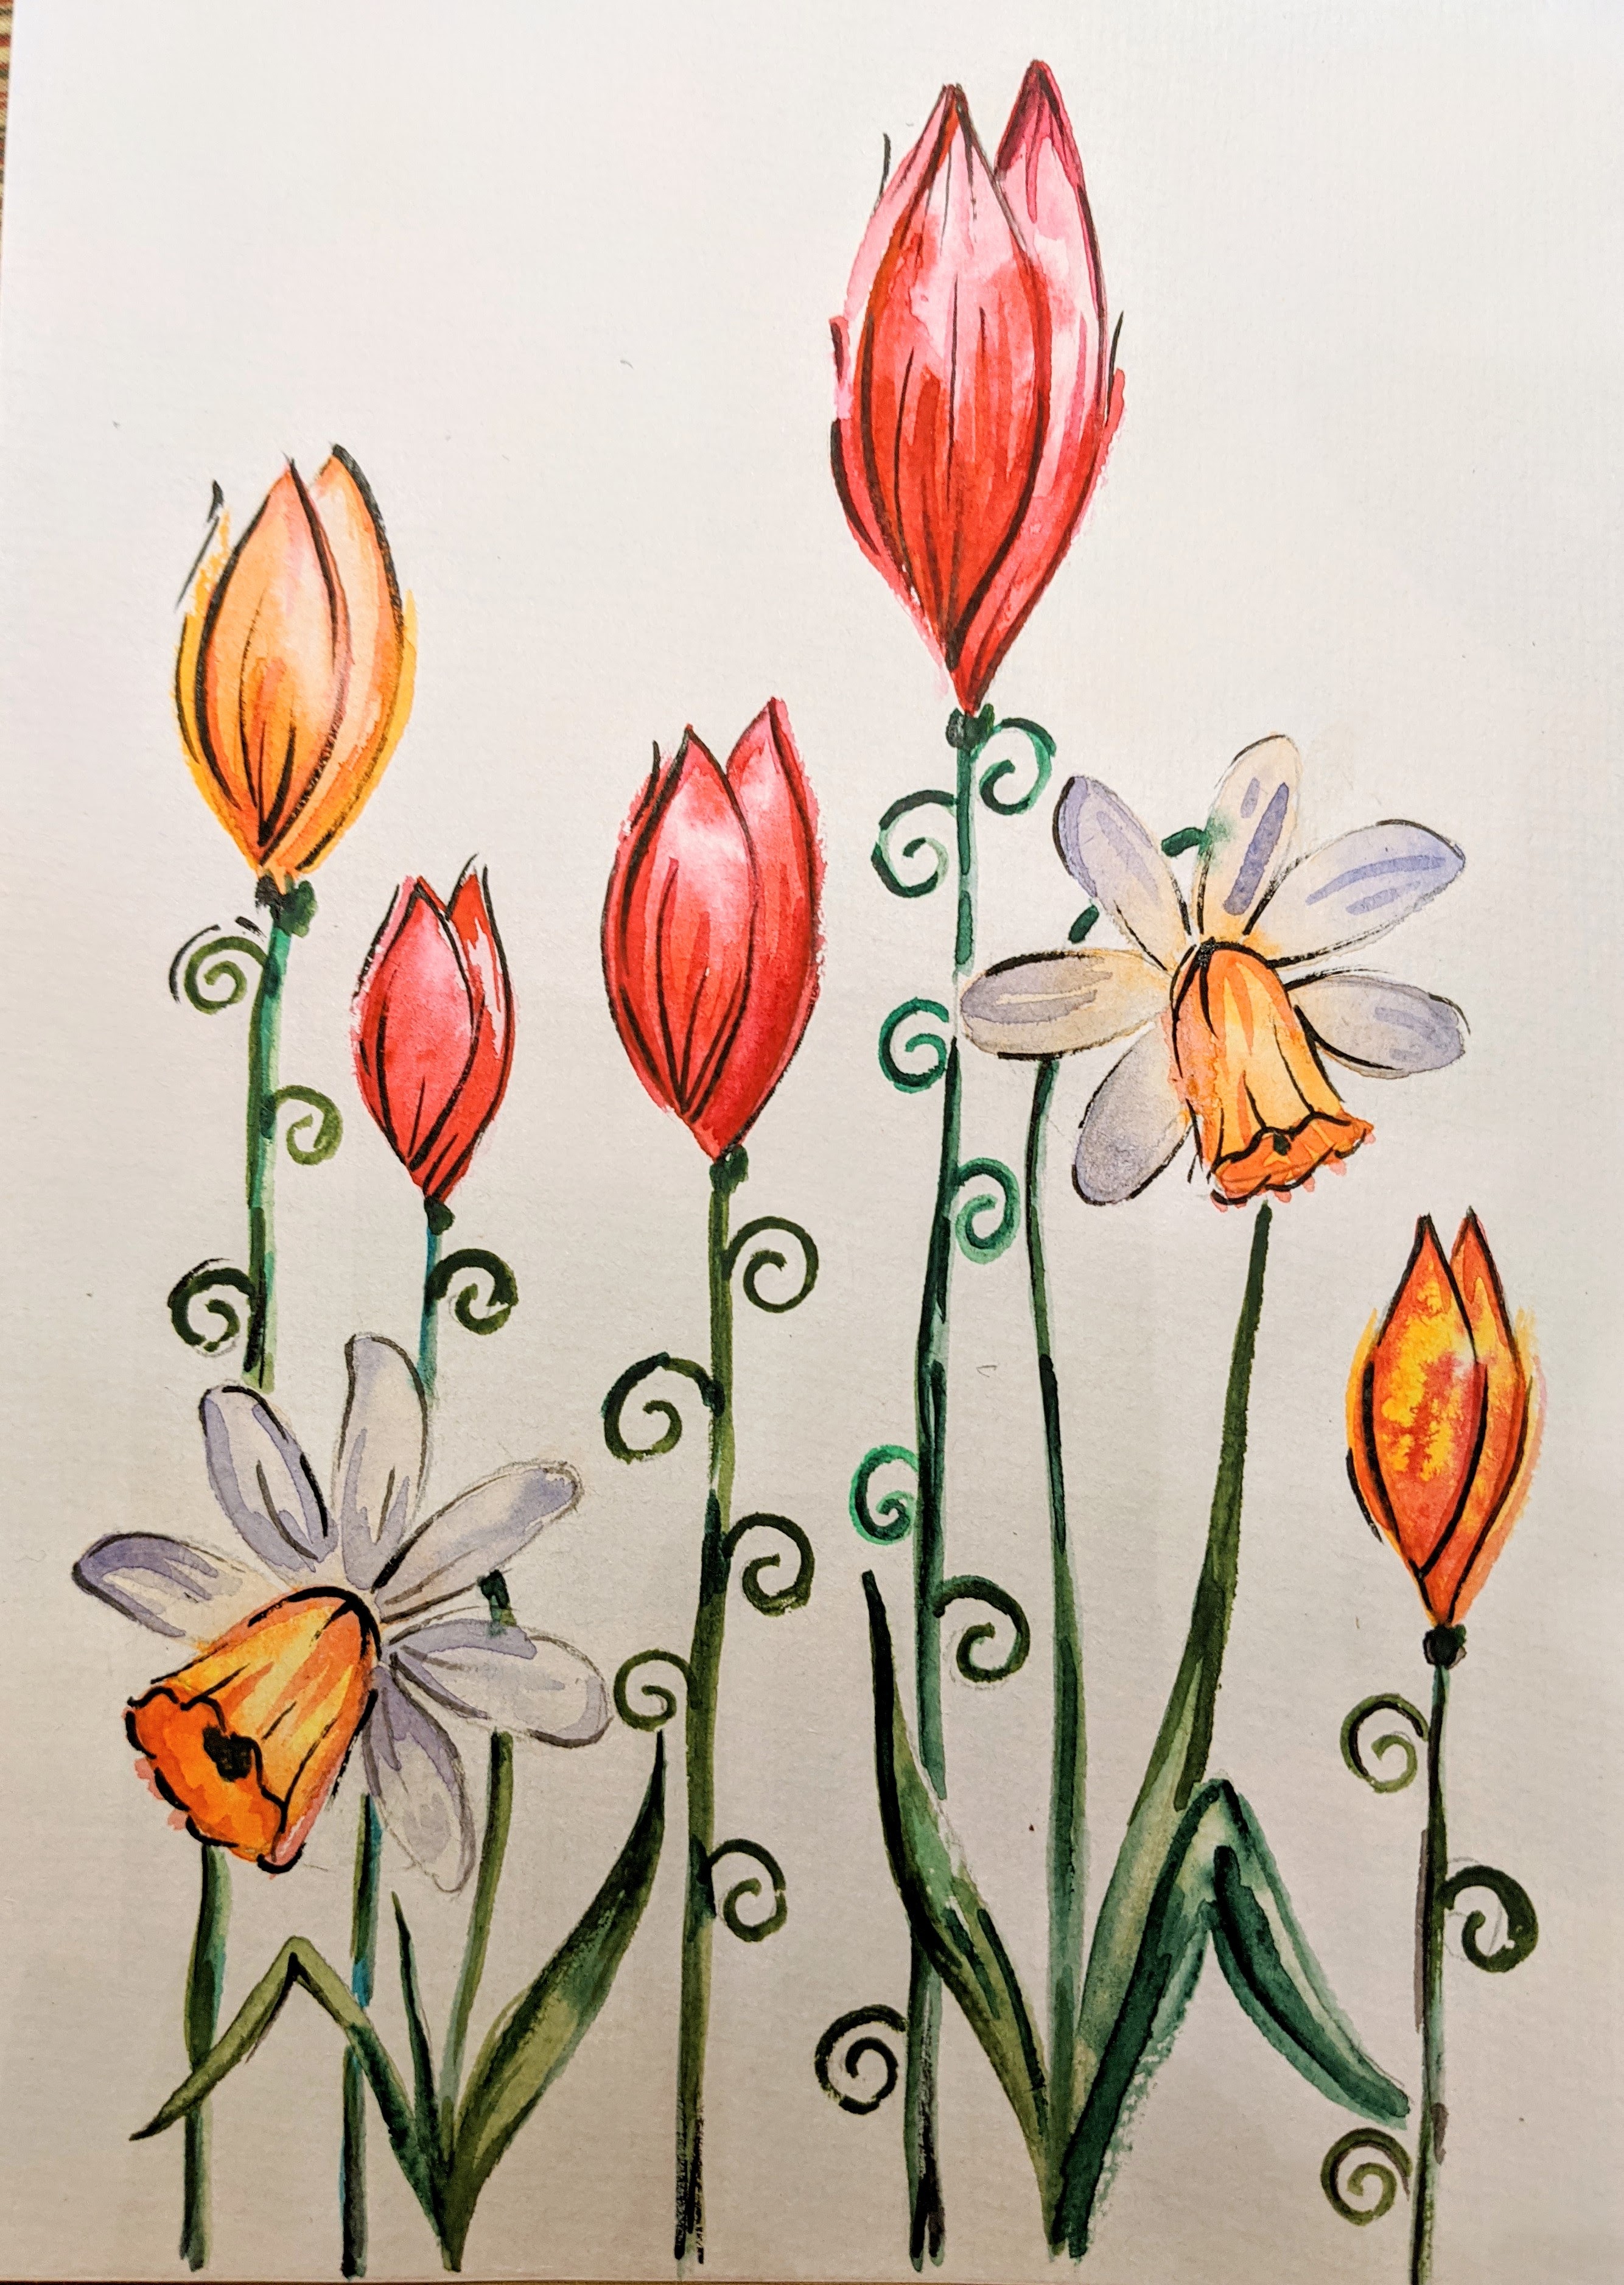
- After all is dry I added a darker color (dark green or even black) as a thin outline – it allows colors to pop up.
- The very last step is the sprinkle your drawing with red, orange, yellow, blue and green colors for a fun effect.