Drawing with gouache is fun for kids!
Although it is sometimes considered to be a separate form of paint, gouache is really an opaque form of watercolor. A big plus in working with gouache that it can be thinned with water like watercolor, but it can also be very thick and rich. It can work well in combination with both – watercolor (to make colors more intense), acrylic and oil (to make colors more transparent if needed).
For this lesson I selected gouache, as I always liked drawing pine trees and gouache technique makes the drawing vibrant, plus you can add many layers on top of each other (once the previous dried).
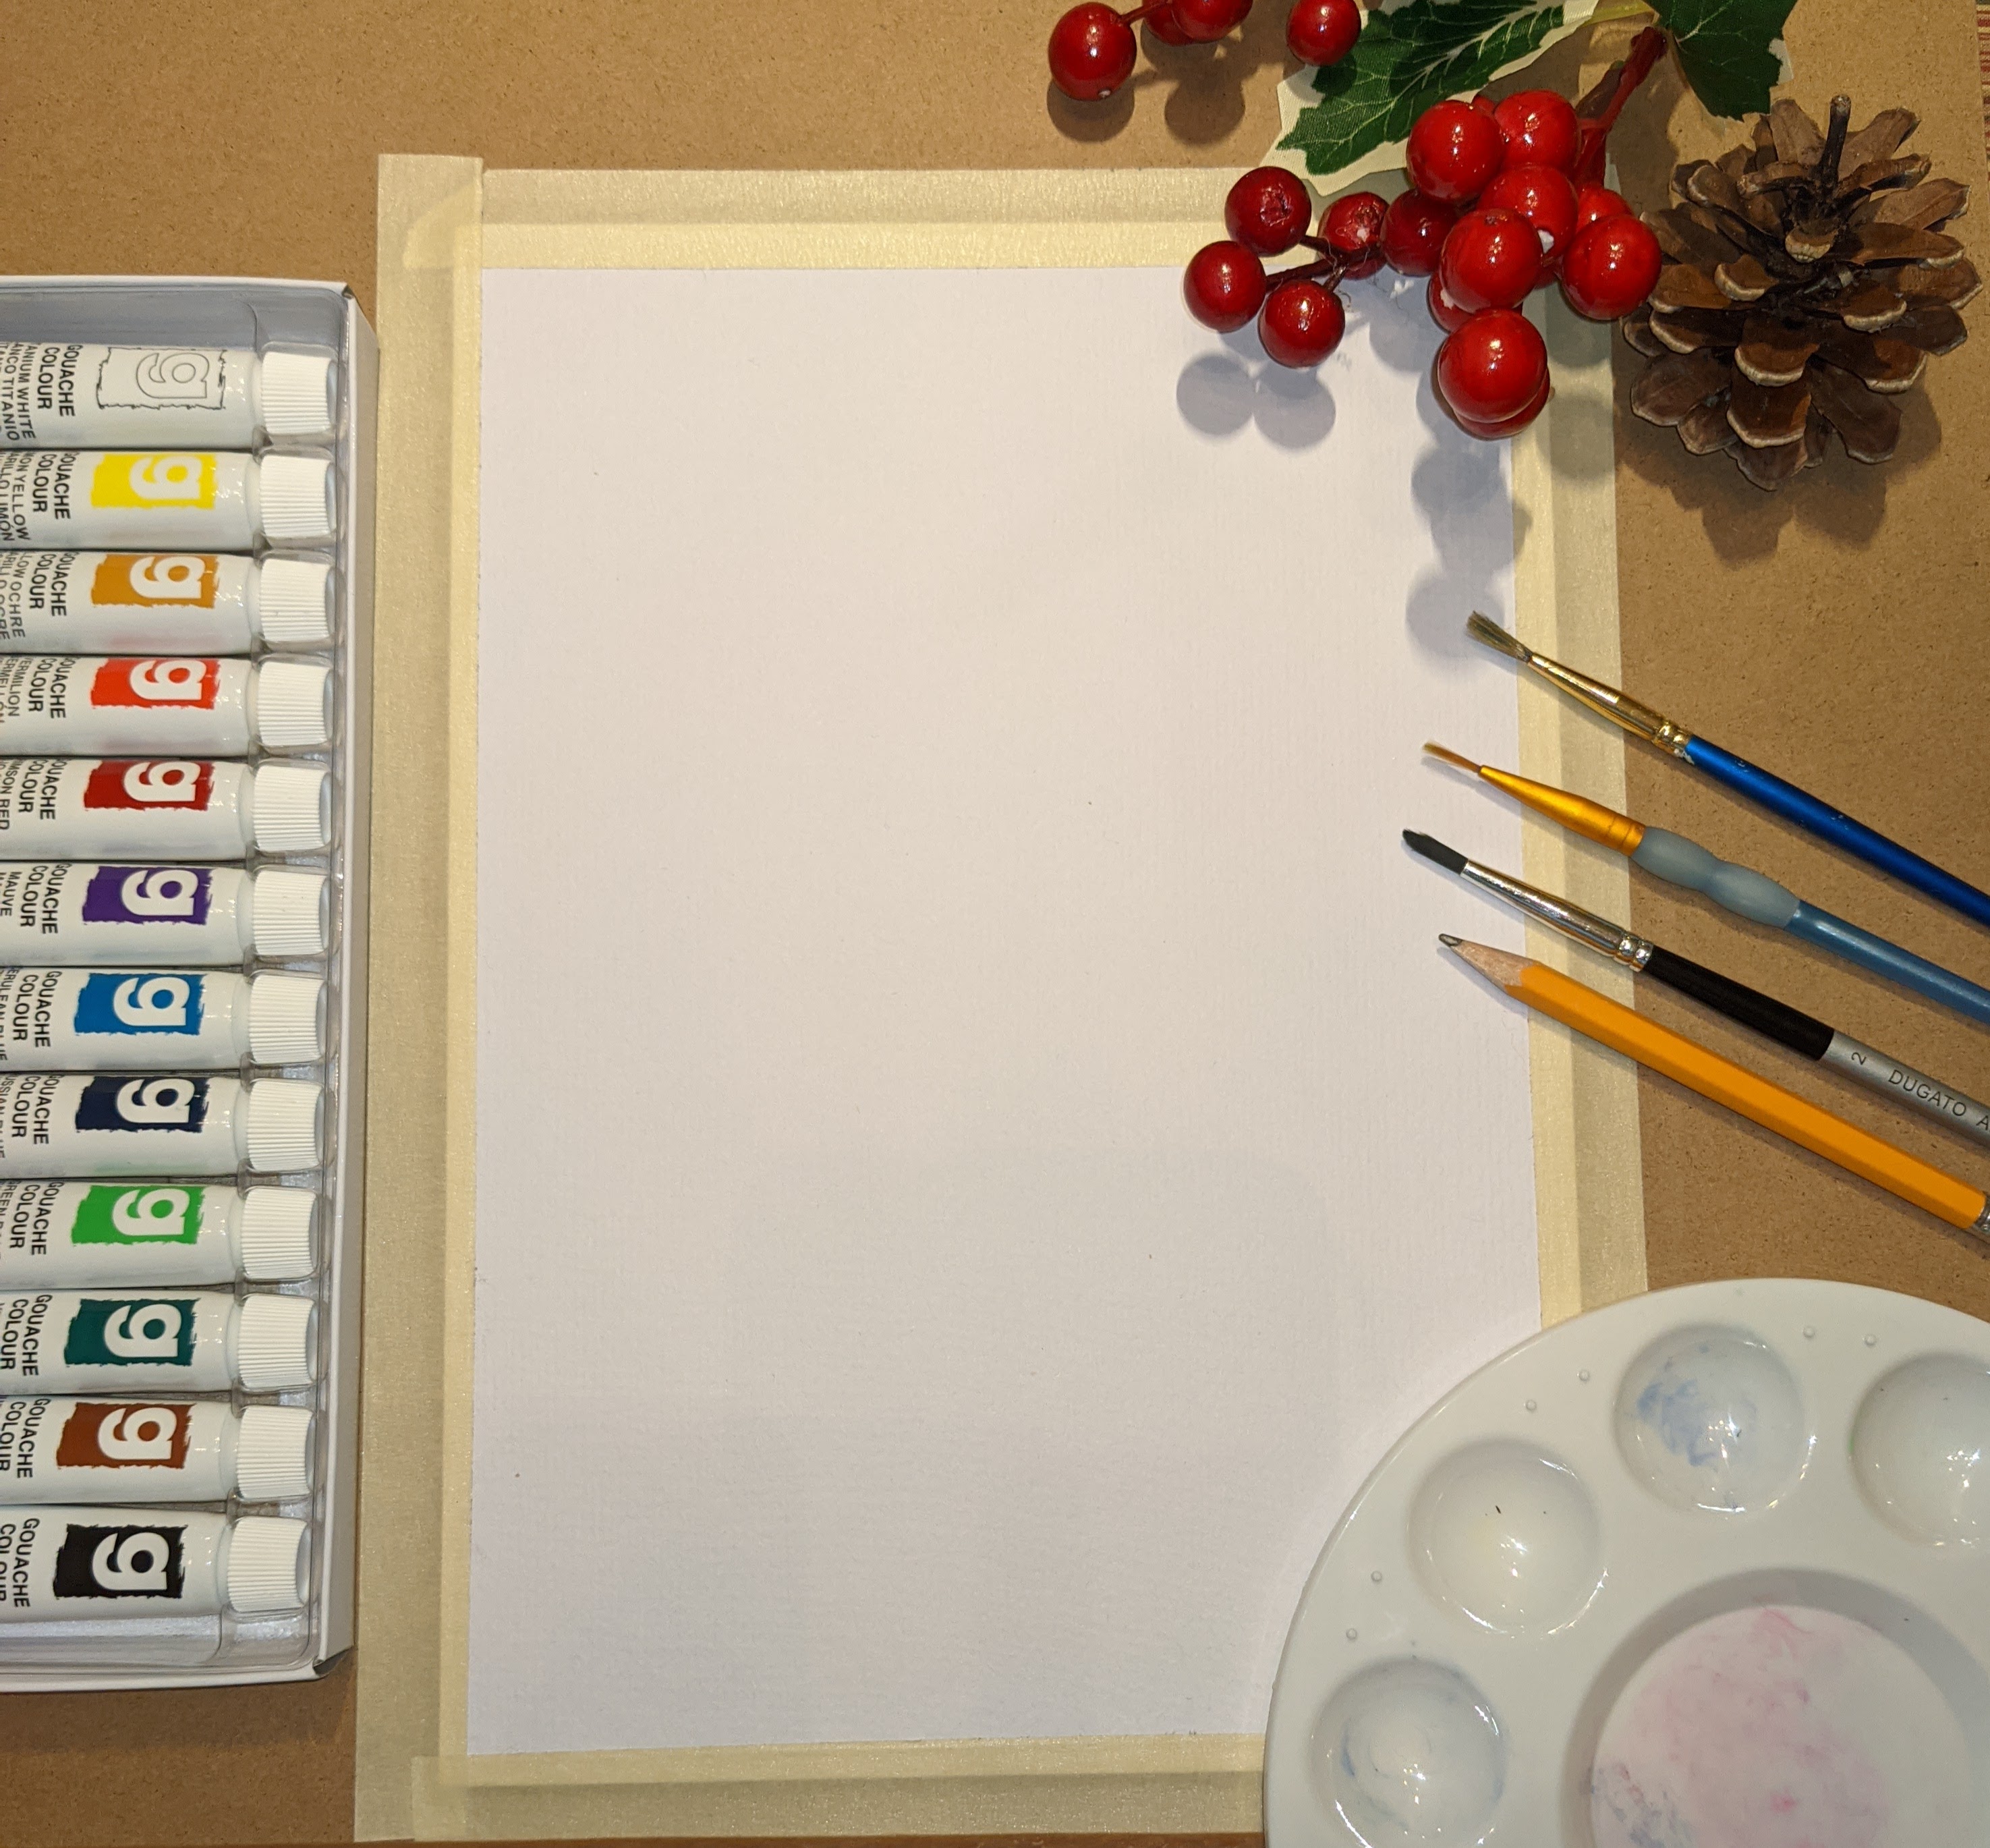
So, kids will need:
- gouache set (any from Amazon, or other place)
- brushes, one thicker and one thinner will work
- water jar
- pencil
- drawing pad (I used watercolor paper)
- masking tape (not required, but I used it for this drawing to tape it around)
Below is step-by-step tutorial with description under each photo! 🙂
Enjoy!!!

Adding pencil drawn pine branches 
Adding pine cones shapes 
Adding details to pine cones 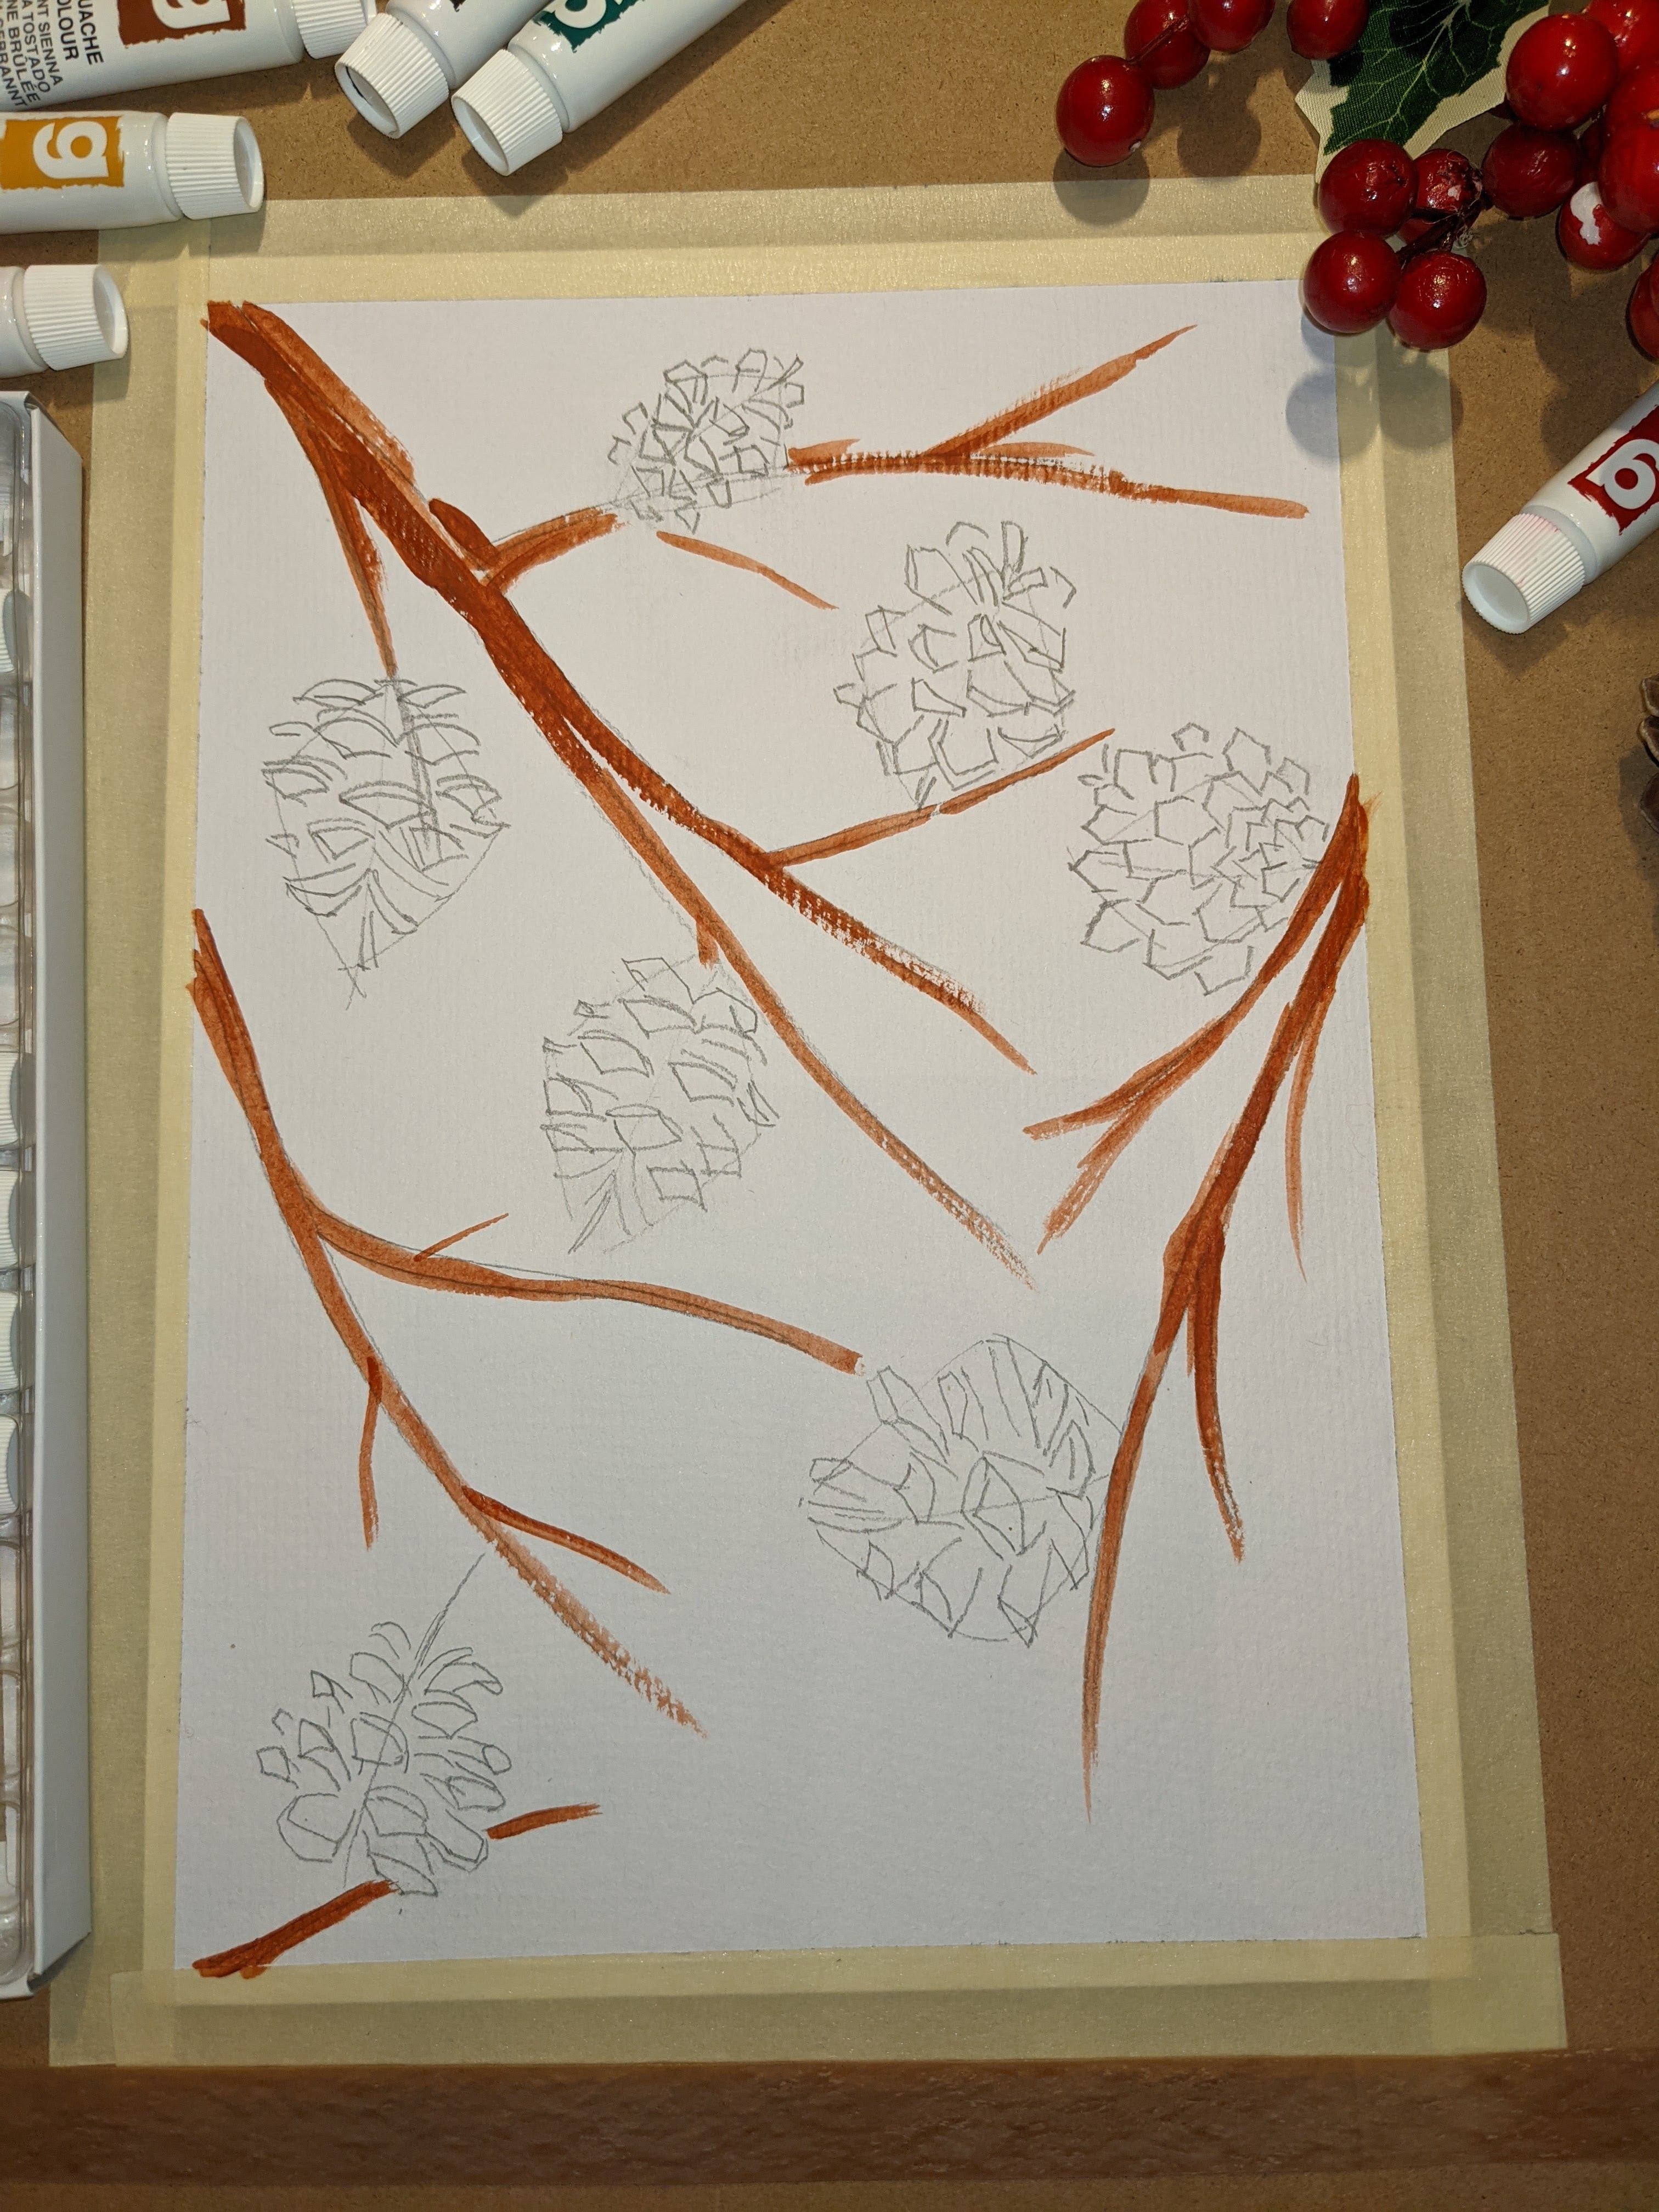
Brown color for the branches 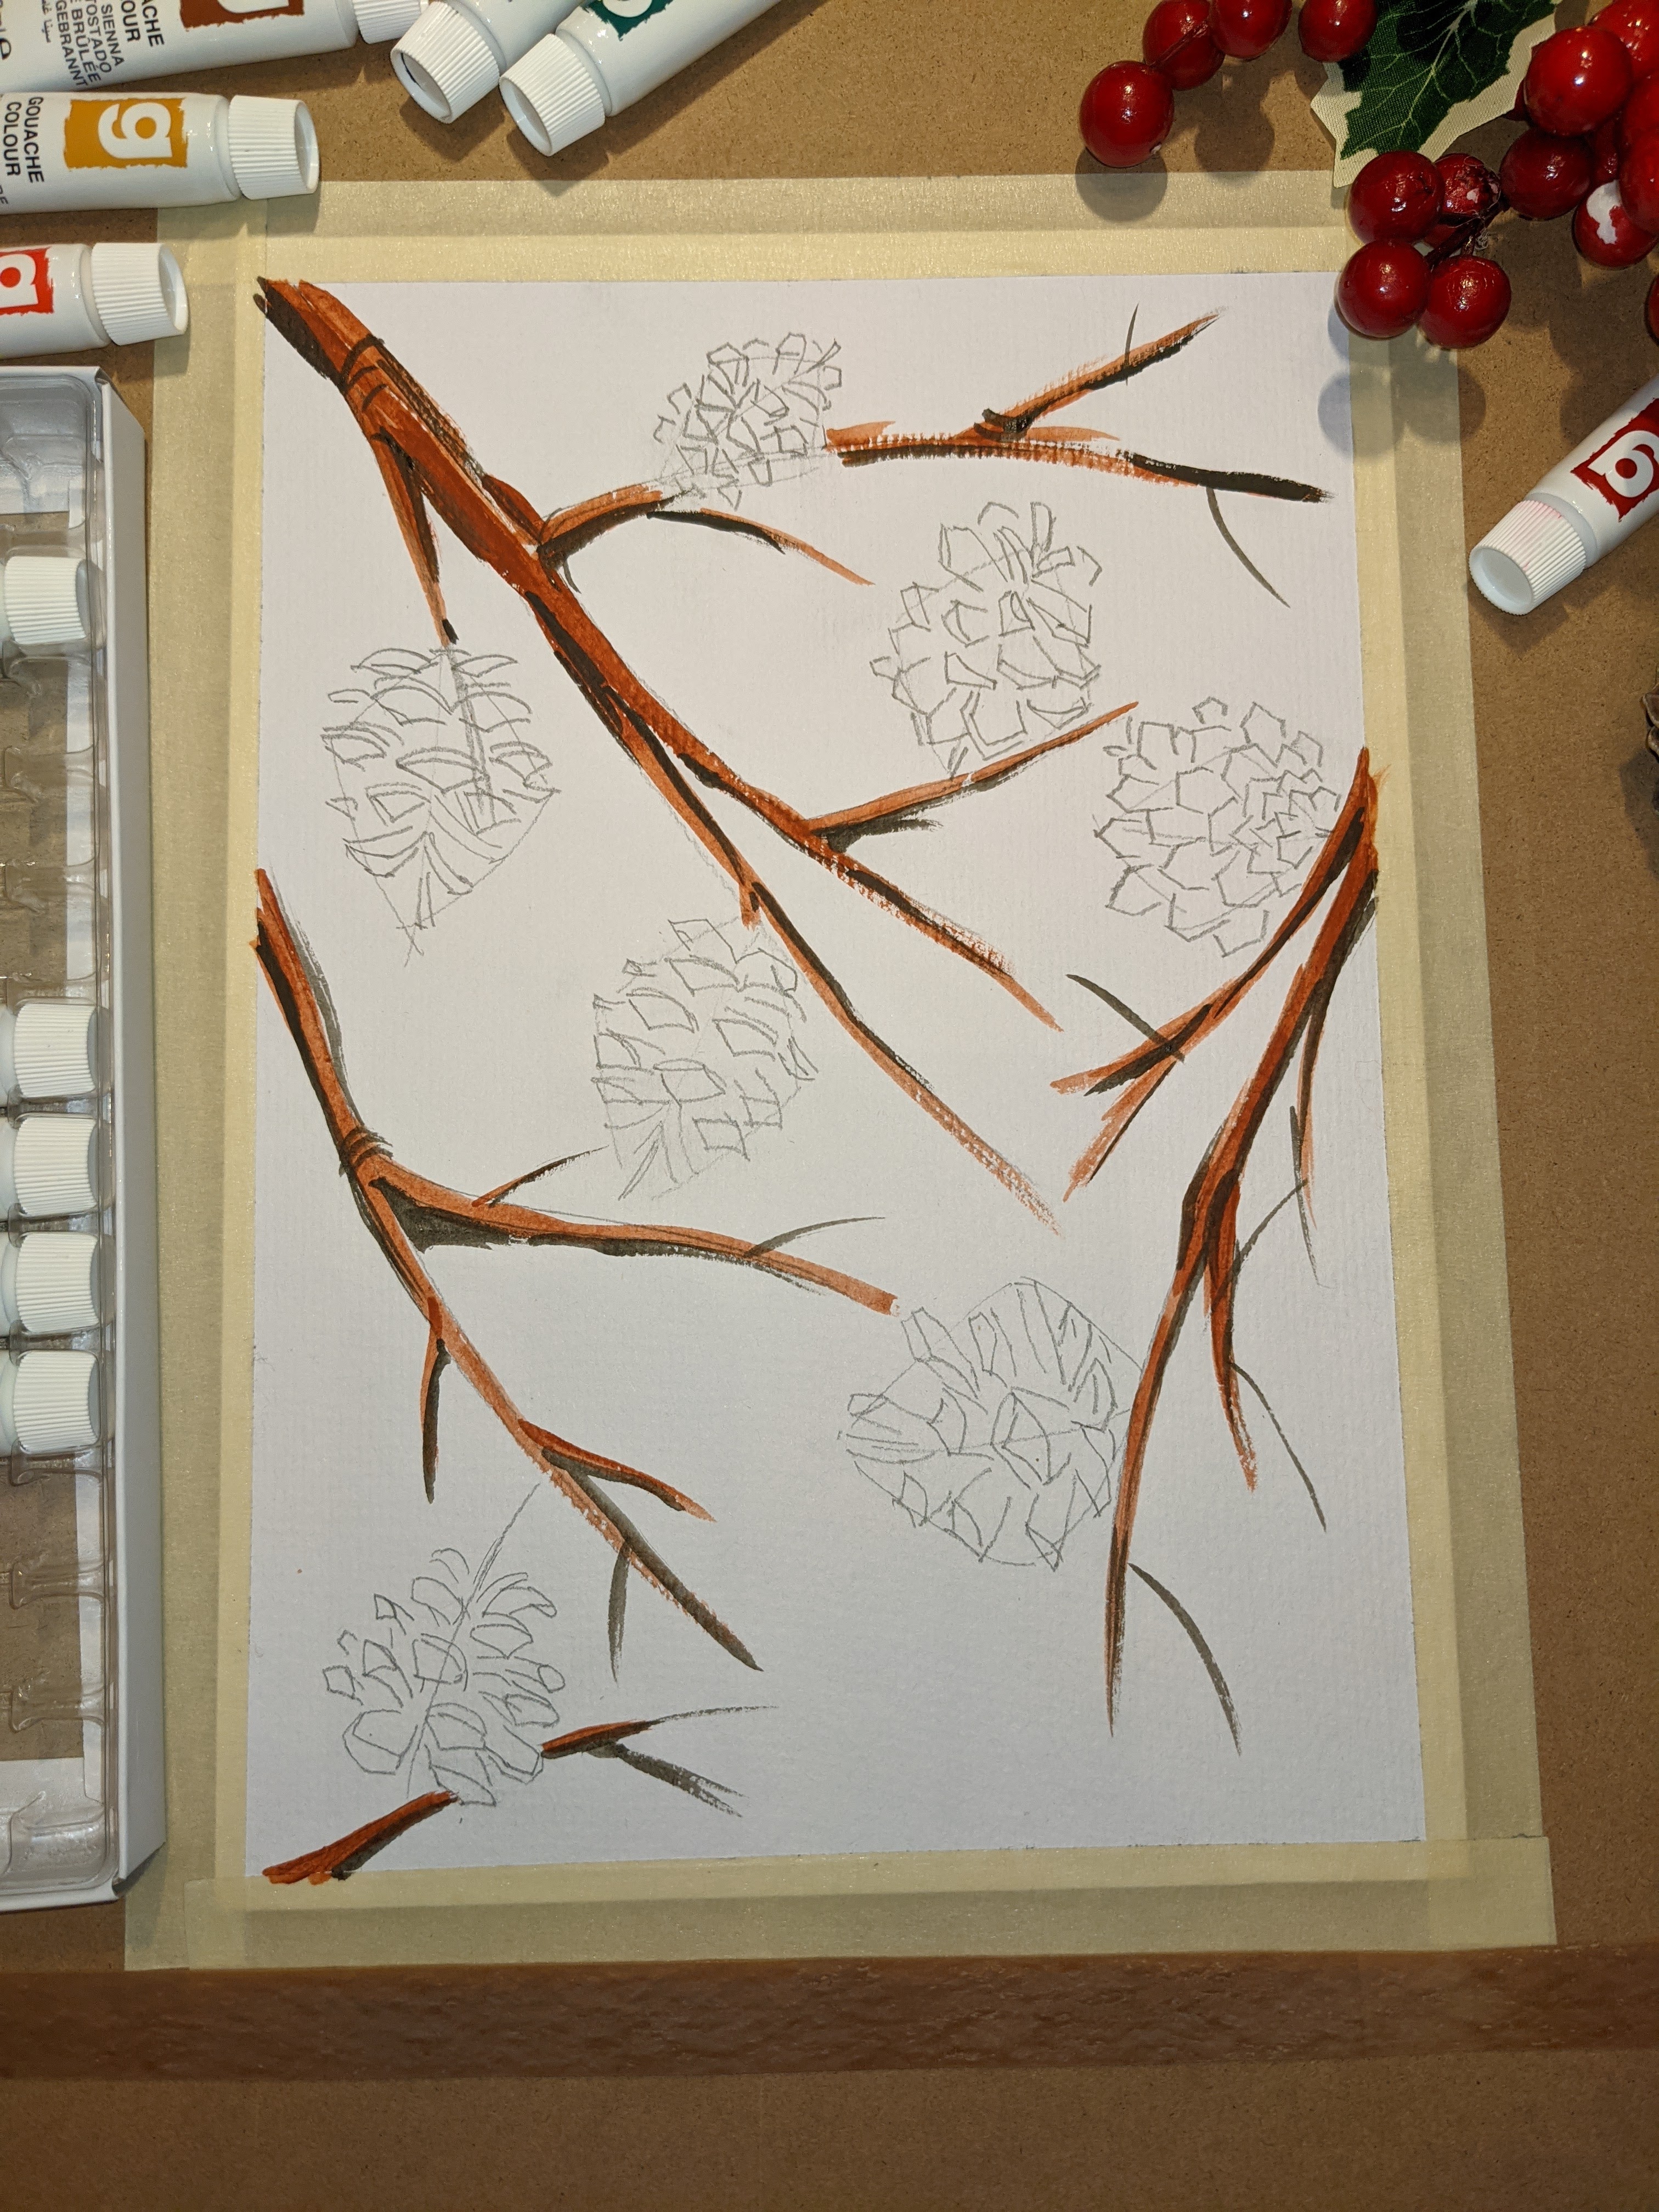
and some dark color to add shadows 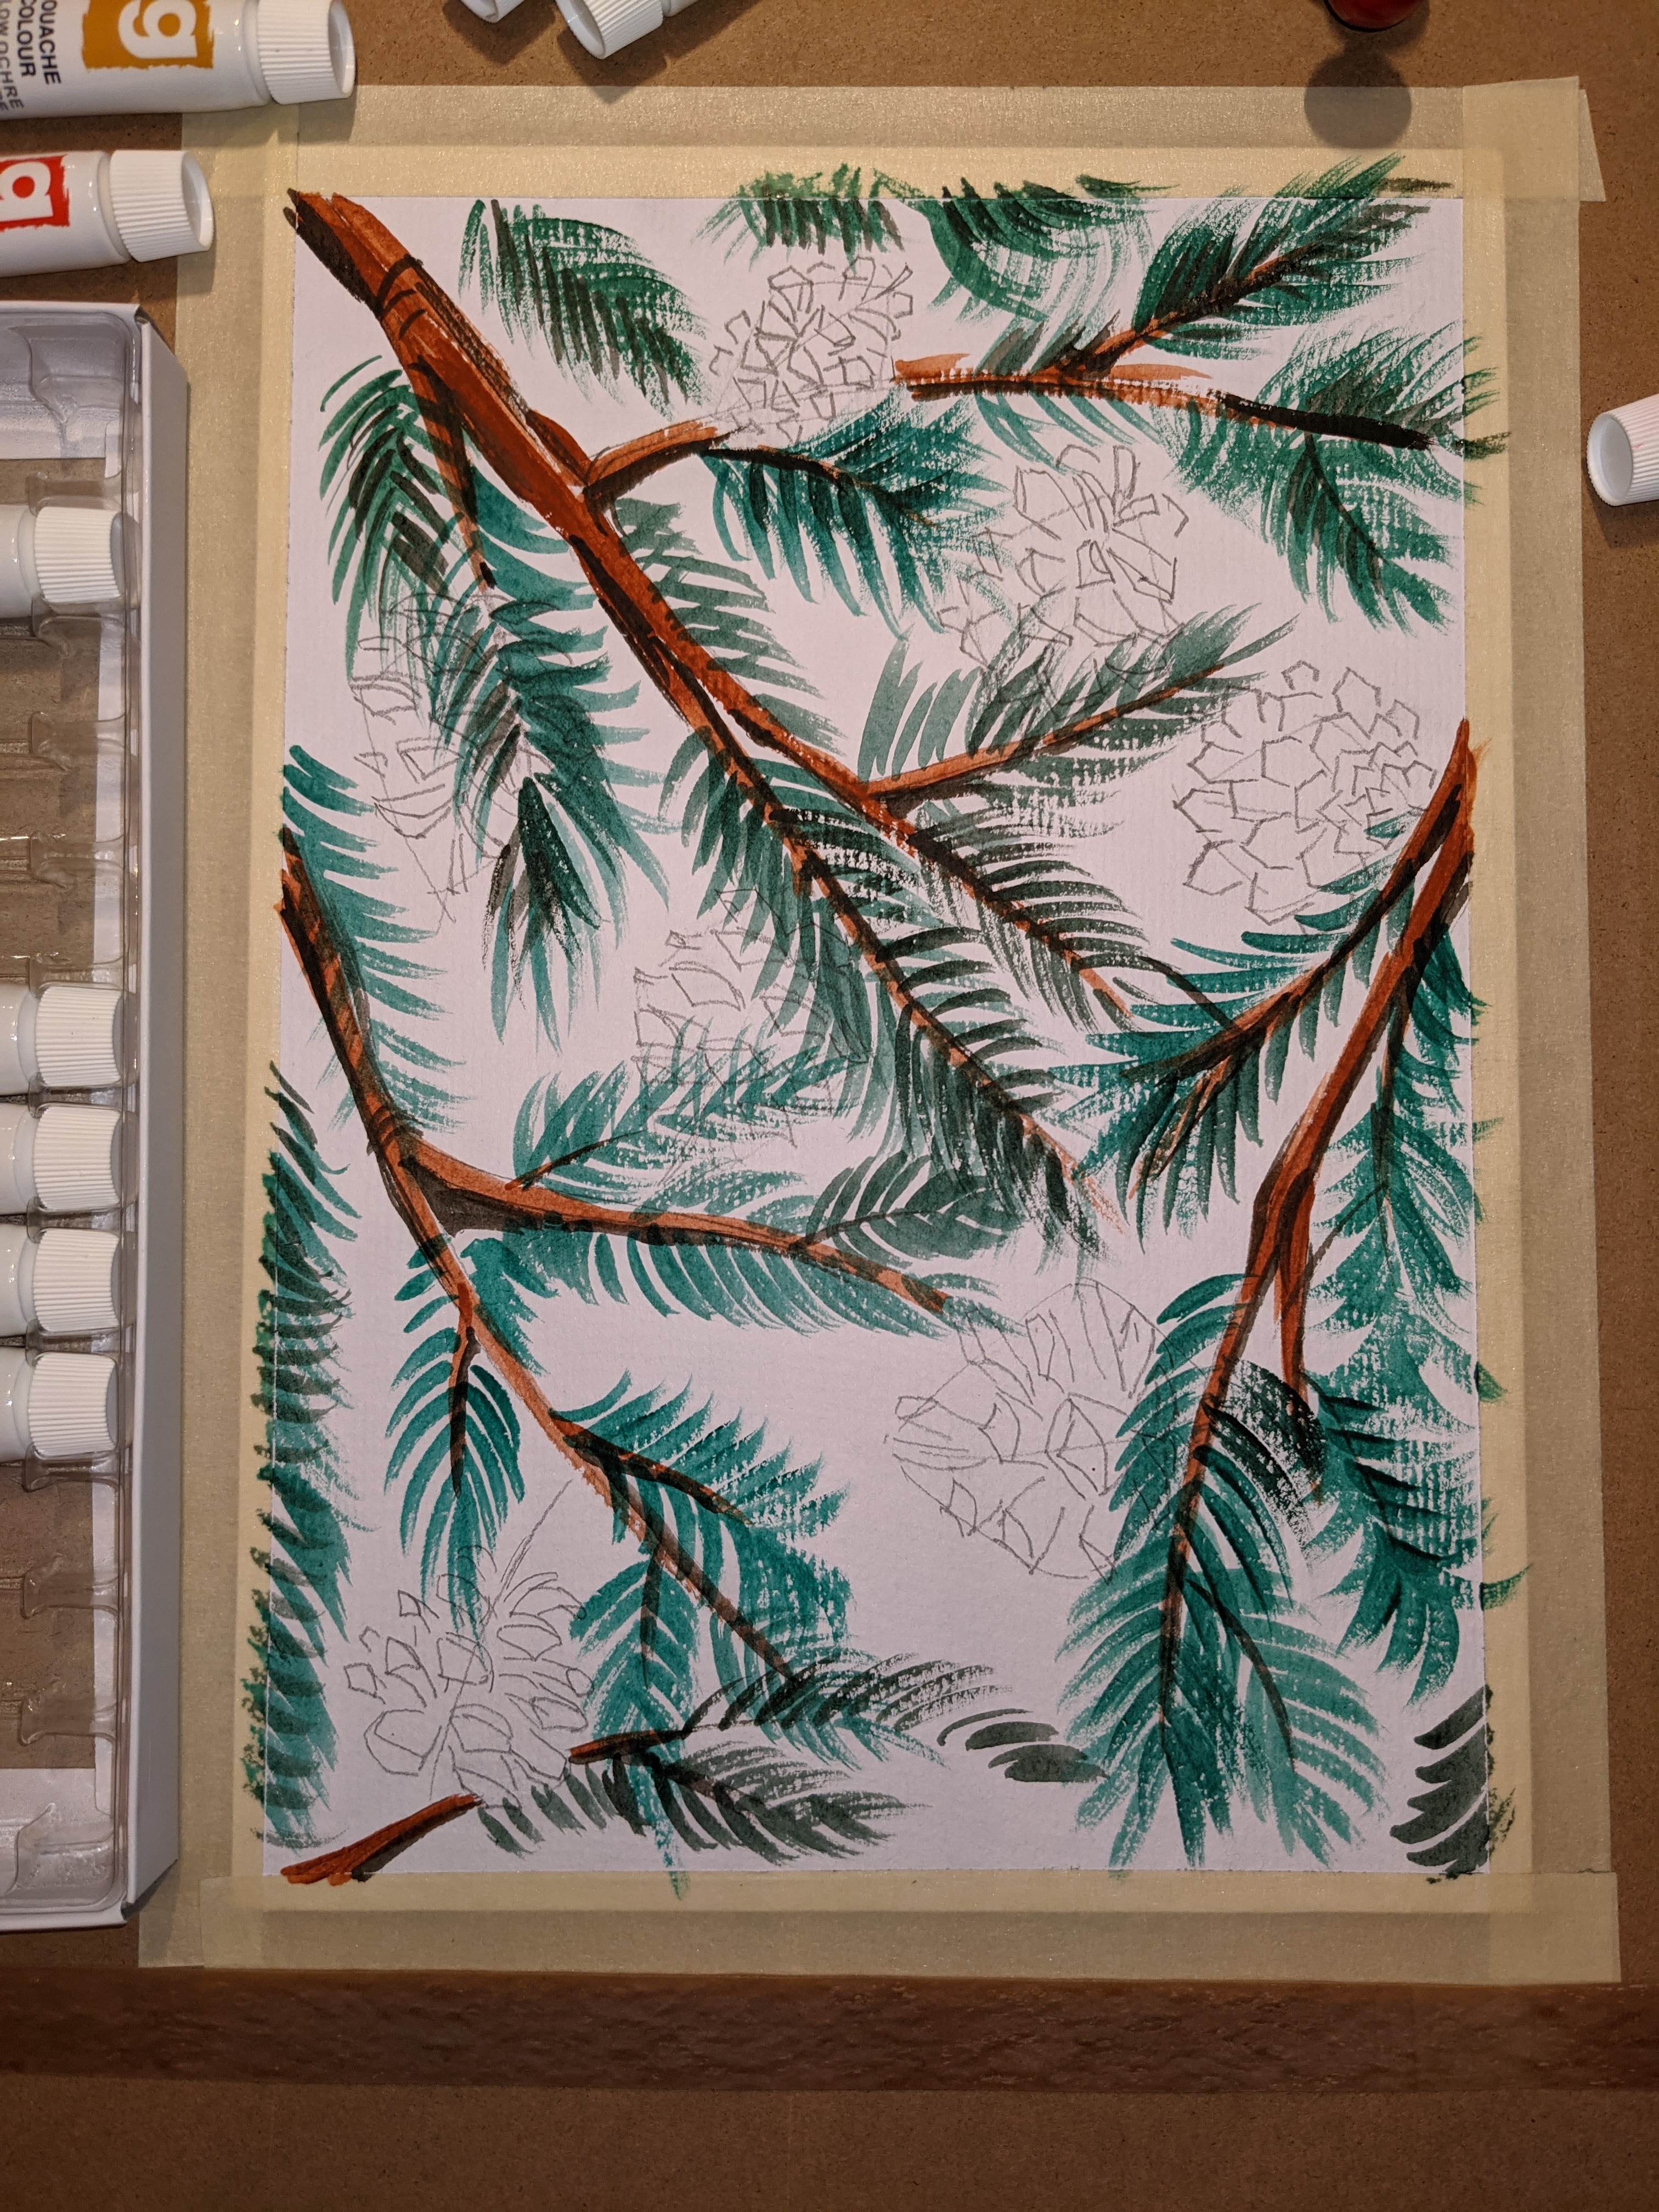
Now it’s time to add green pine needles 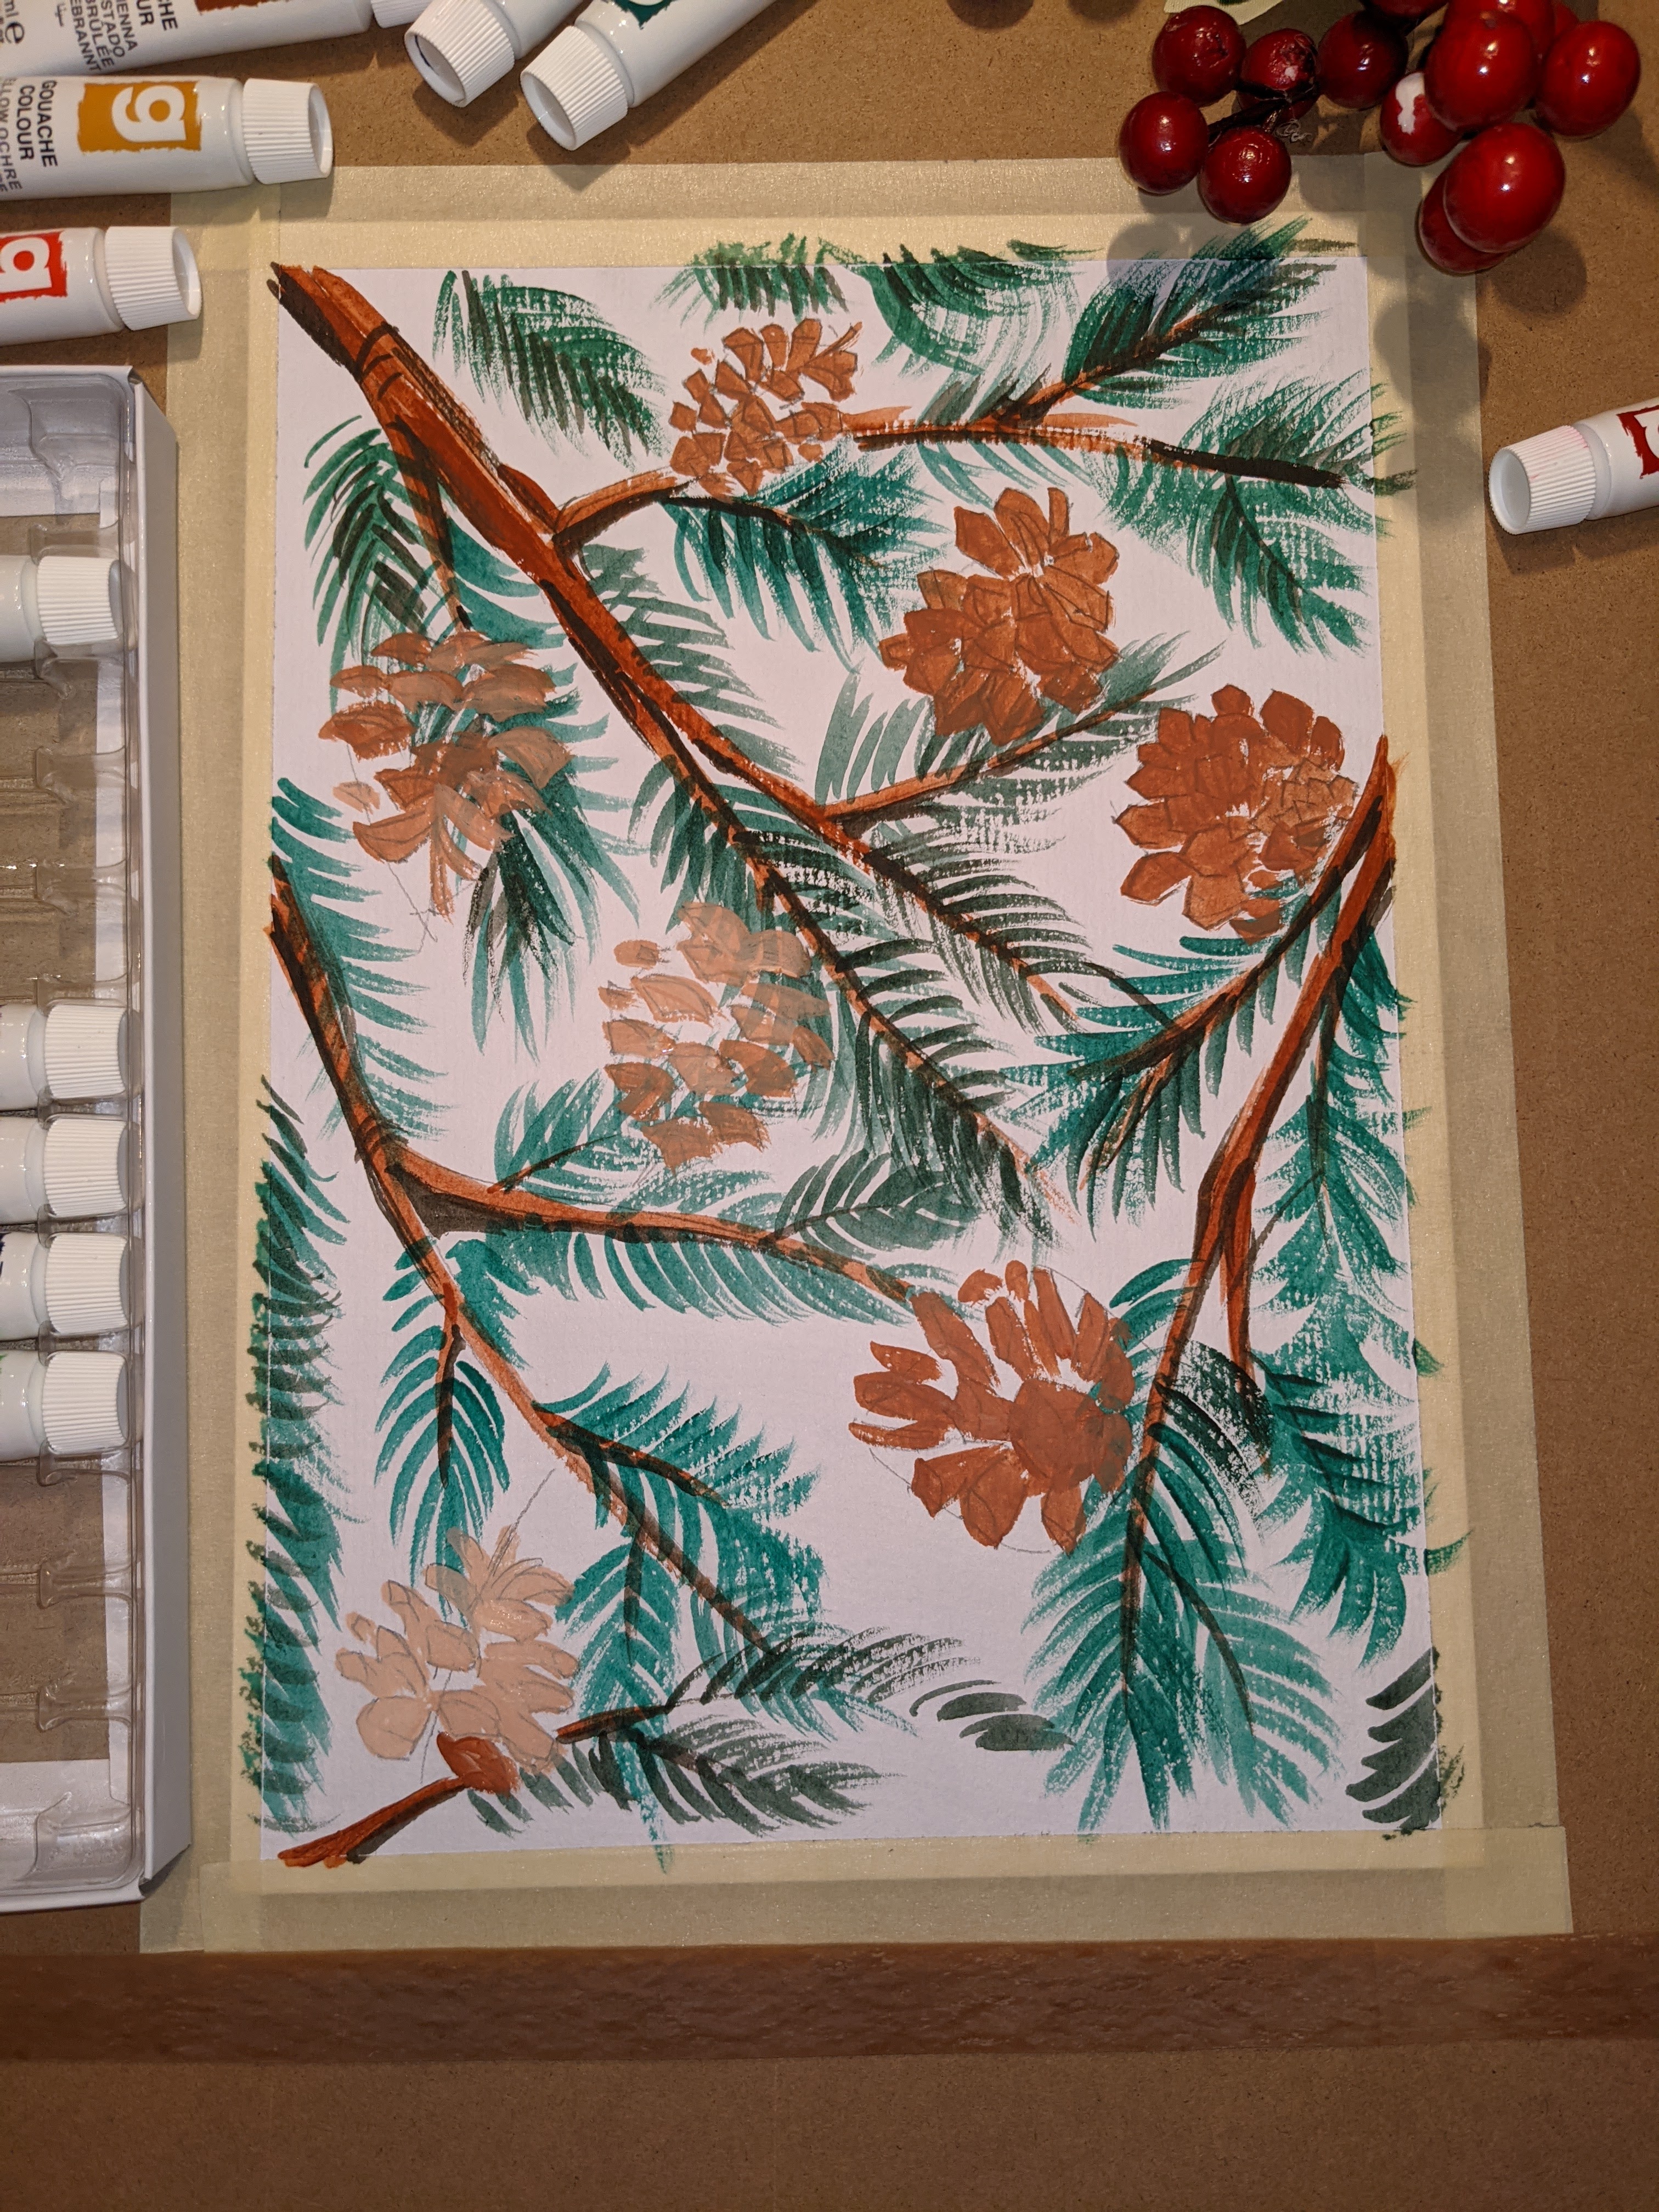
Light brown is added as pine cones base 
then a darker brown to shade each pine cone flake 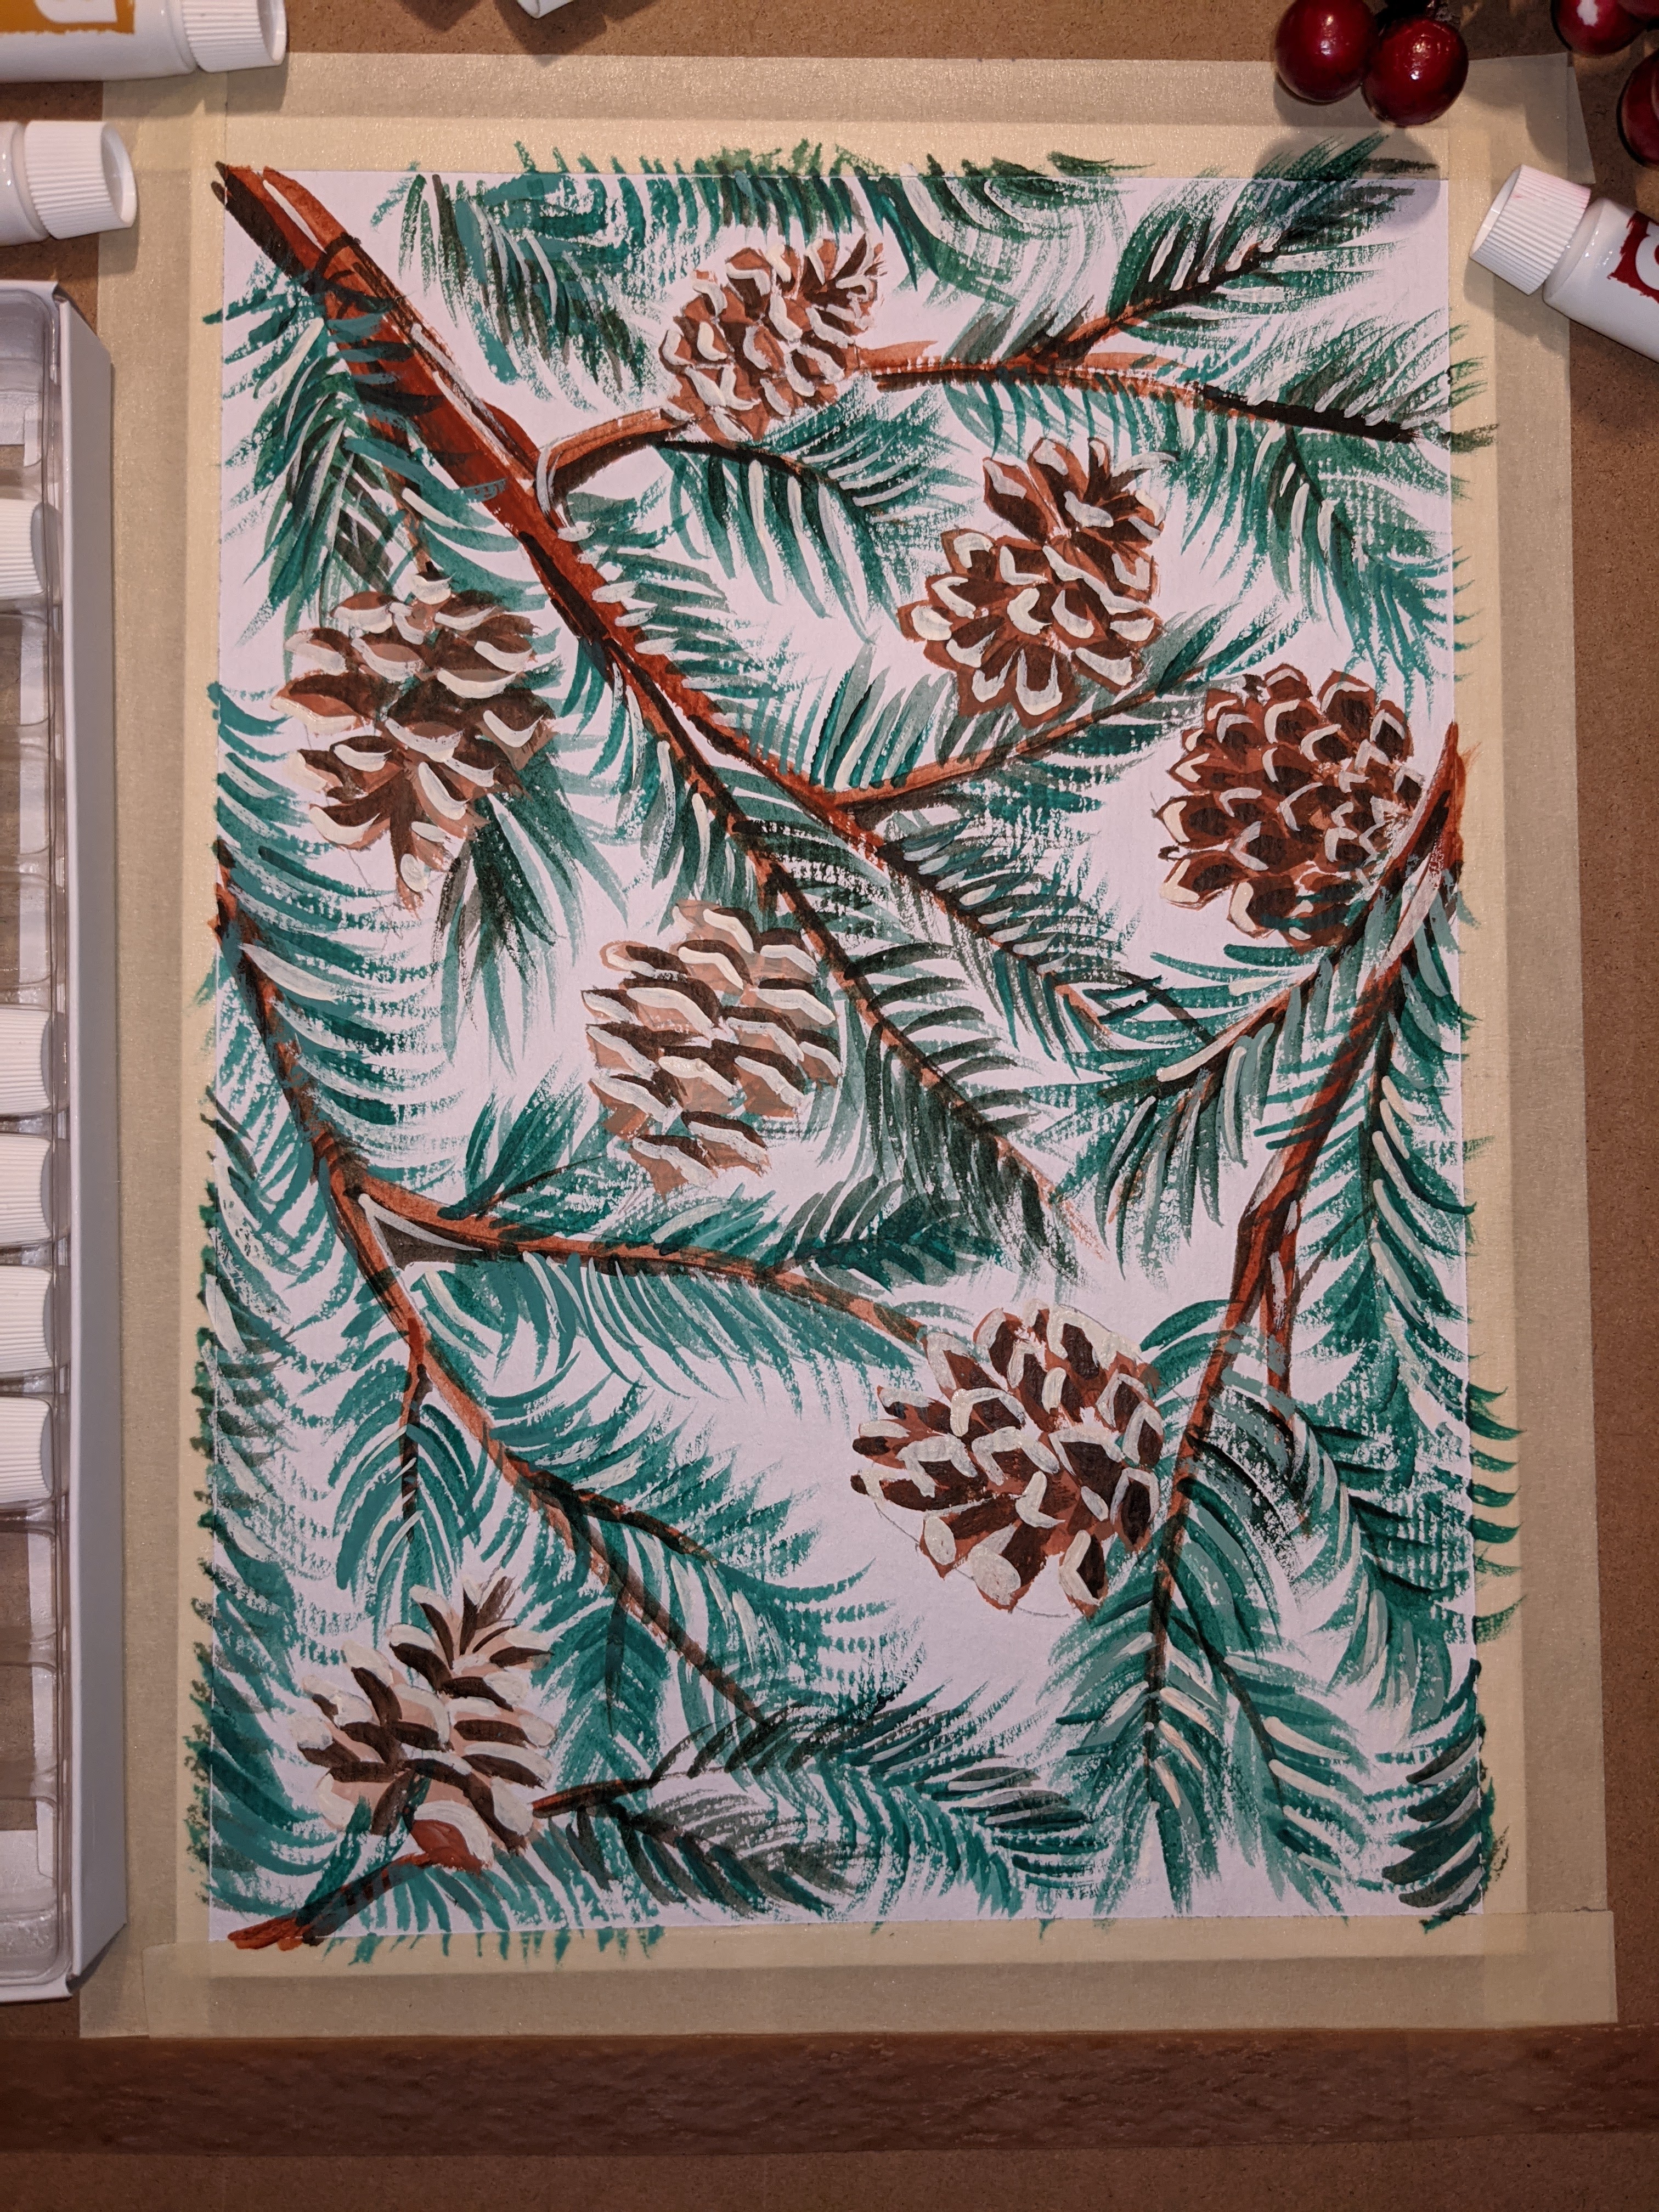
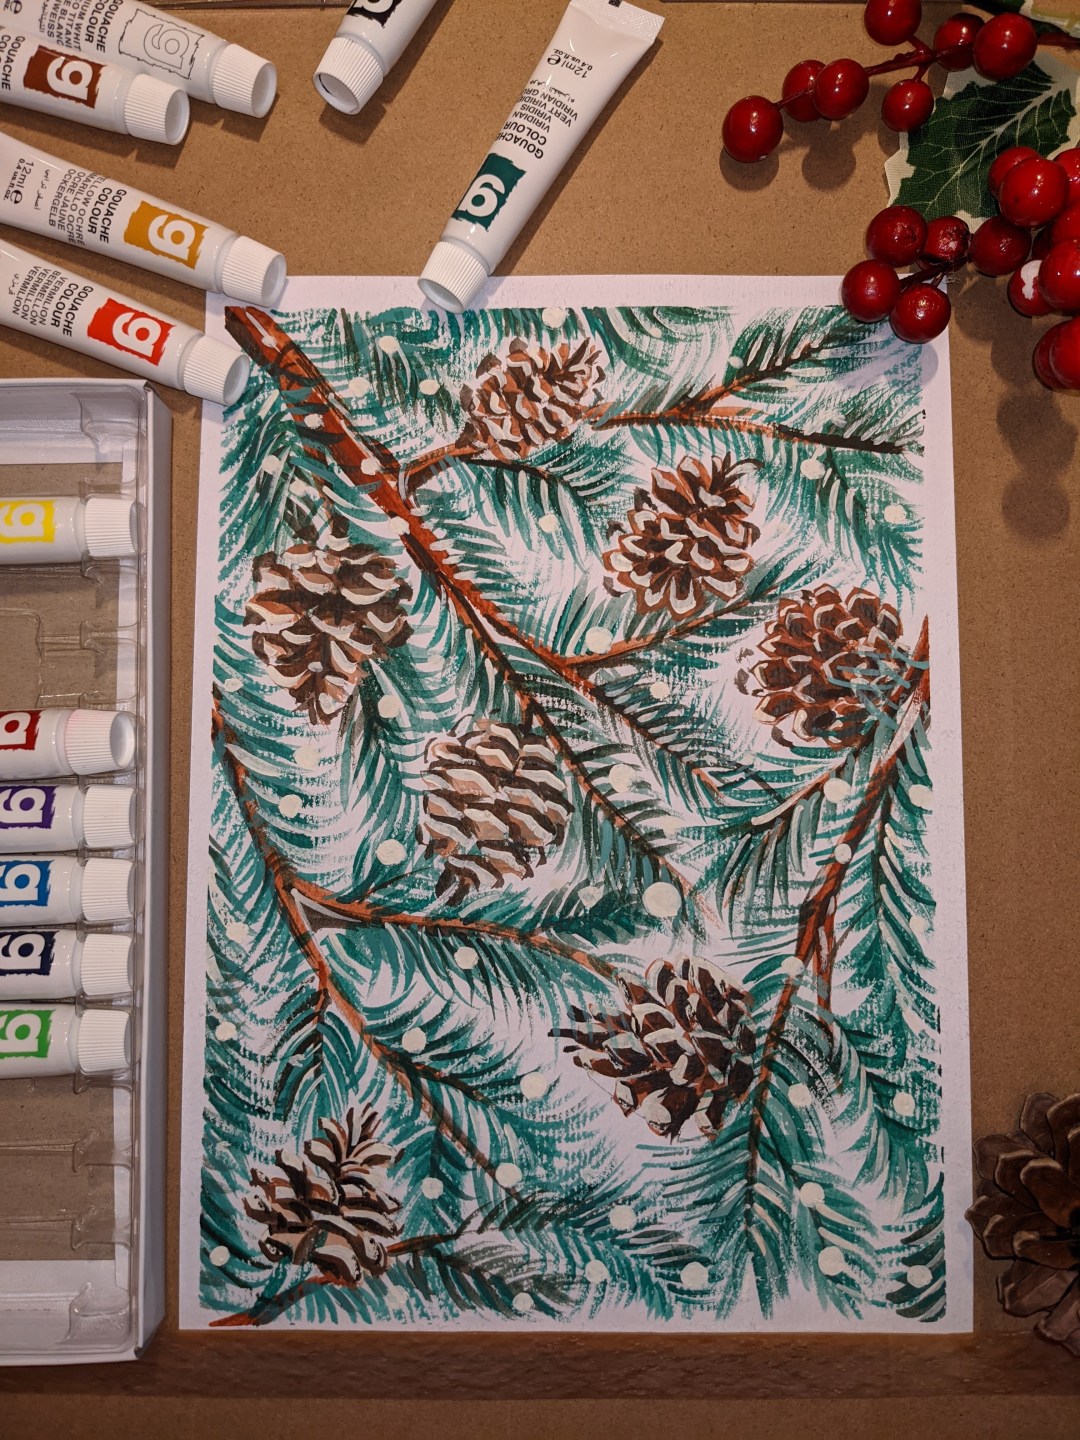
Next step is to start adding white color to pine needles and cones, making it more natural. Also add some darker green colors to needles to achieve shape and volume.
Keep adding shadows by means of darker green and brown 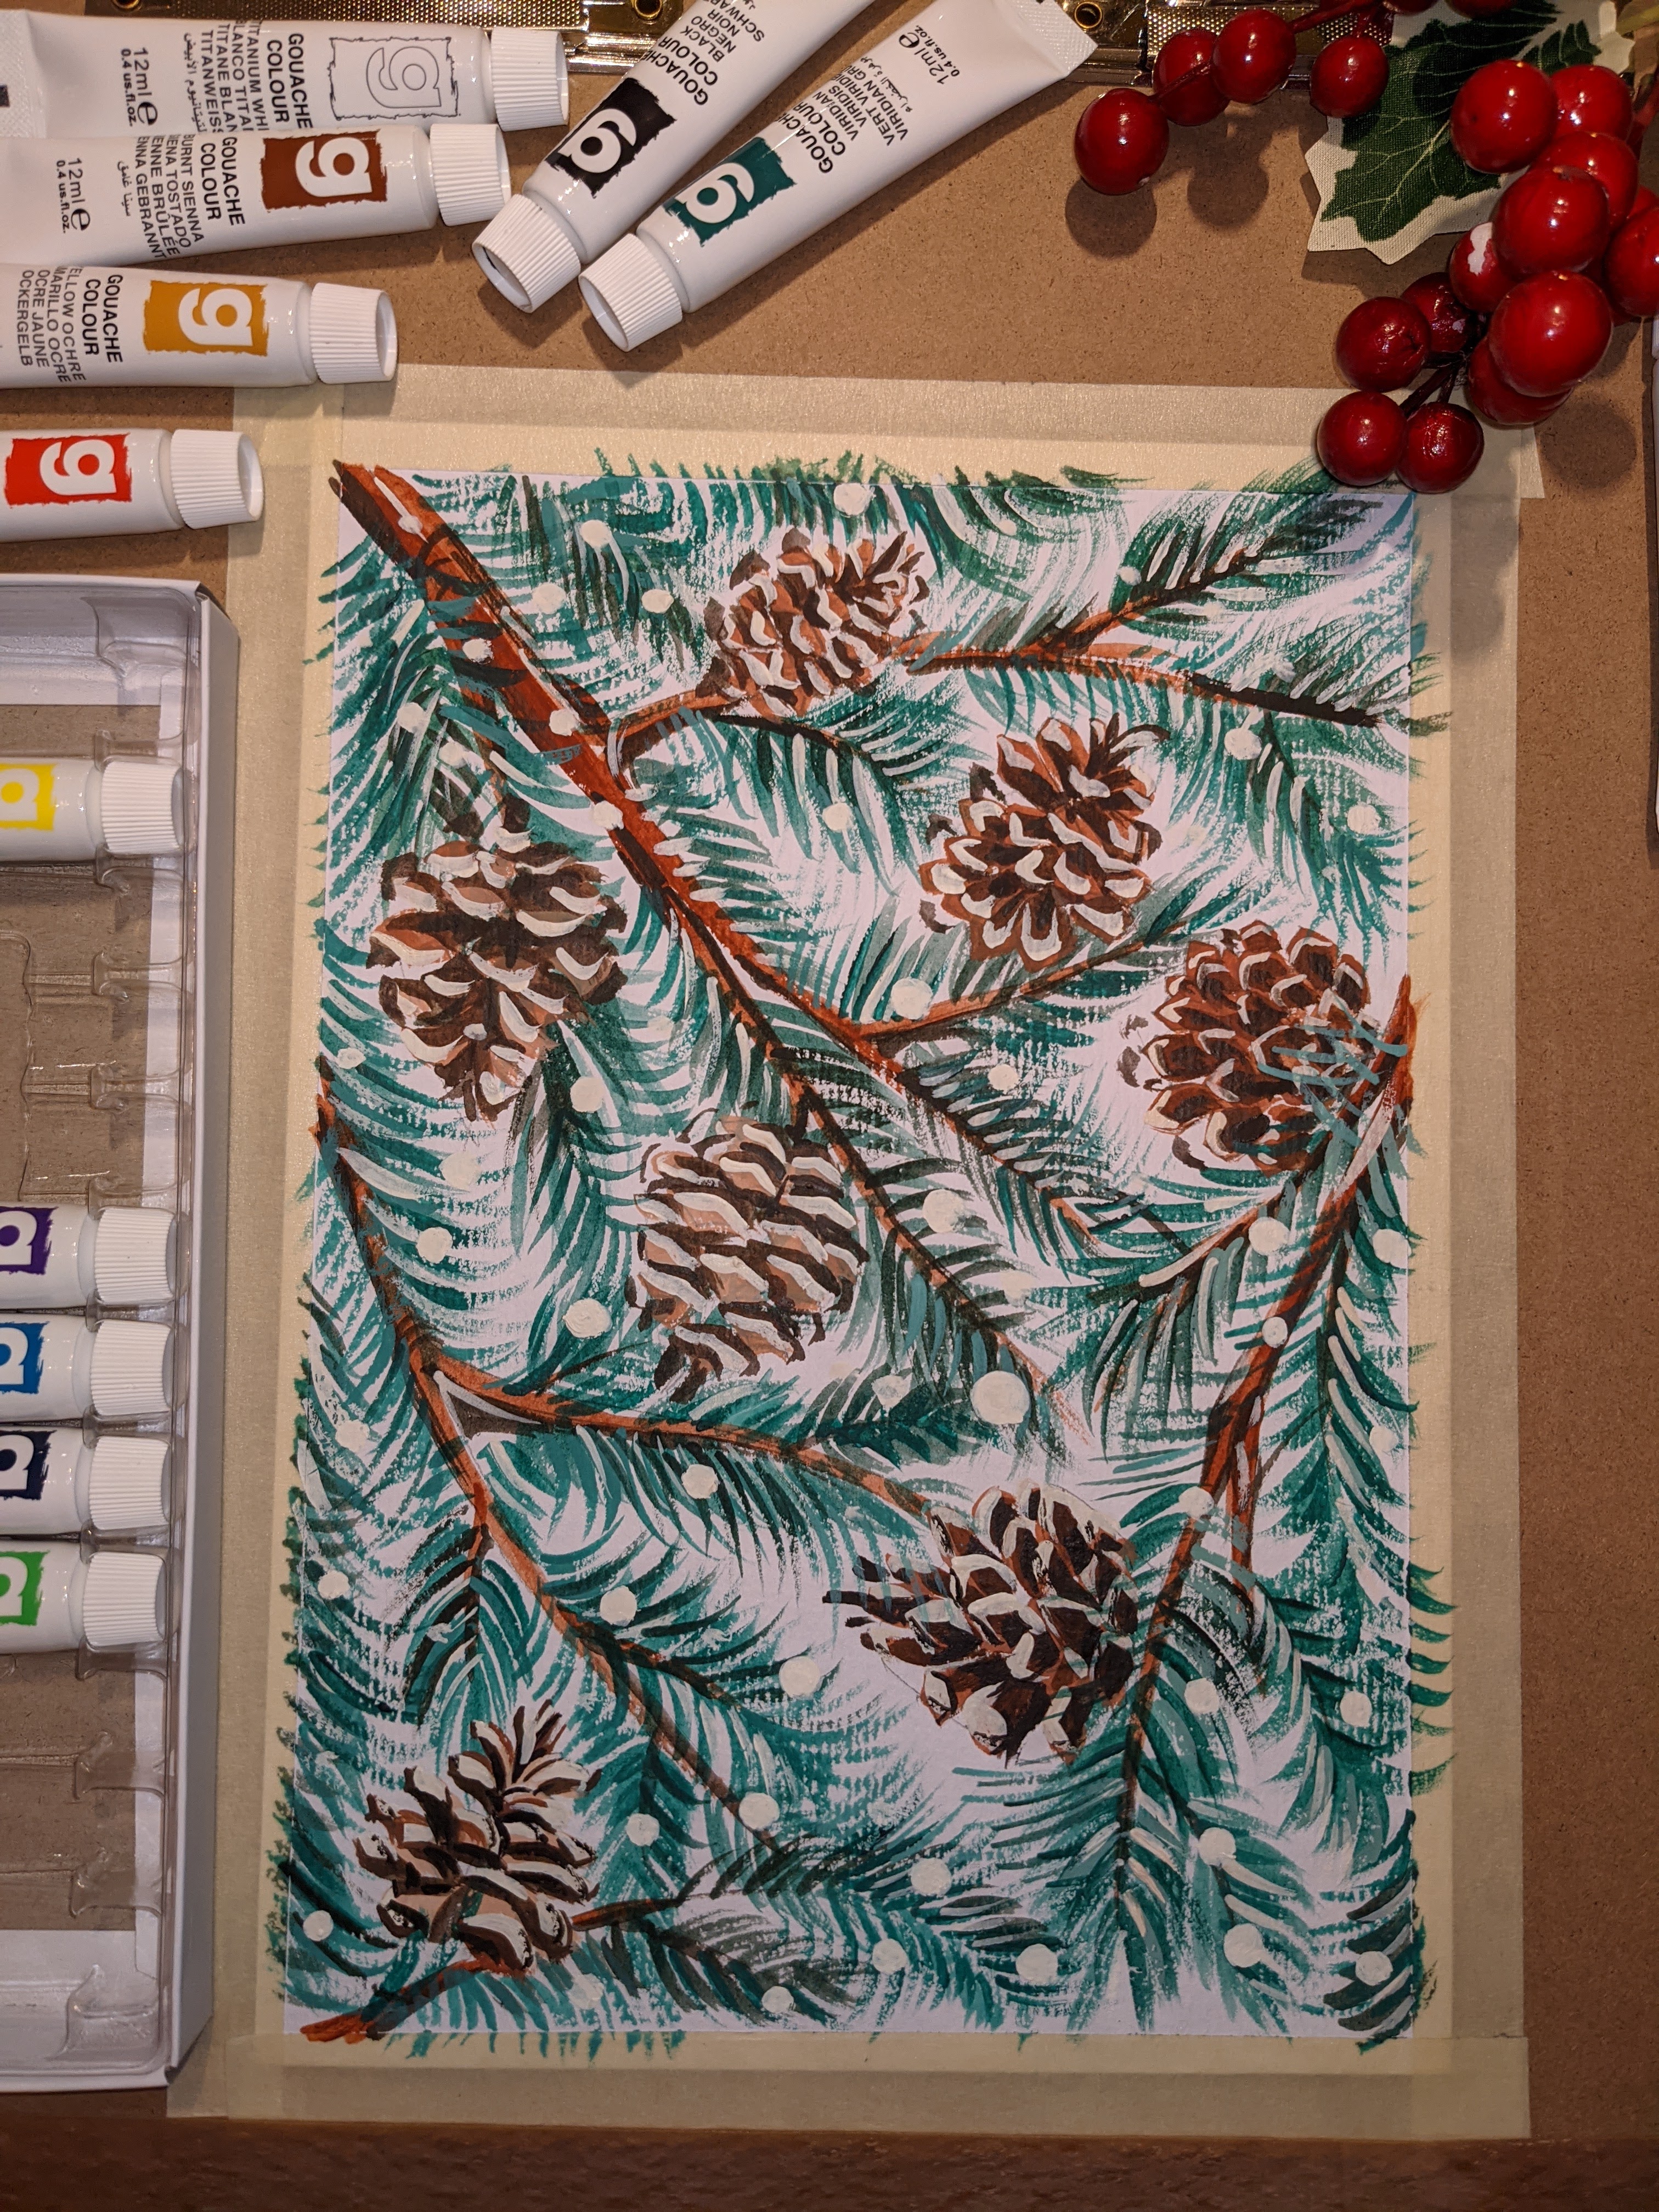
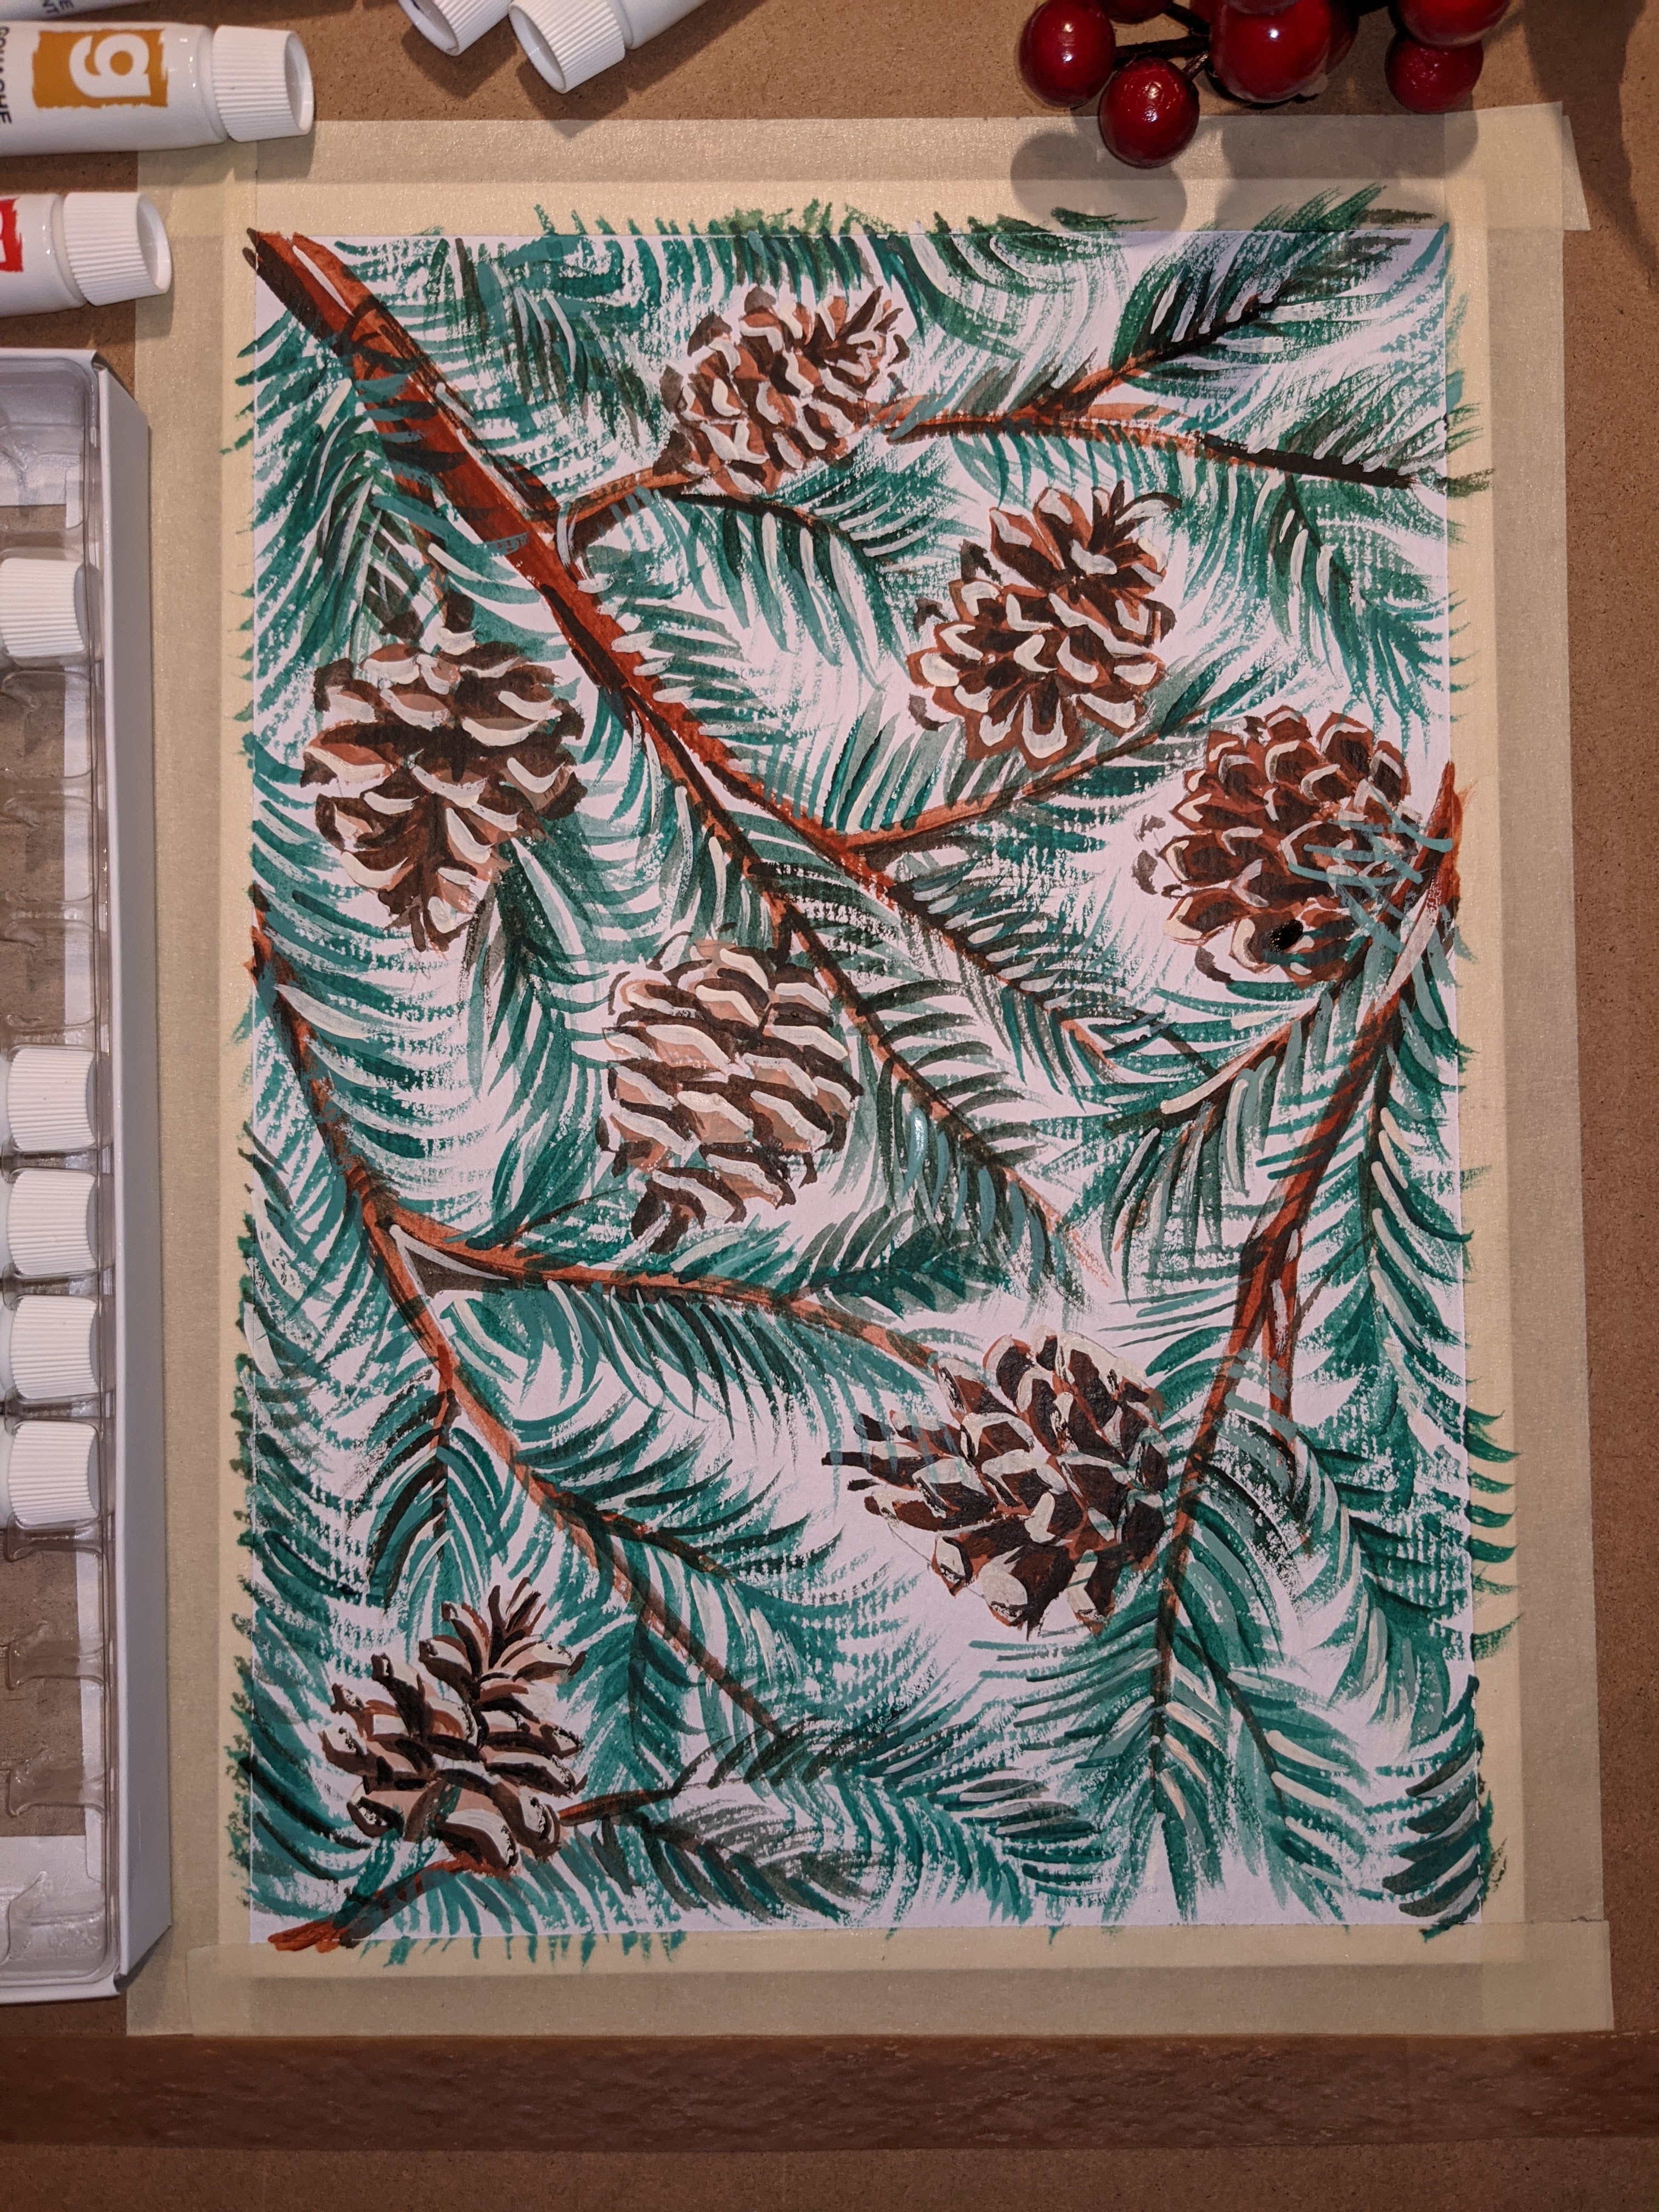
Now it is snowflakes time! I made them just simple circles 
Remove the masking tape around the drawing and all is done!
