


Have you ever considered creating a magnetic wall? Have you designated a wall at home or school where you and kids can paint? Do you feel like your fridge is running out of space to put all of your magnets? Do you need a space in your office where you can put your notes? Try this fast and easy DIY project!
Step 1: Materials and Preparation

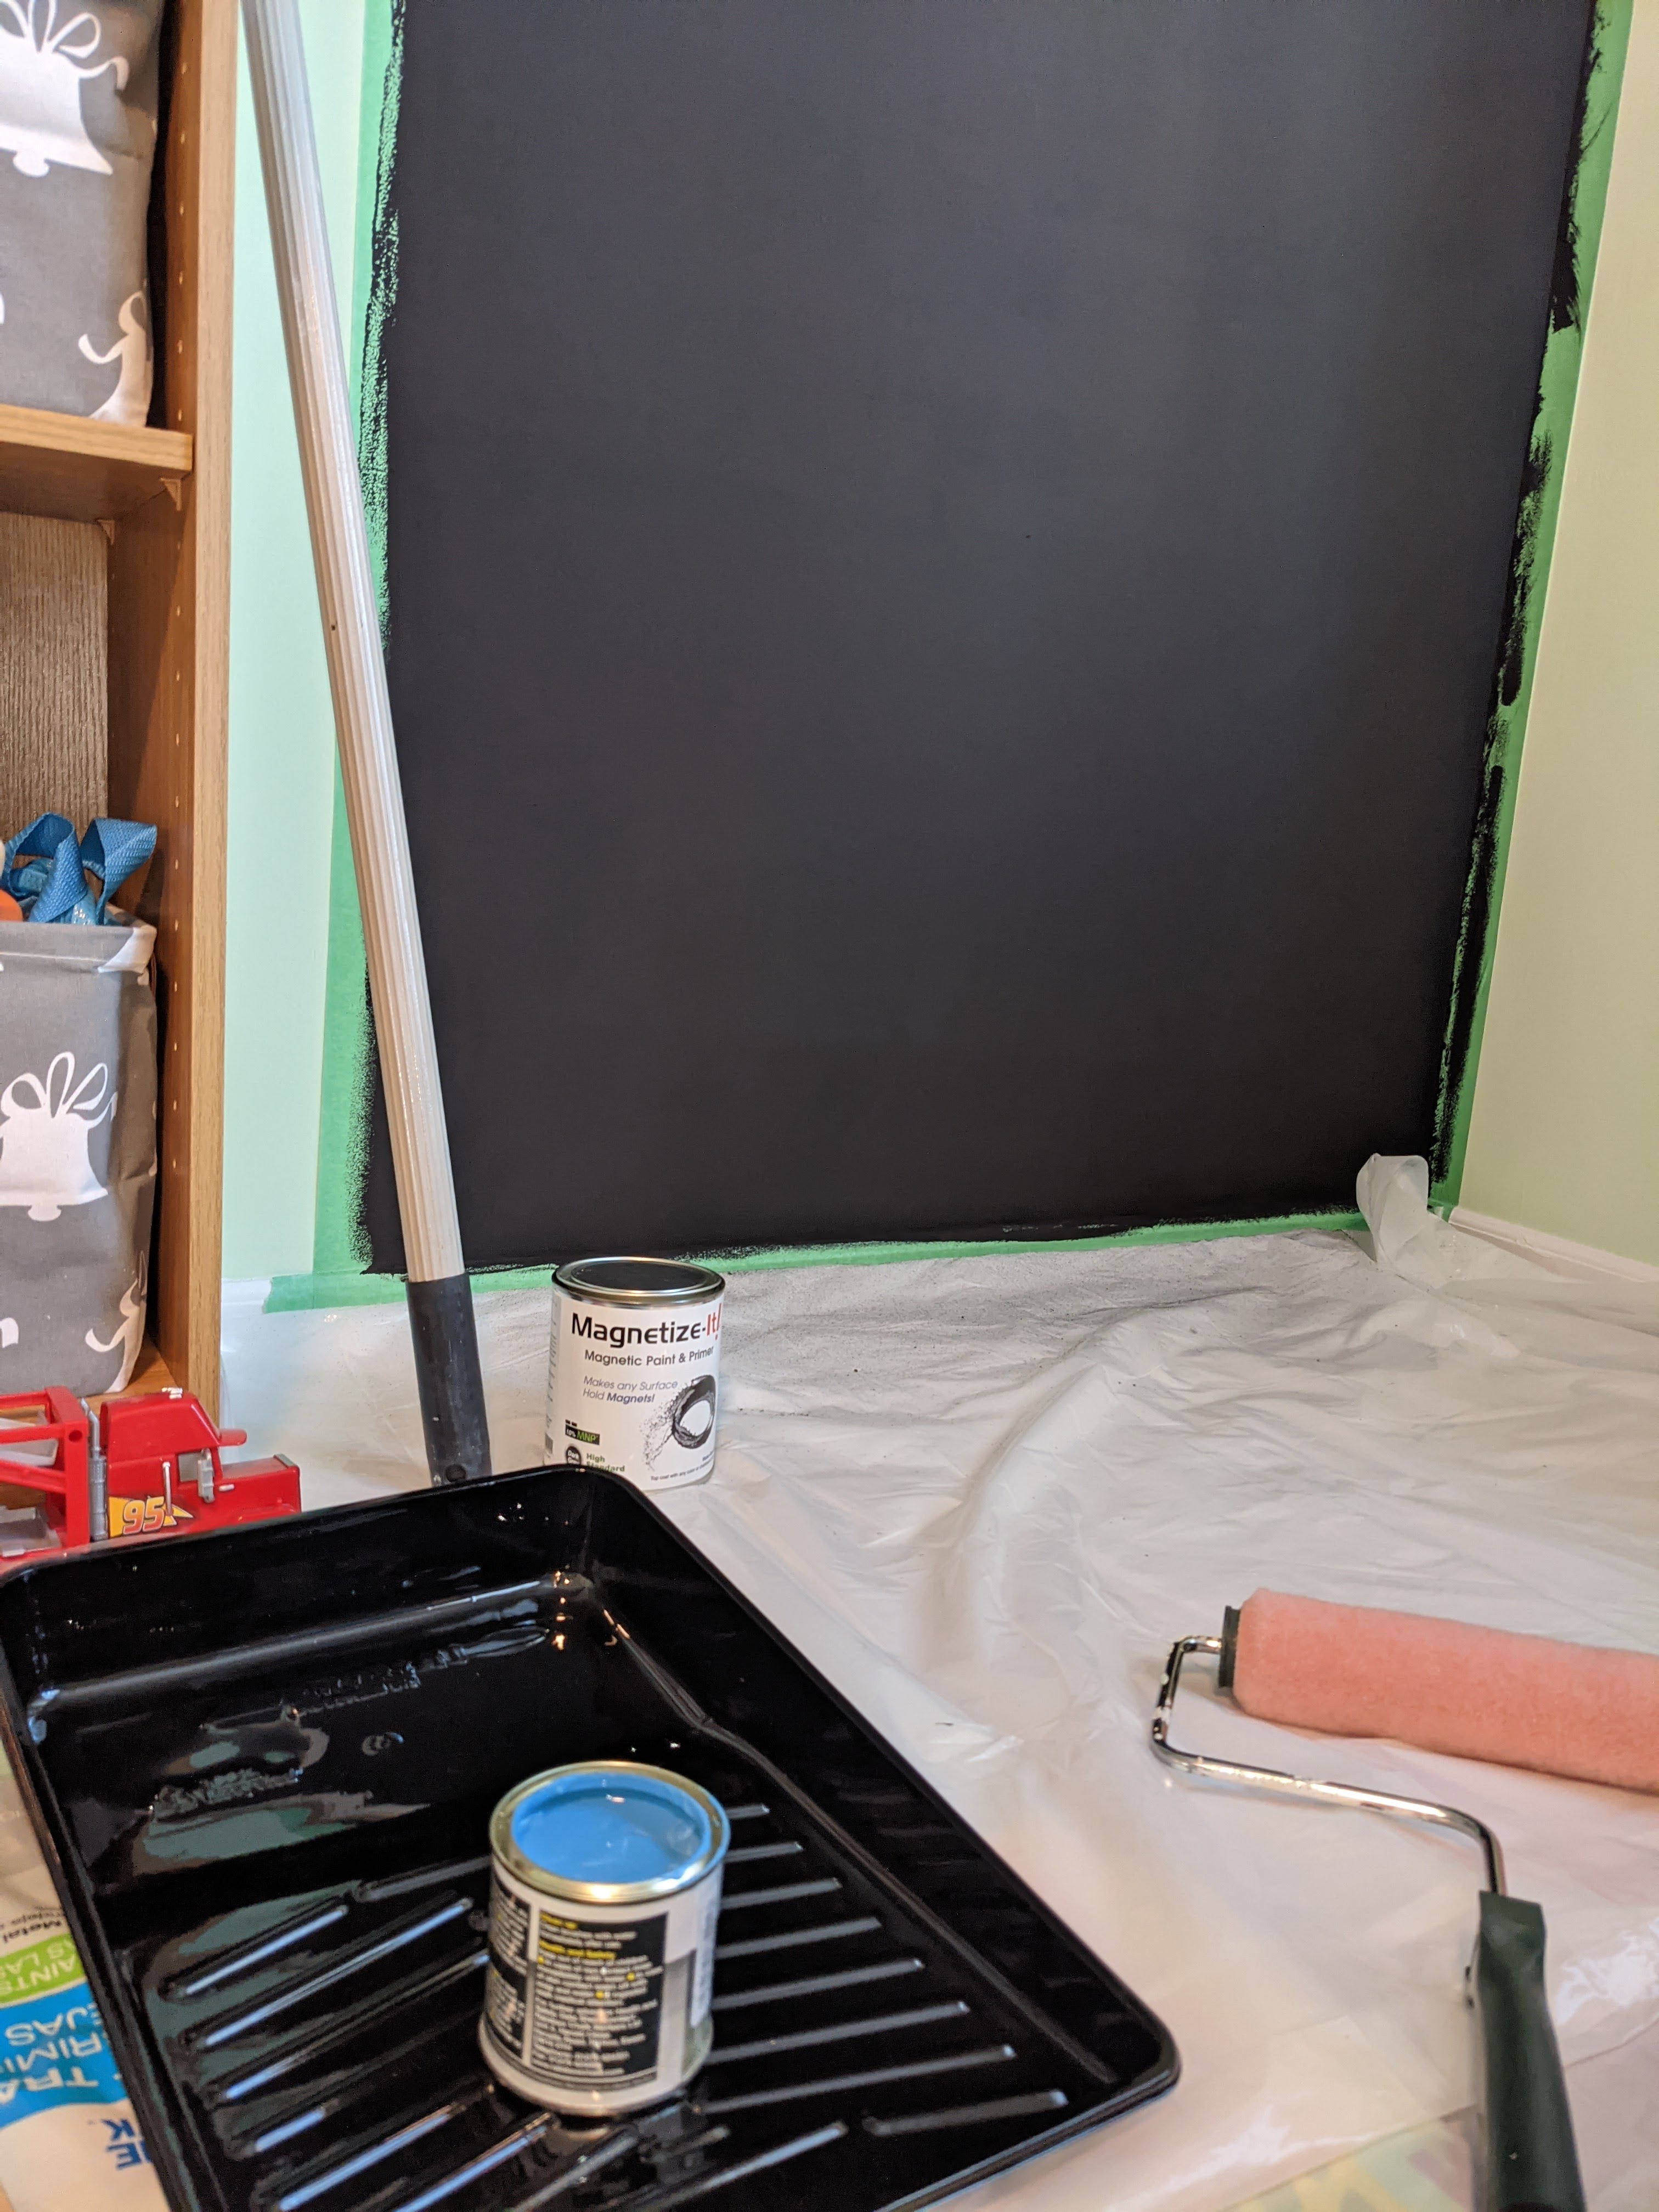
You will need magnetic paint as base coat and chalkboard paint as top coat. You can calculate the amount you need based on the area of paint coverage. We have used 64 oz of Magnetize-It! magnetic paint and 25 oz of blue chalkboard paint. Chalkboard paint and markers are available in multiple colors. You can also skip magnetic paint if you are not interested in magnetic wall or skip the chalkboard paint and paint with regular wall paint if you want to use it as a magnetic wall only. Keep in mind that magnetic paint paints black so you will need several coats of regular paint to cover.


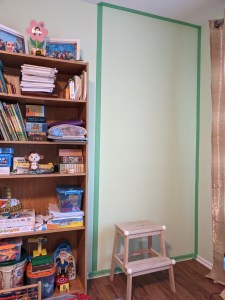
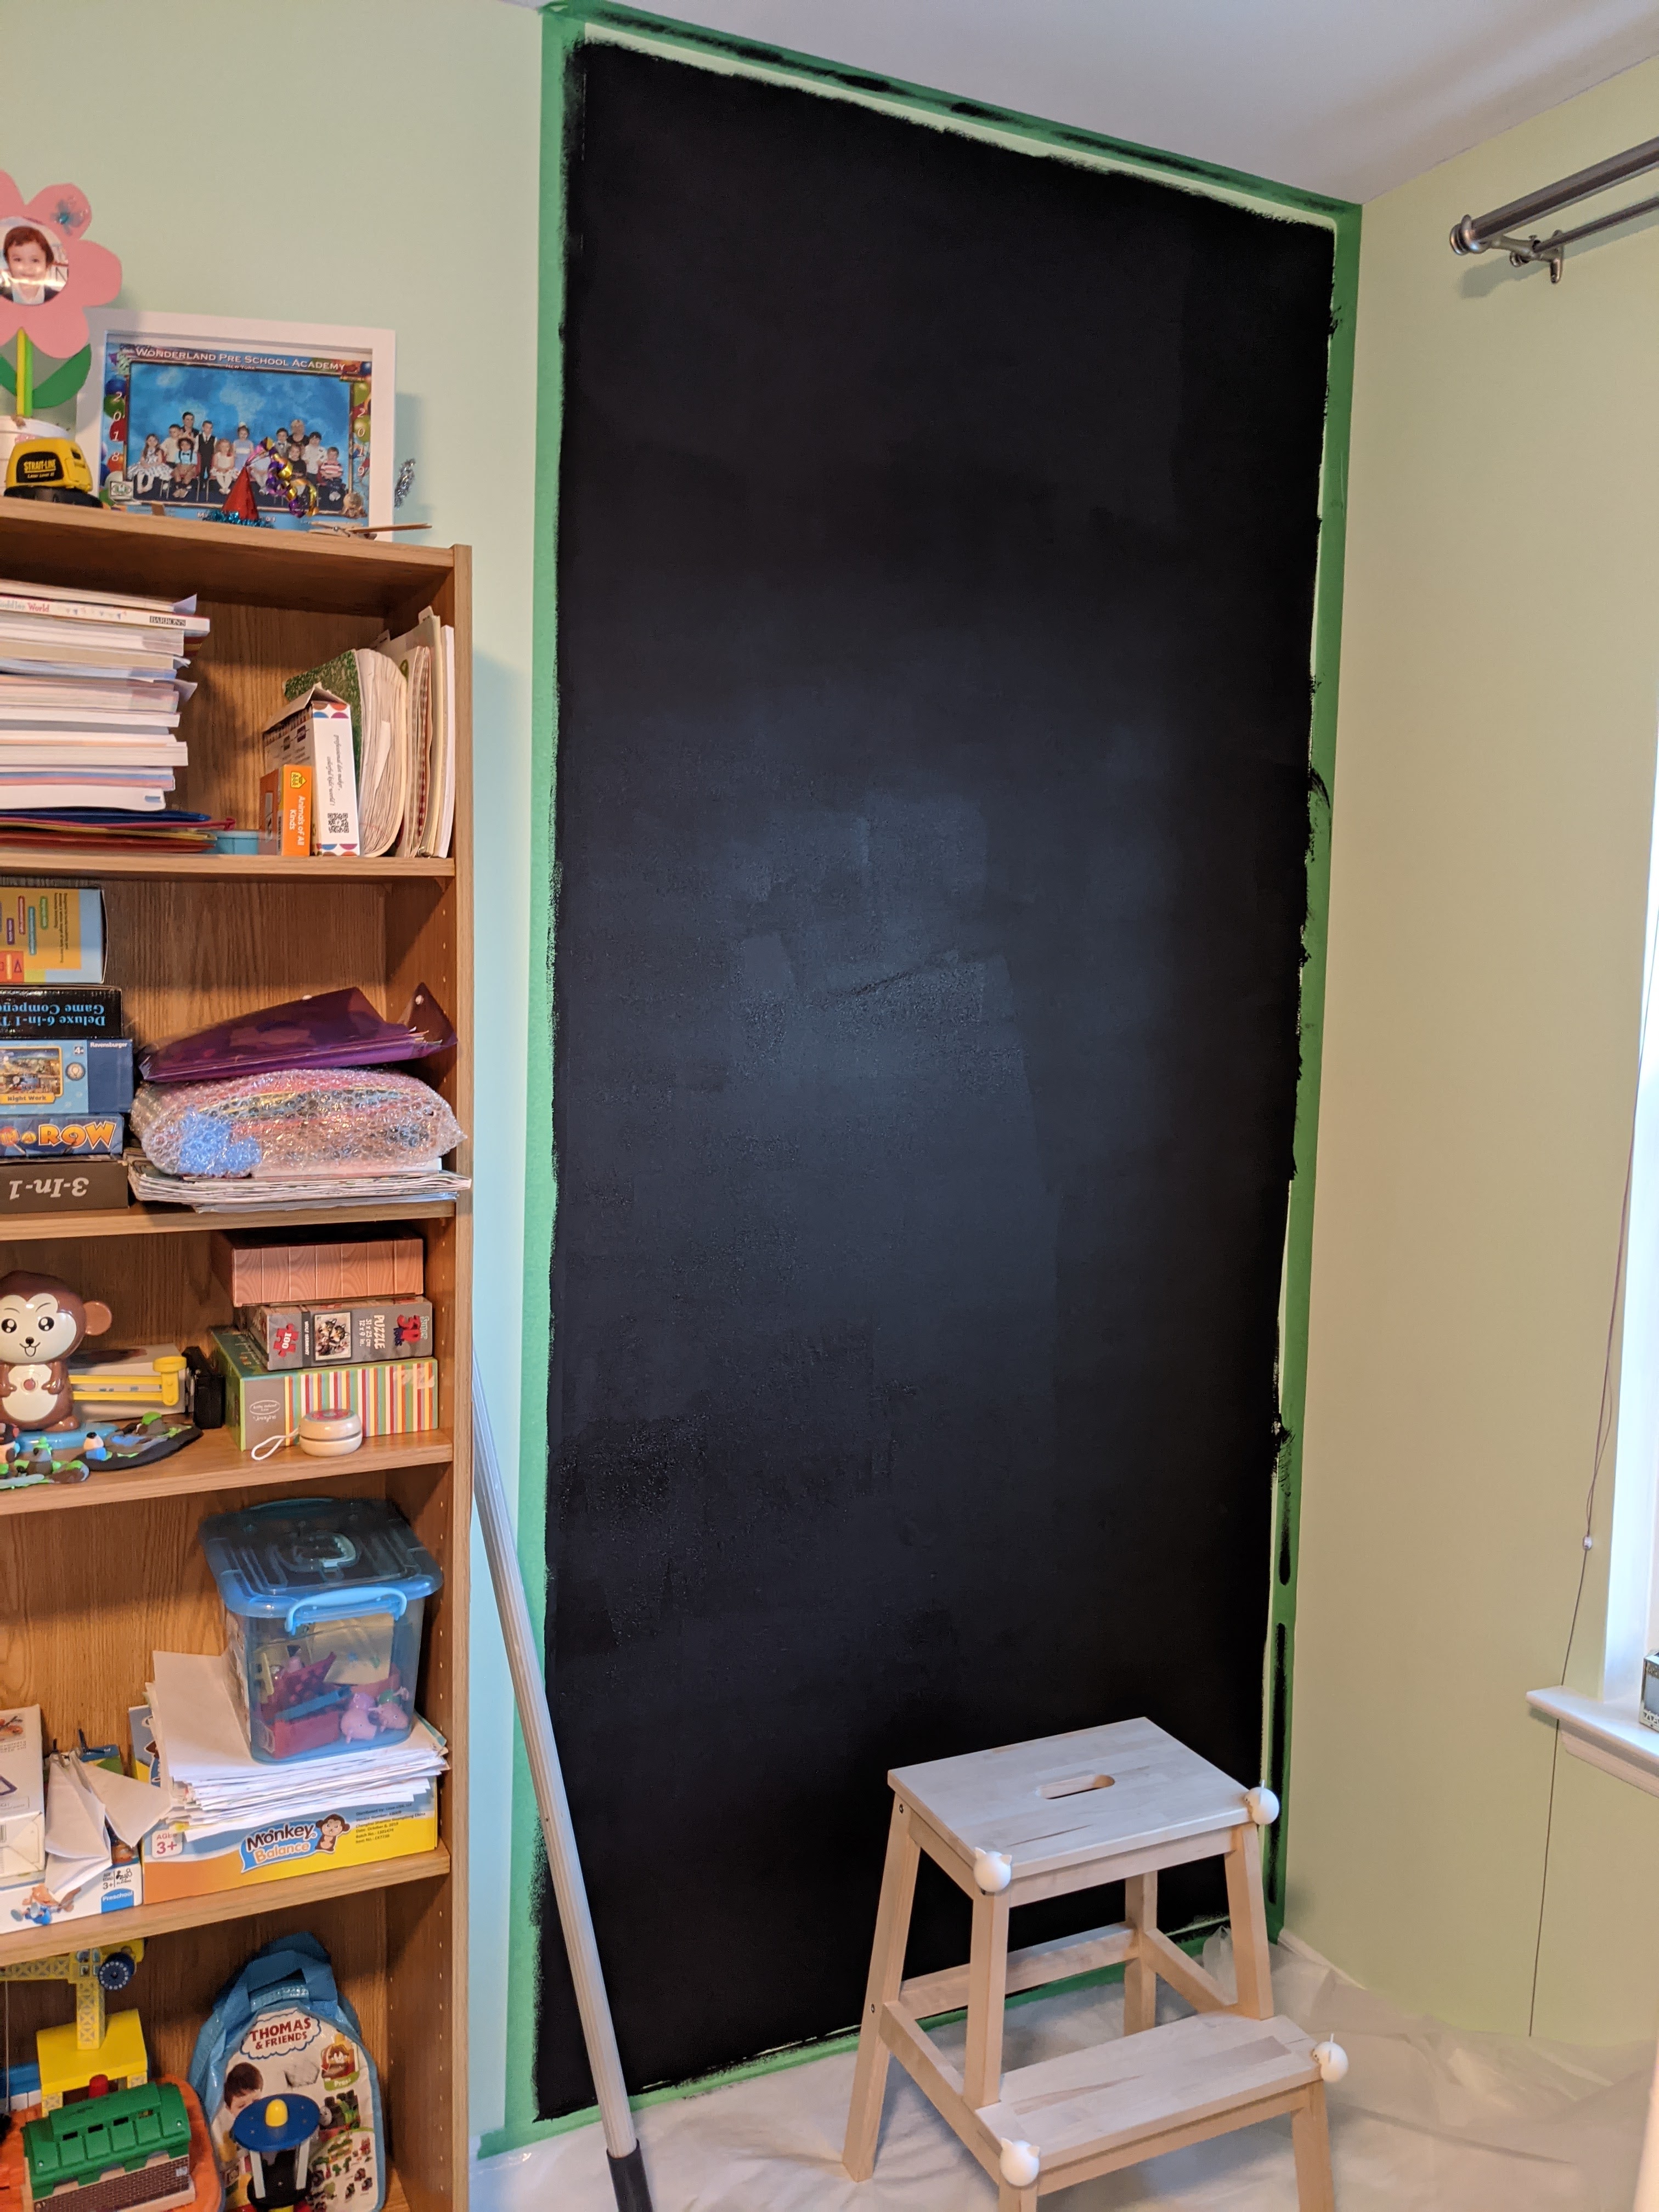
Once you have all materials ready, decide about the size of the painted area and tape around it with regular painters/masking tape.
Step 2: Painting
Some magnetic paint cans need to be mixed thoroughly to make sure that magnetic particles are distributed evenly. Paint itself is thicker than a regular wall paint. You will need to apply several coats of magnetic paint “Magnetize-it!”. Minimum 3 coats and preferably more. We did 5 coats, some people are doing up to 6 – some magnets are pretty heavy and the stronger the magnetic layers are, the better.
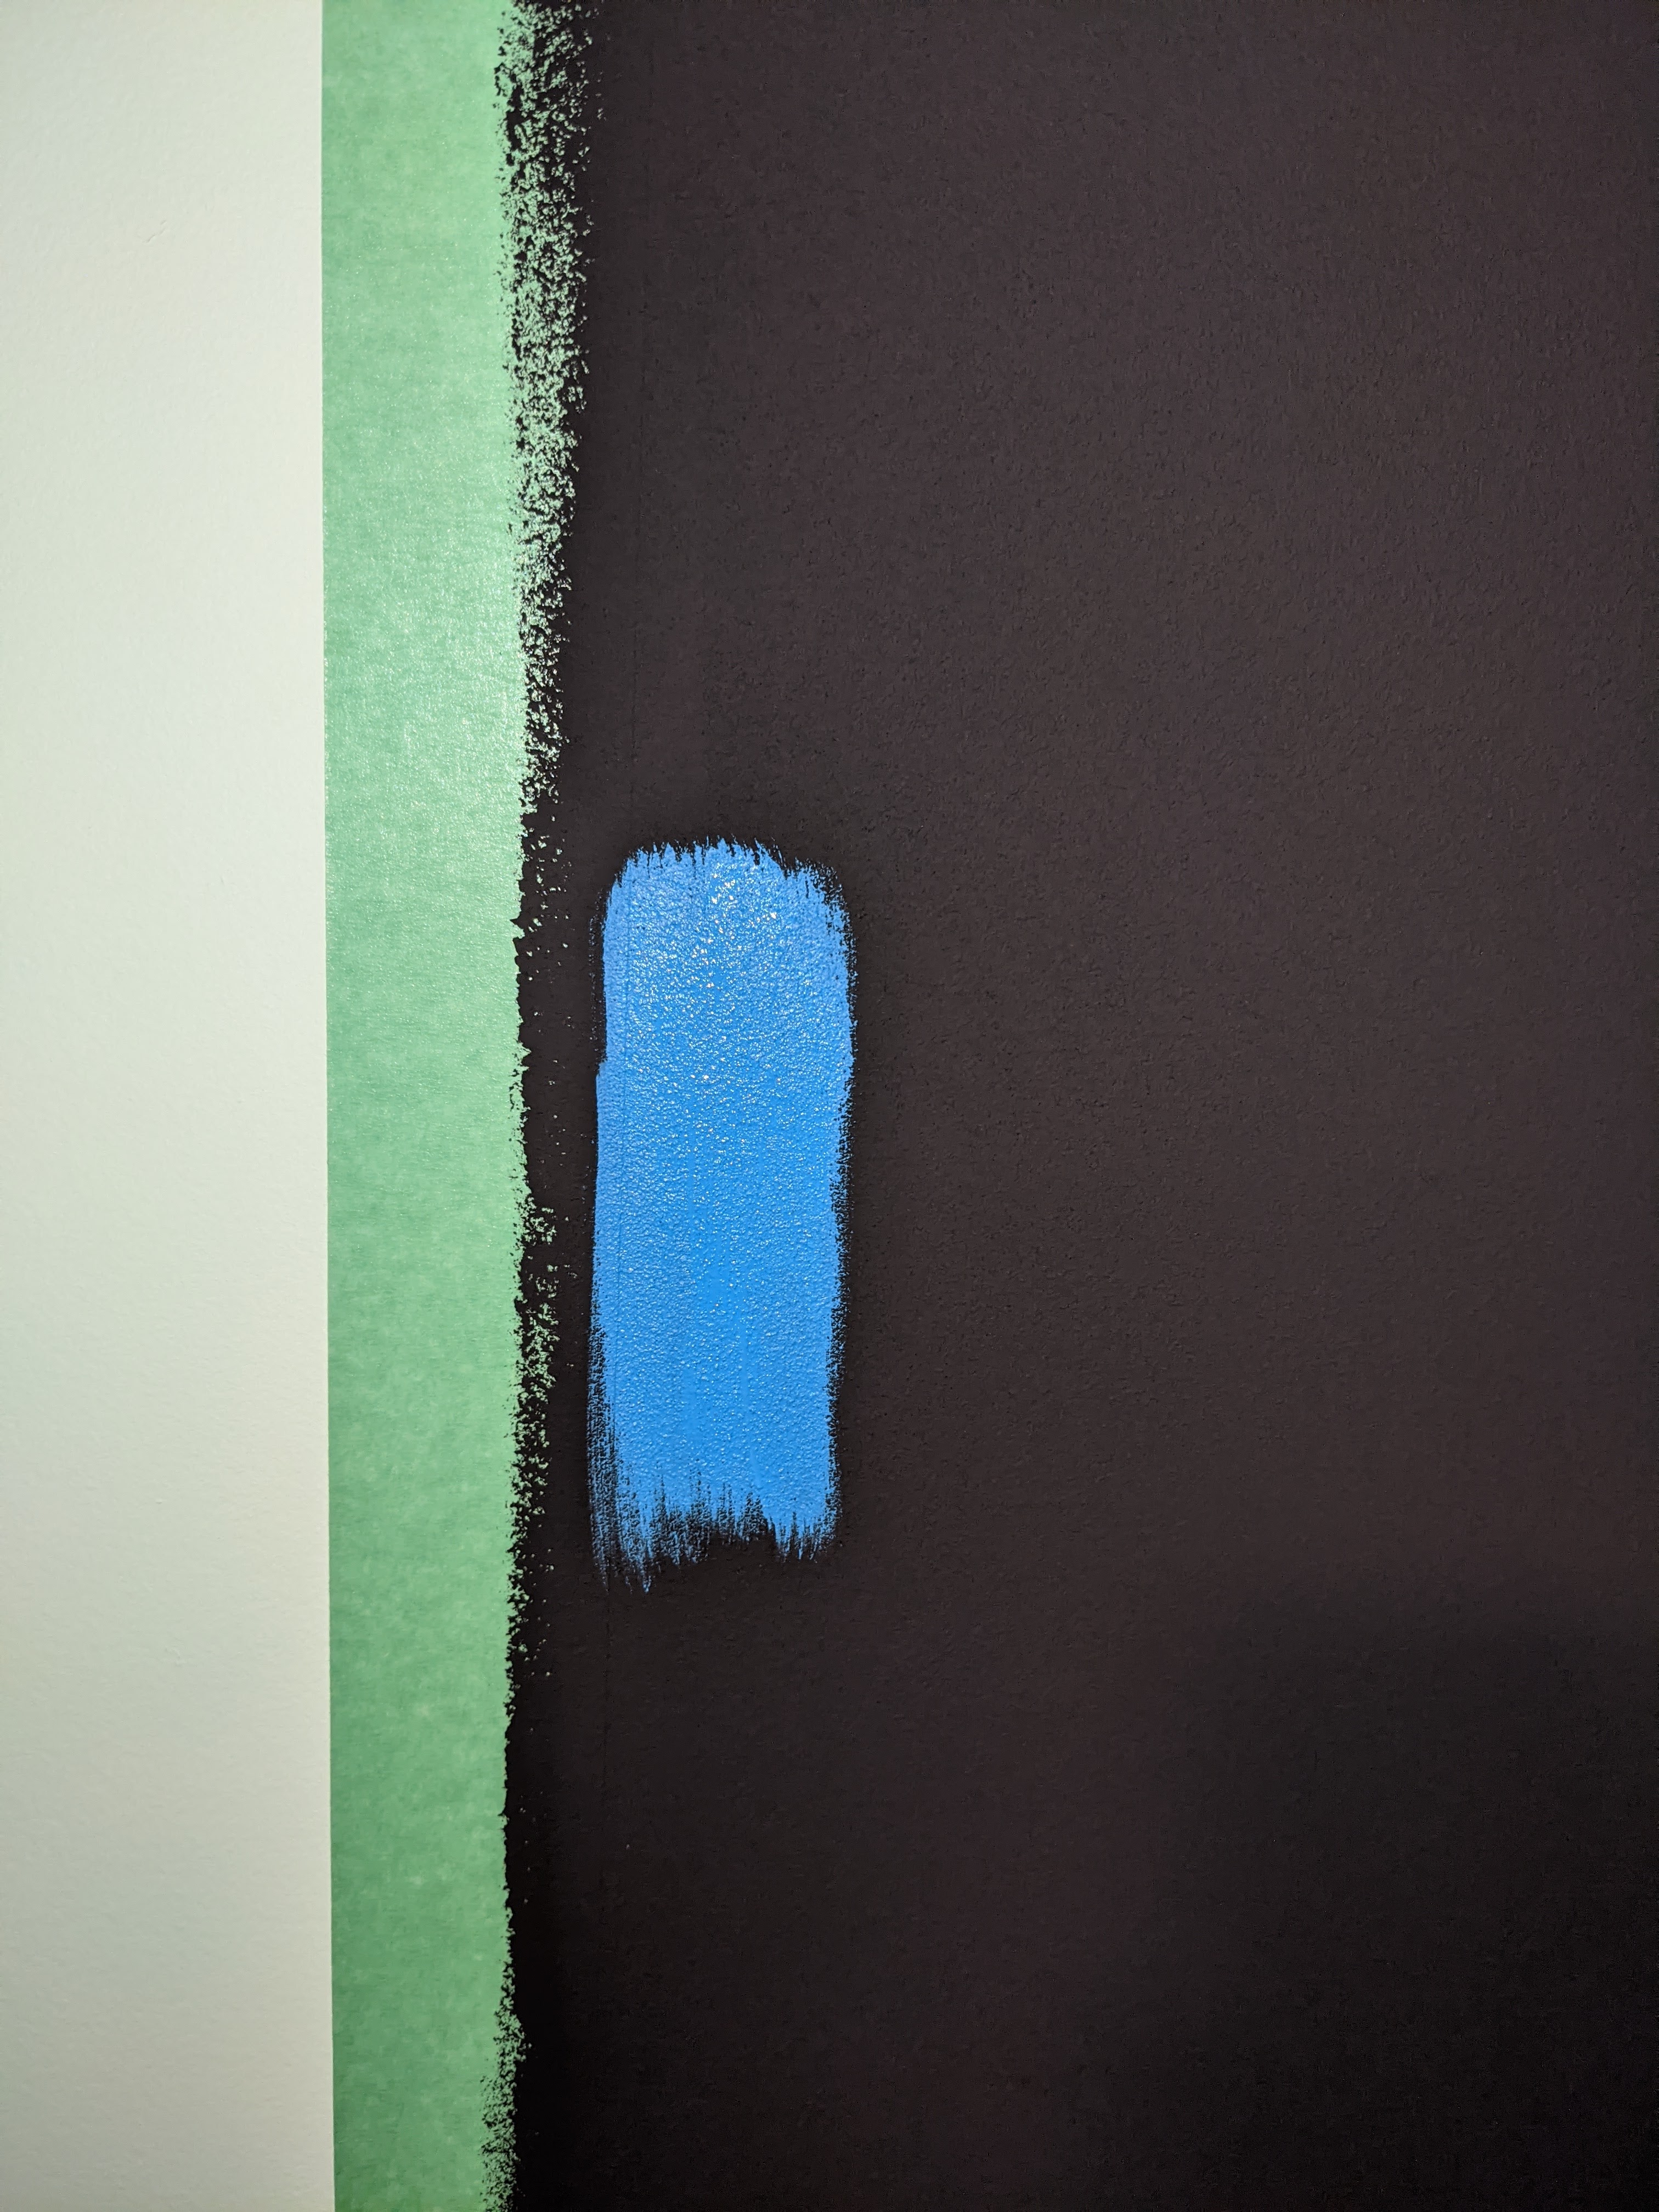
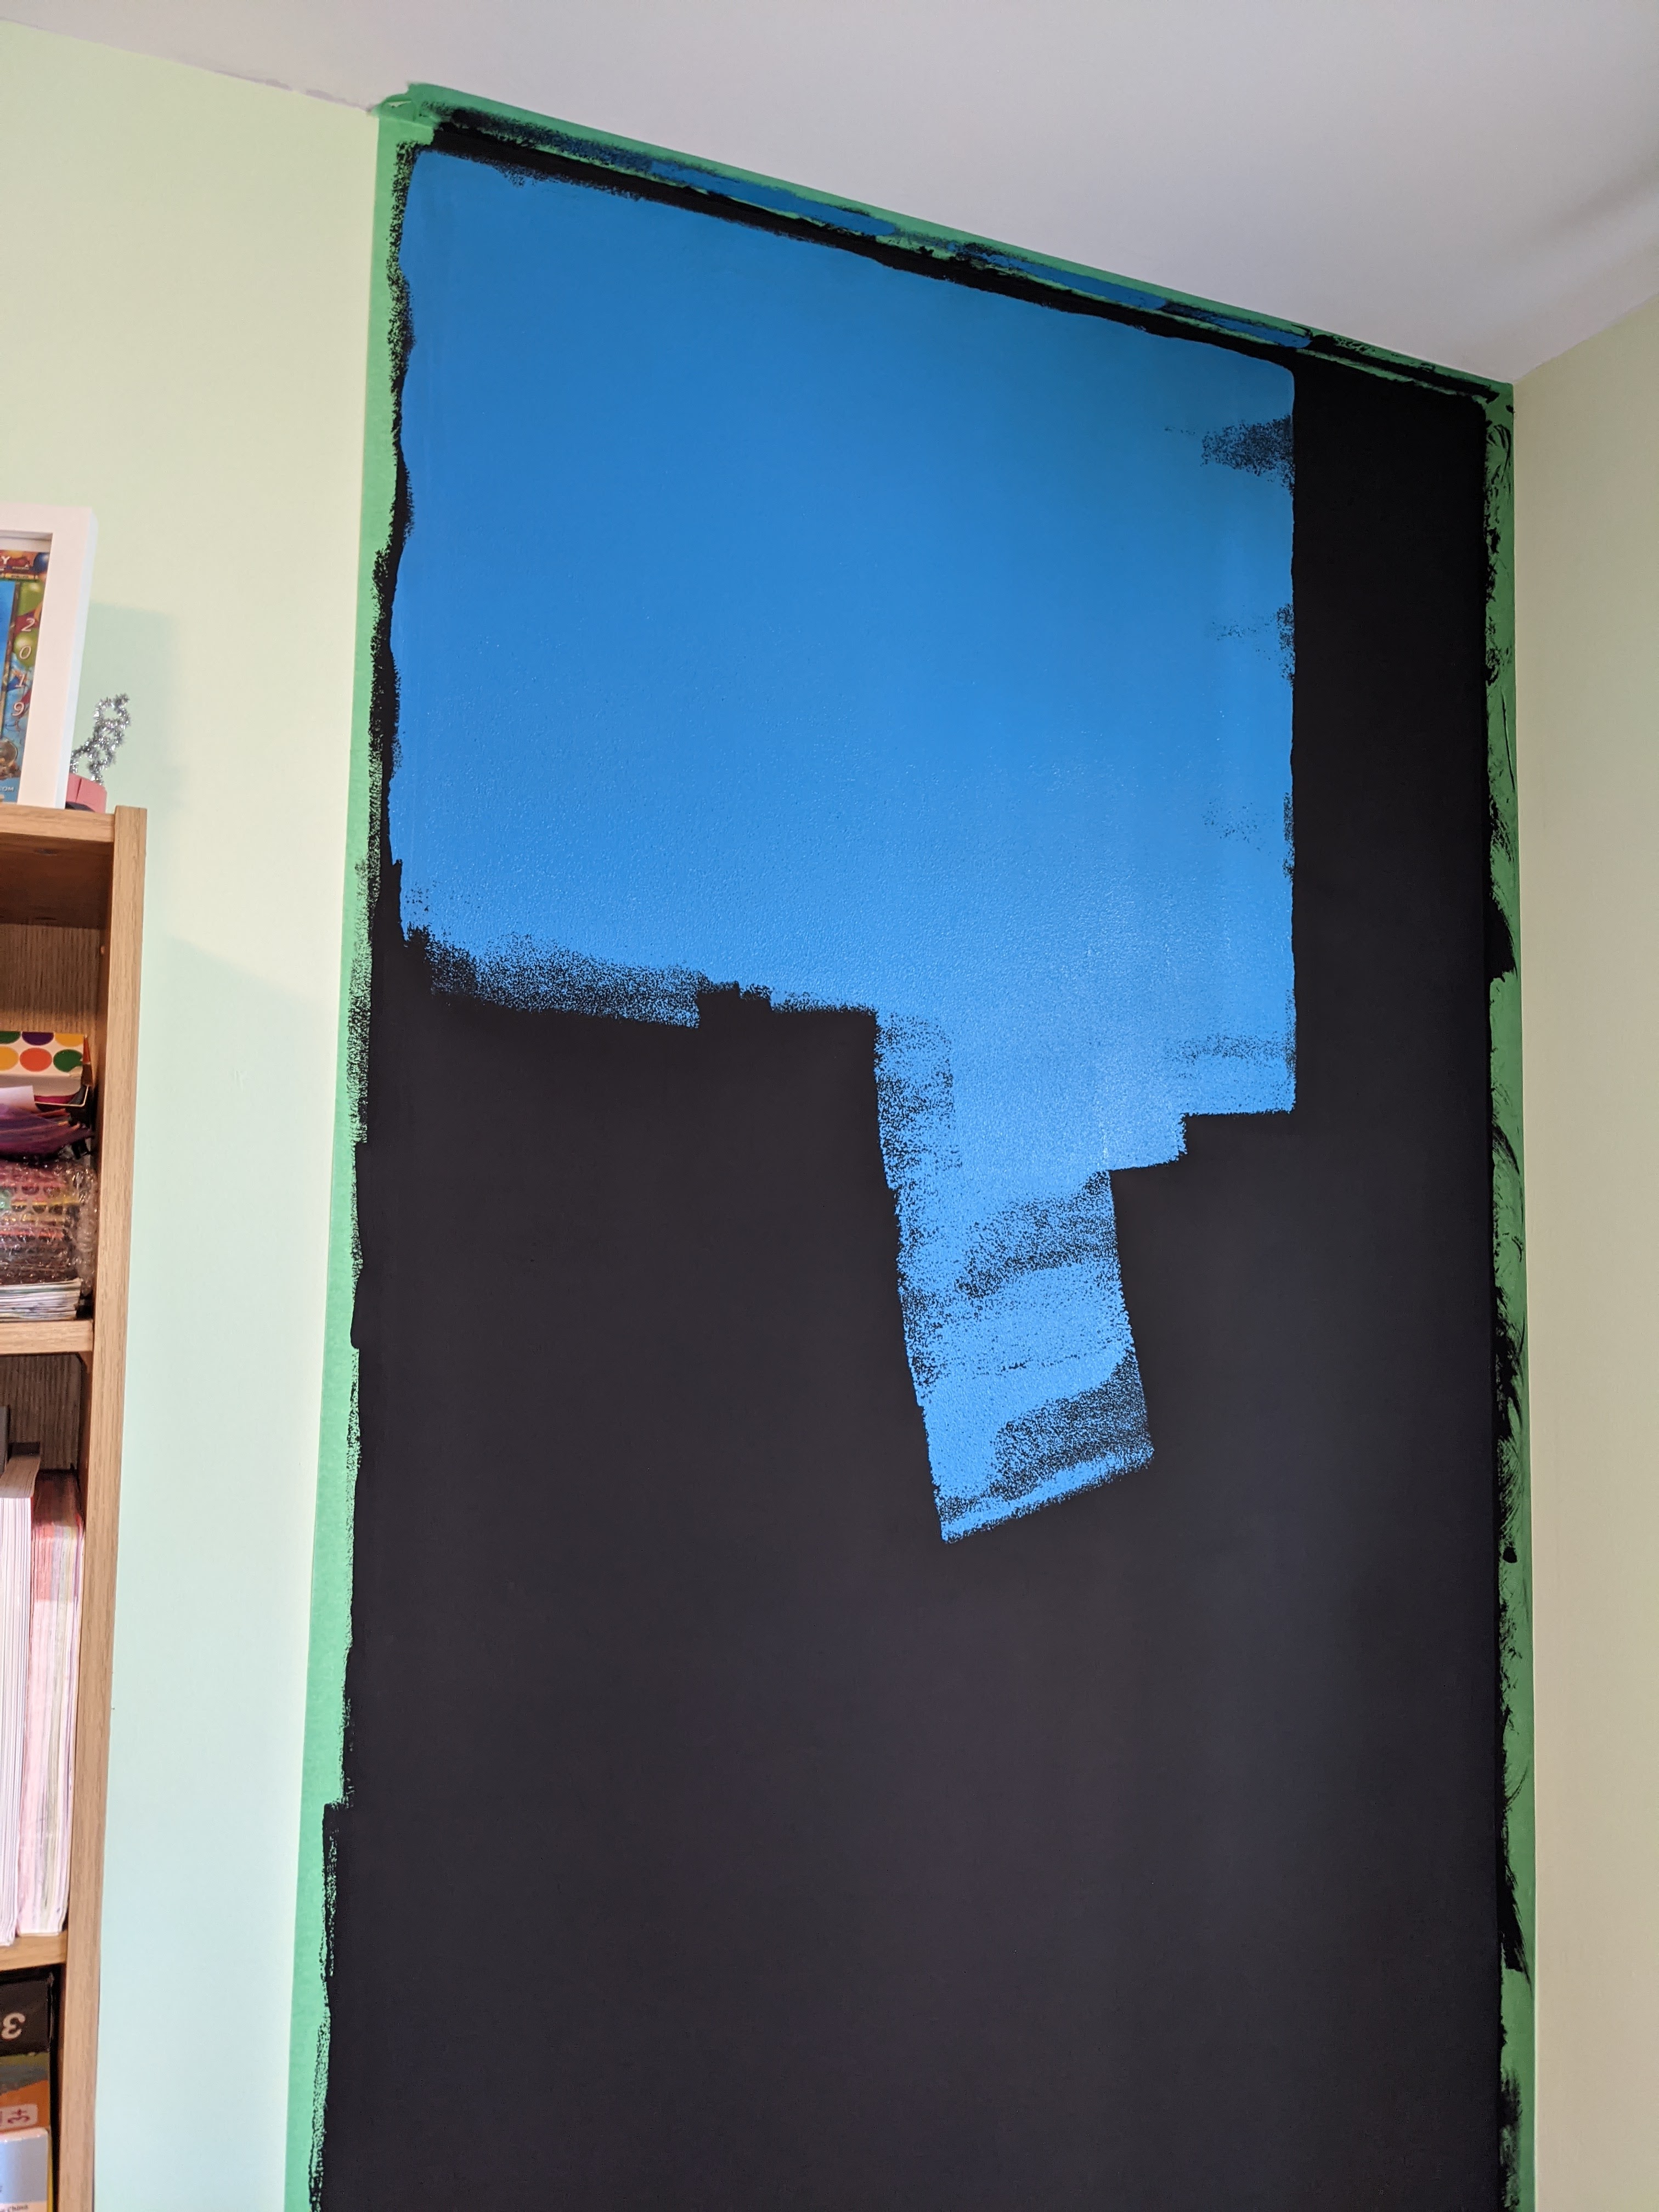
Instructions suggest to wait an hour between coats but we waited just enough to let paint get dry to the touch – about 20-30 minutes. Once it all dries up (do 12 hour break for better results), you can apply the chalkboard paint. Again, we did 3 coats, as our area is pretty large and had to be even. If you have much smaller area, you can do even 1 layer – the chalk markers will draw perfectly in this case too (I tried 🙂 ).
Step 3: Drawing
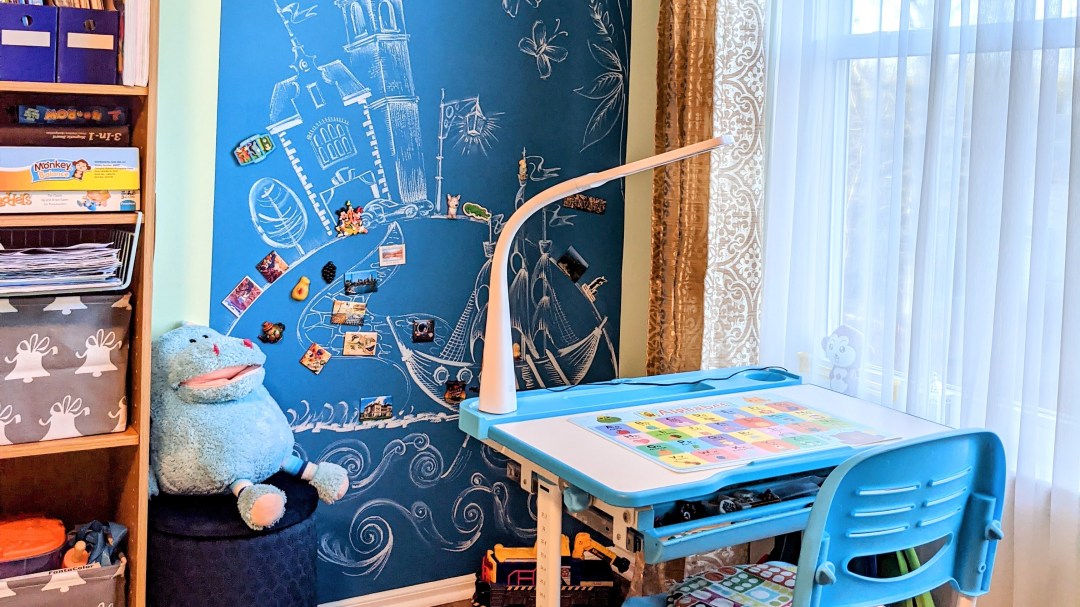
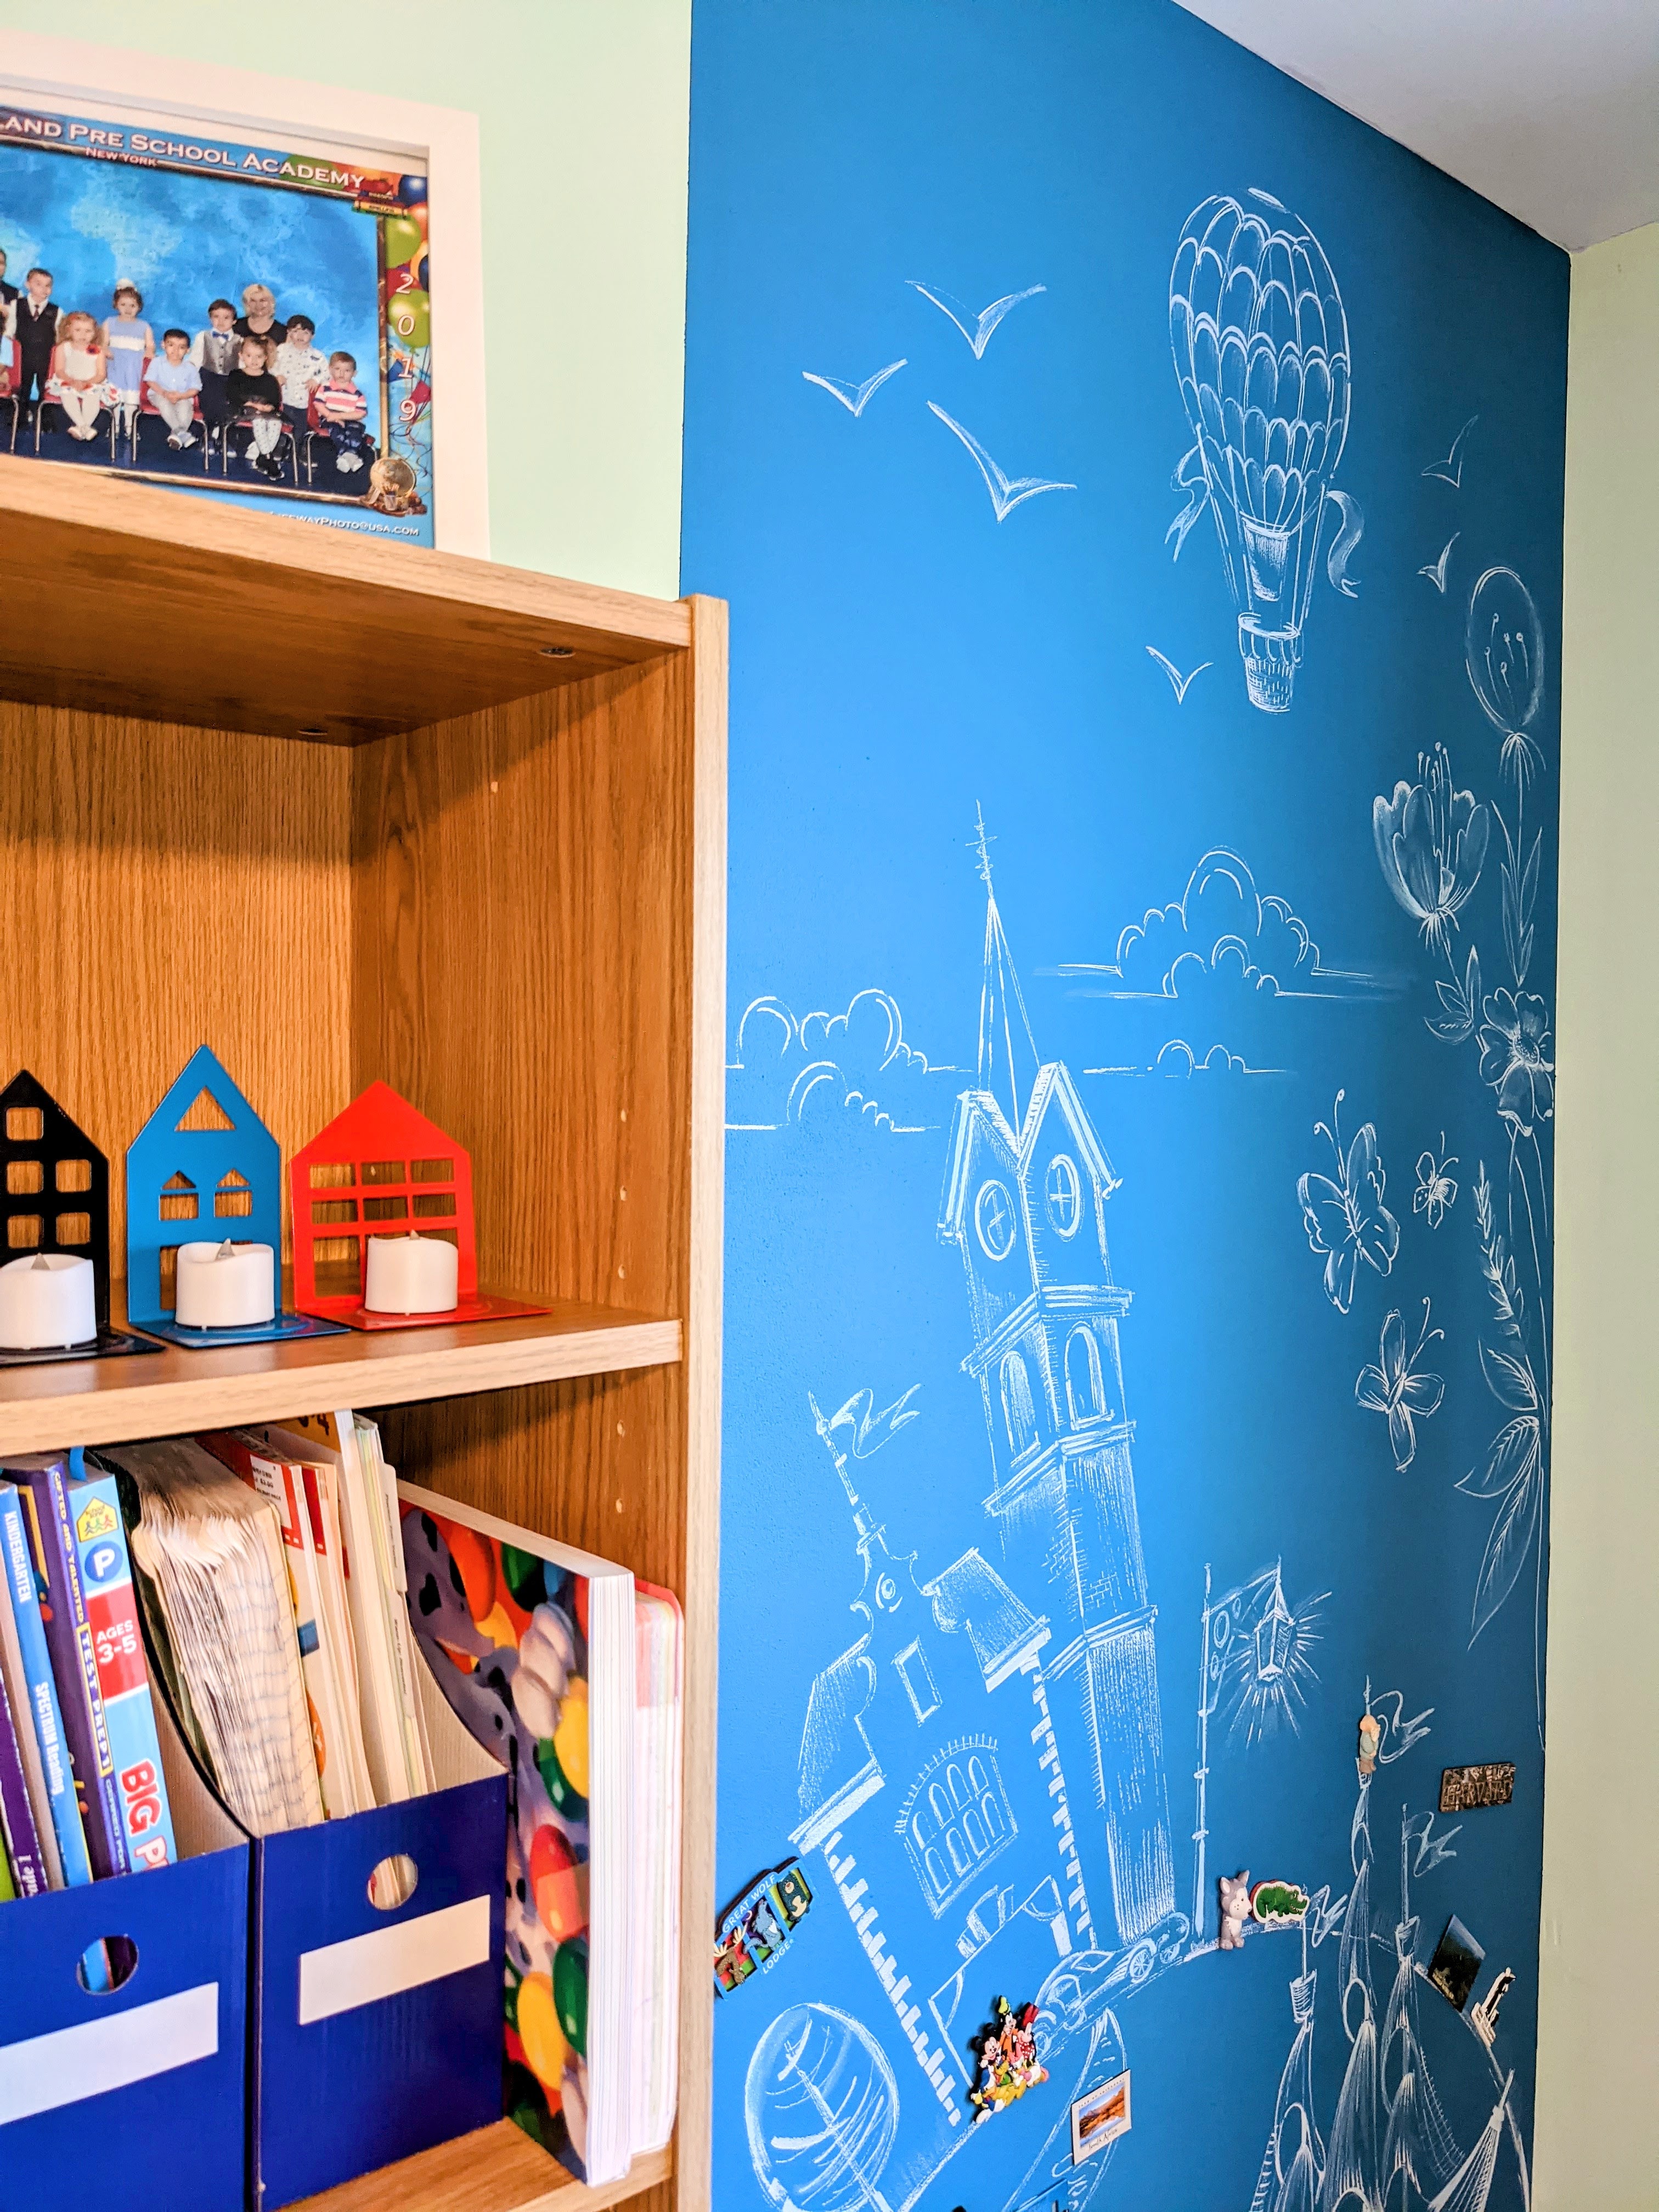
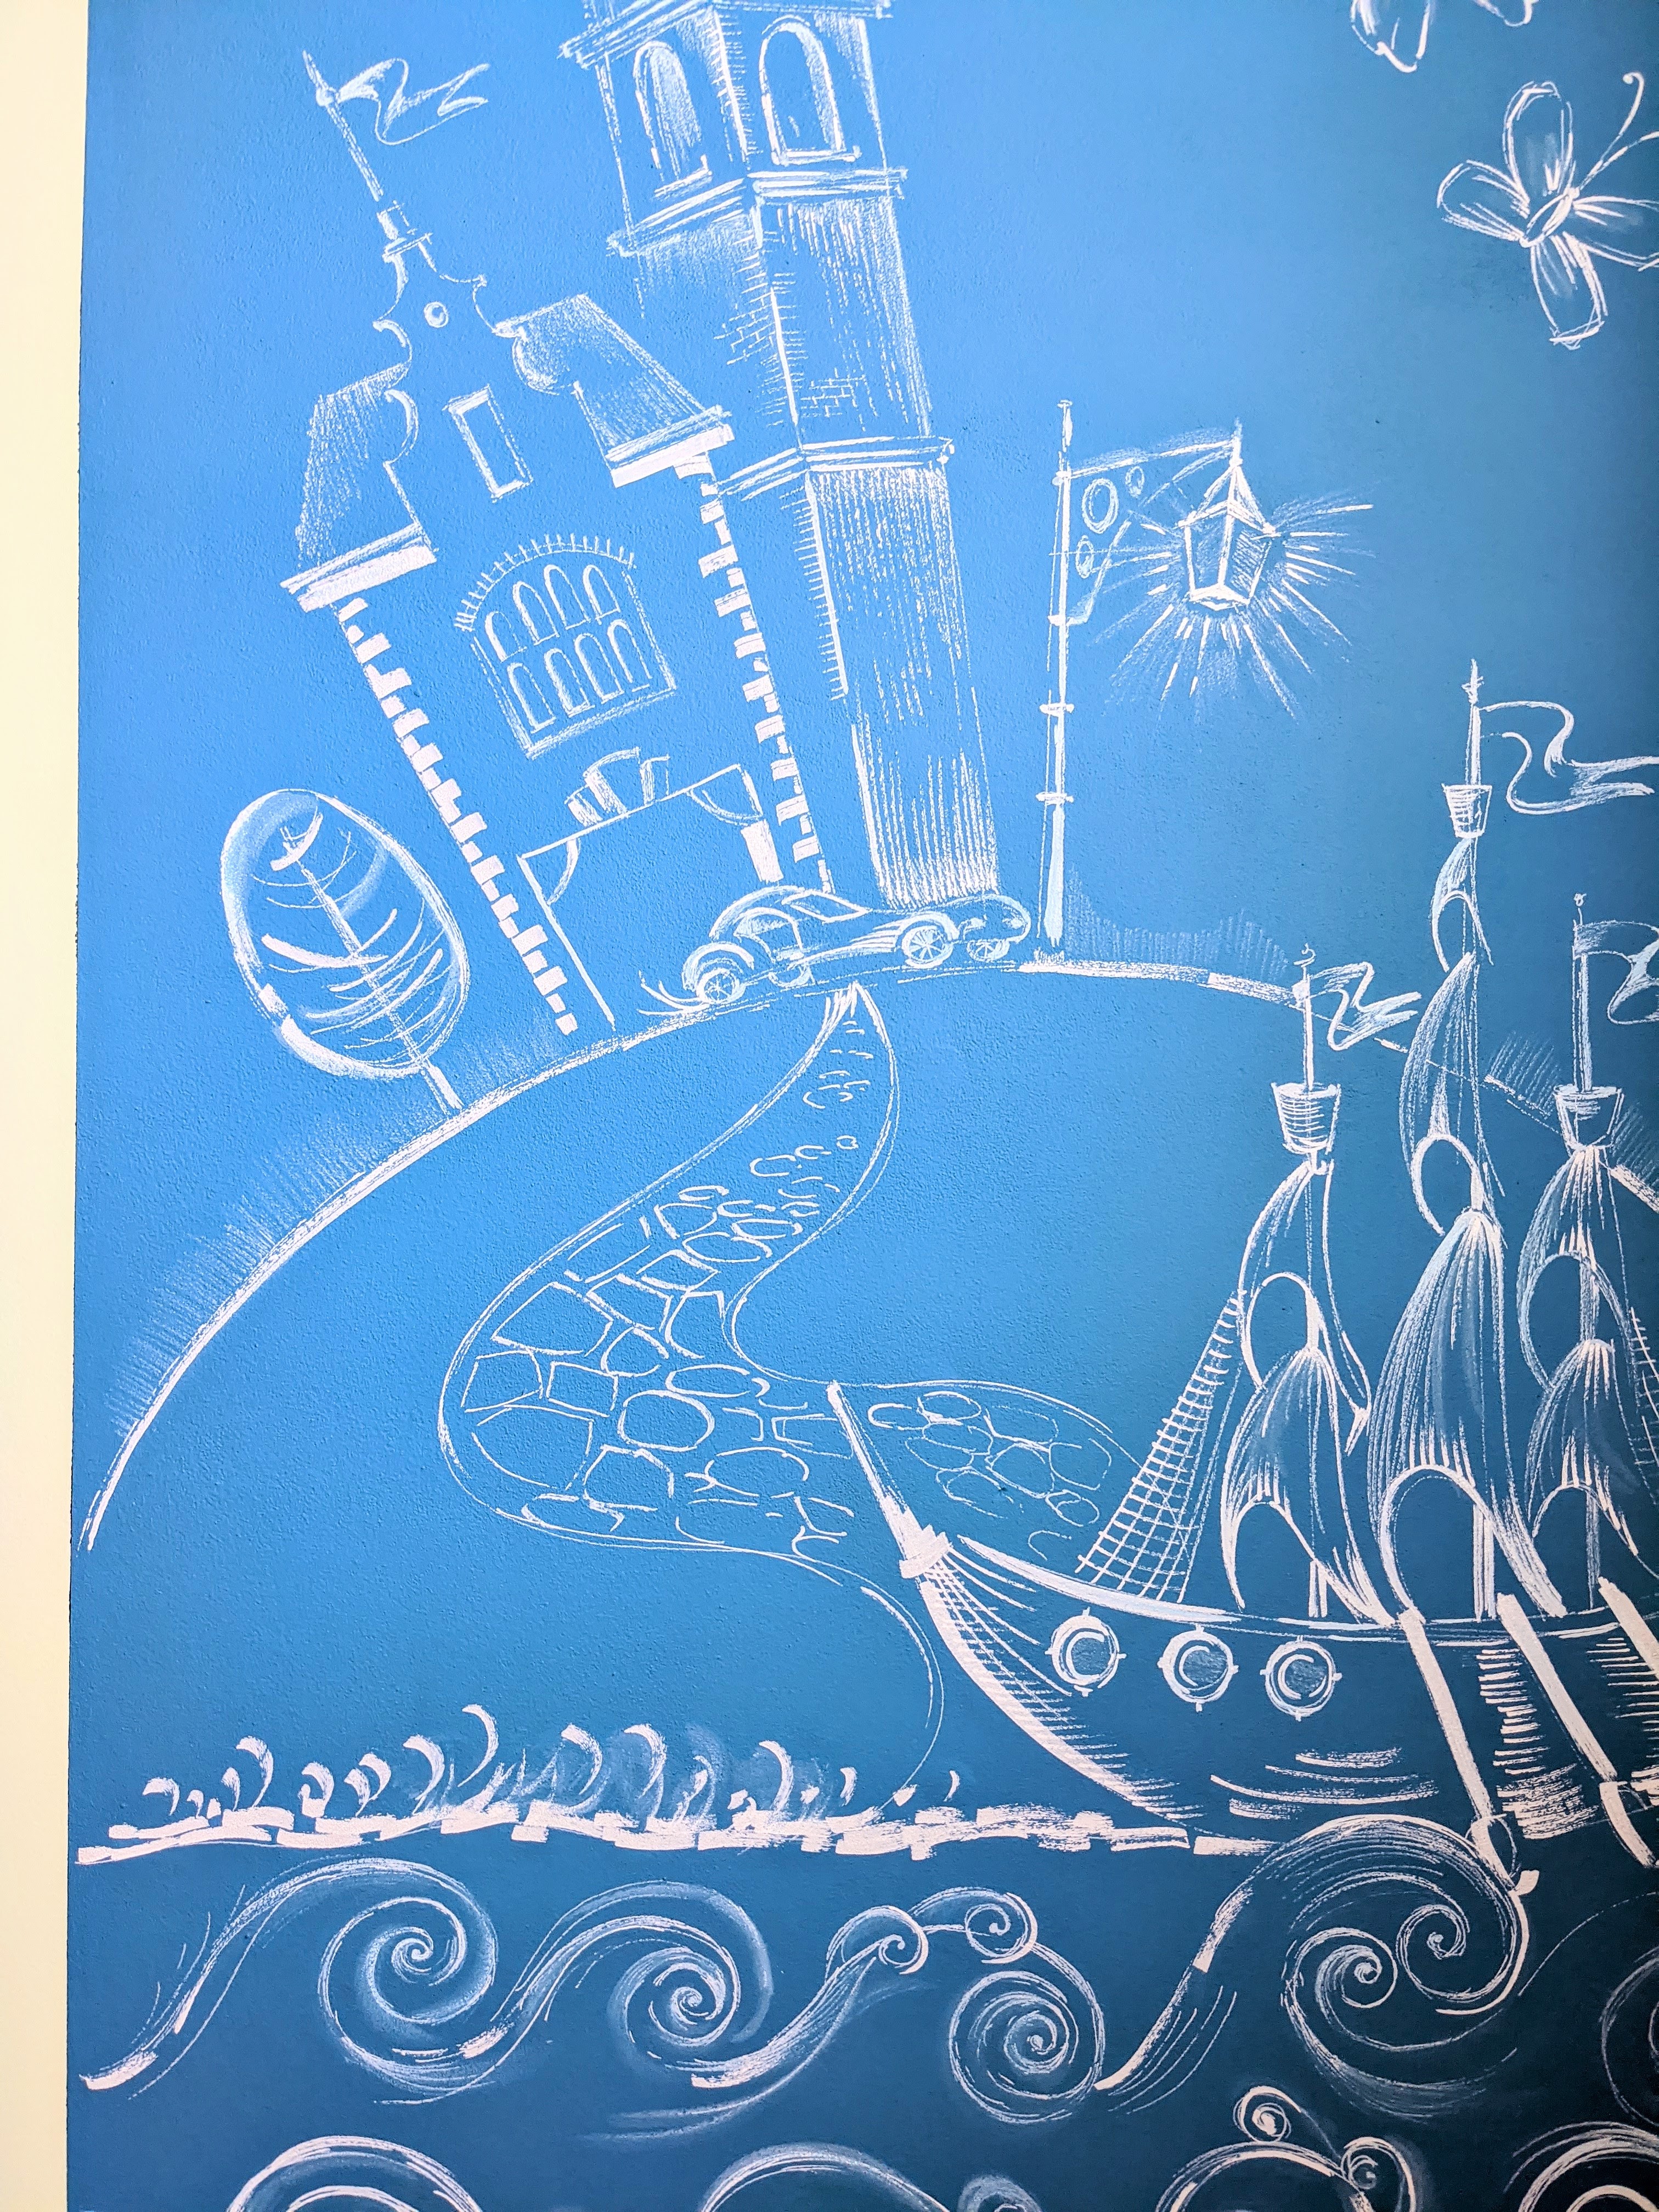
After another 12 hours you can draw on the wall and stick magnets to it! It is so much fun to see how many different compositions and ideas you can implement now!


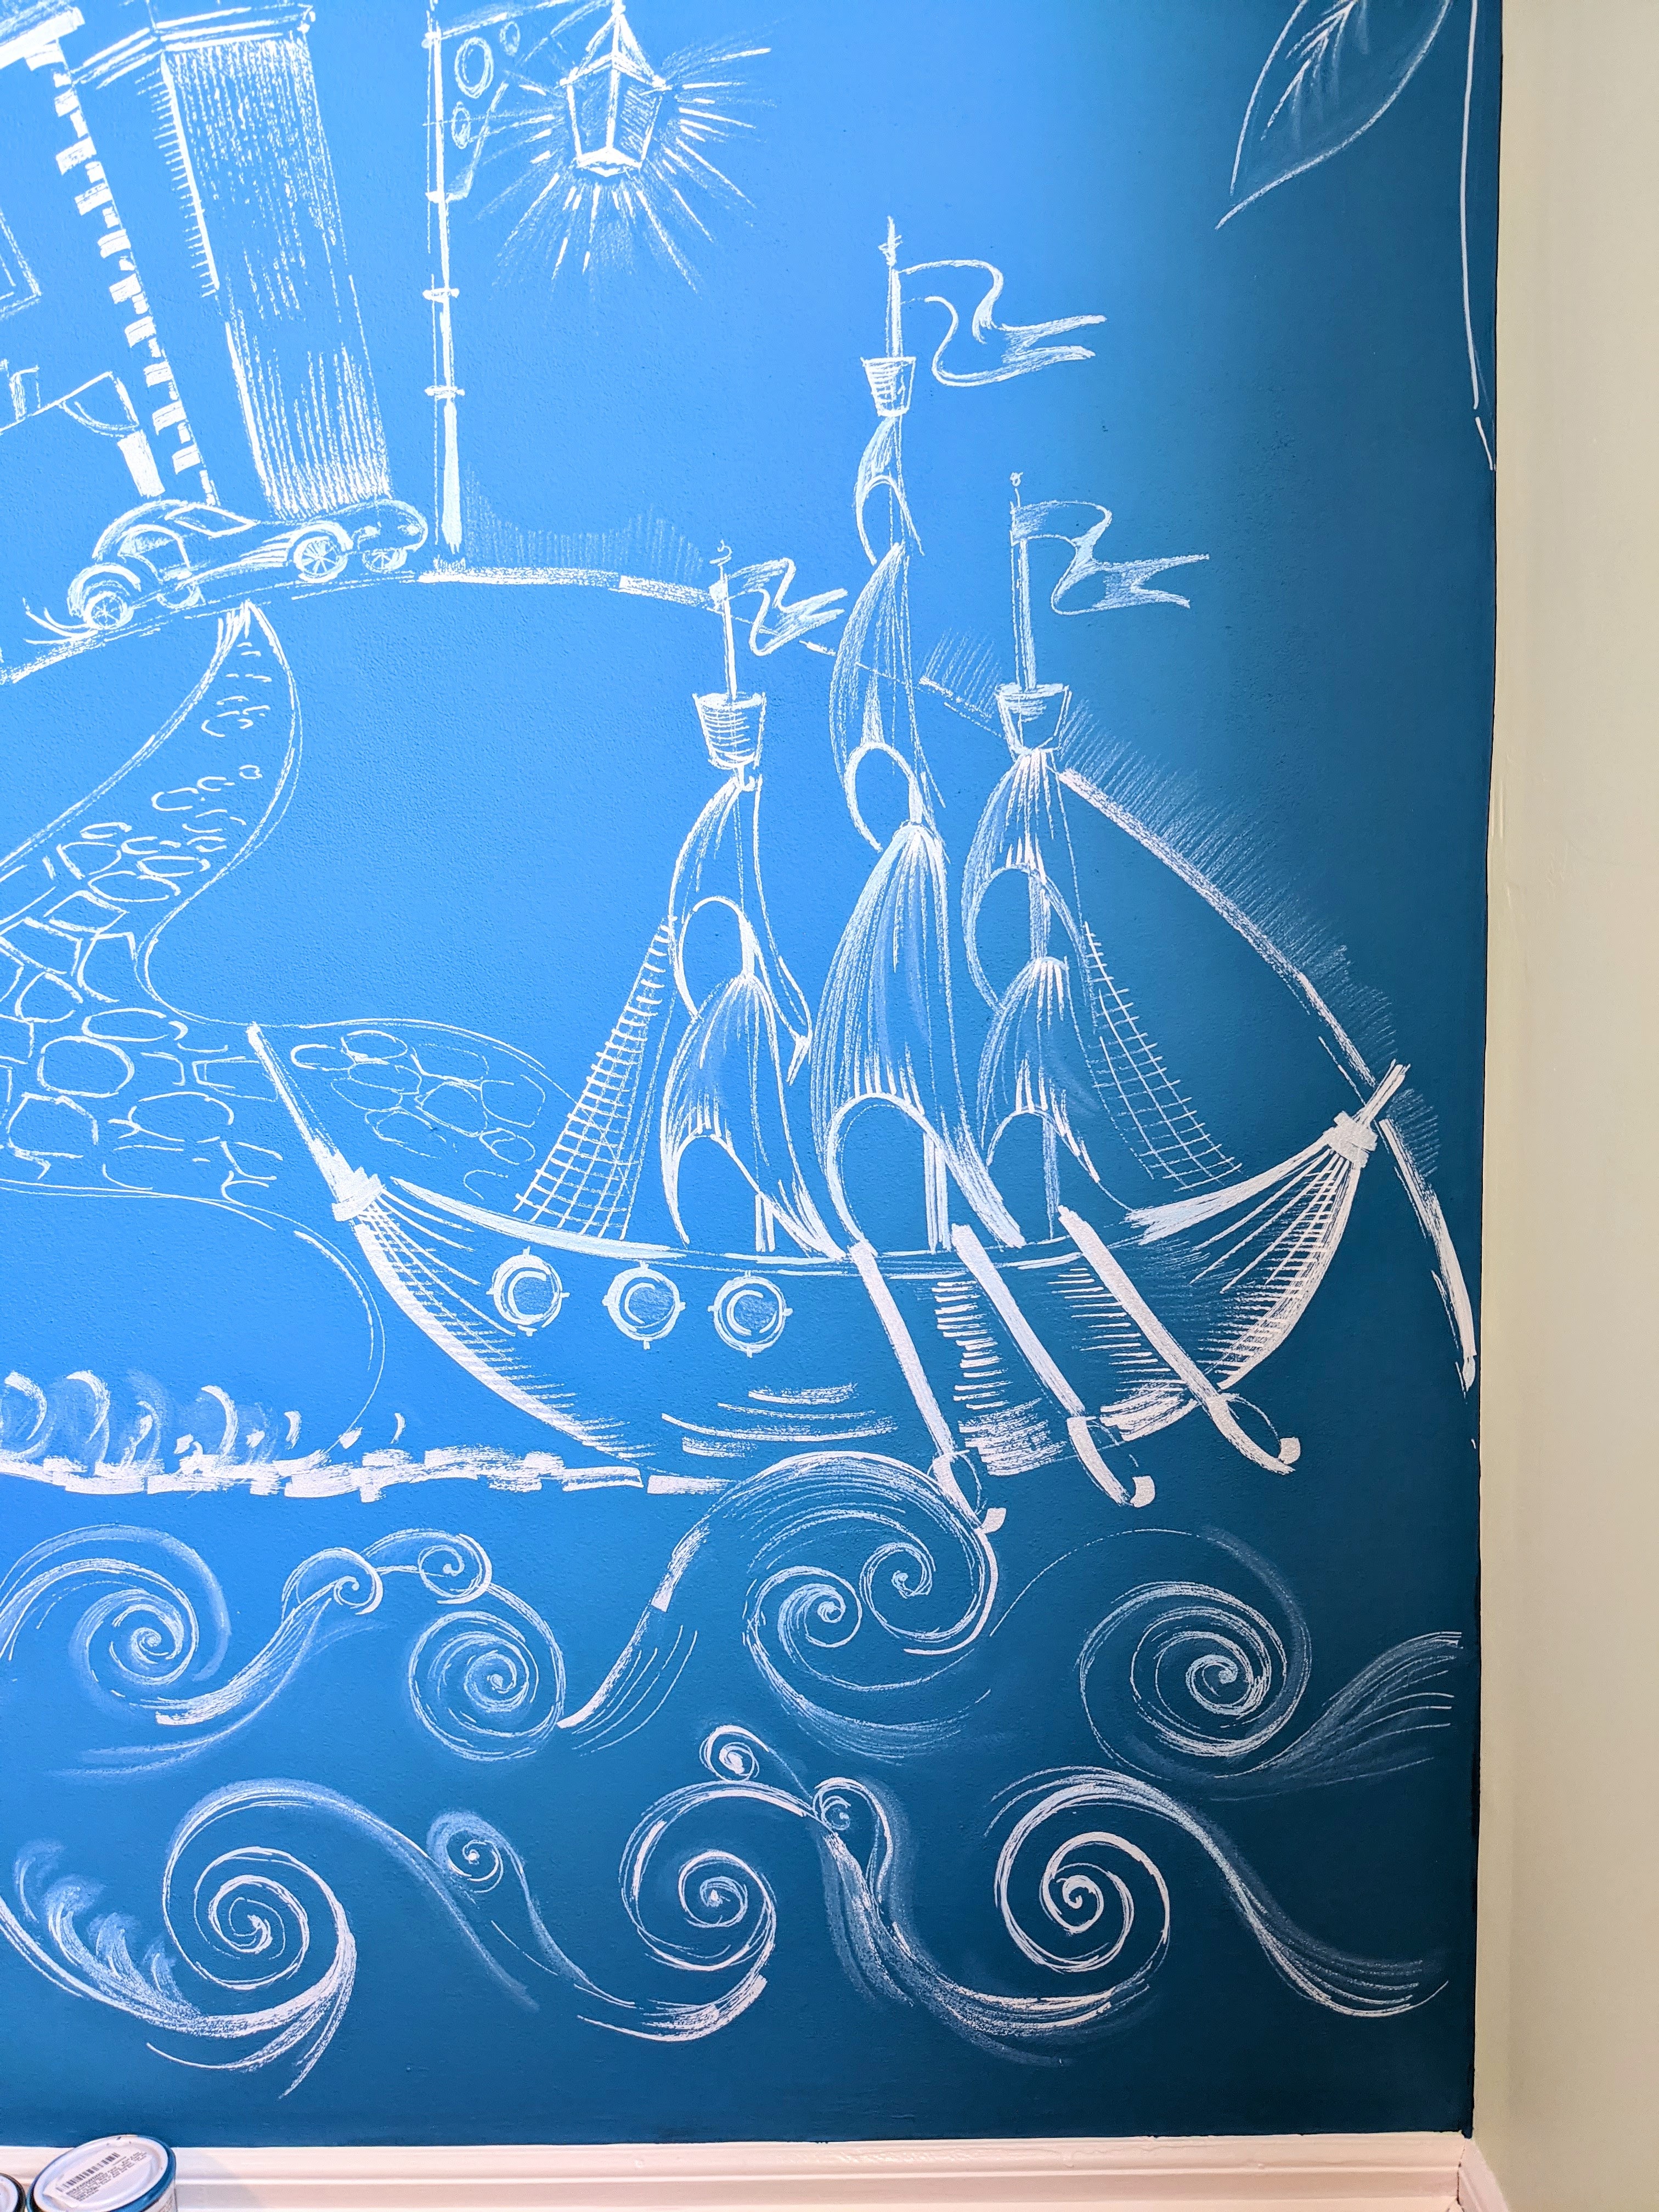

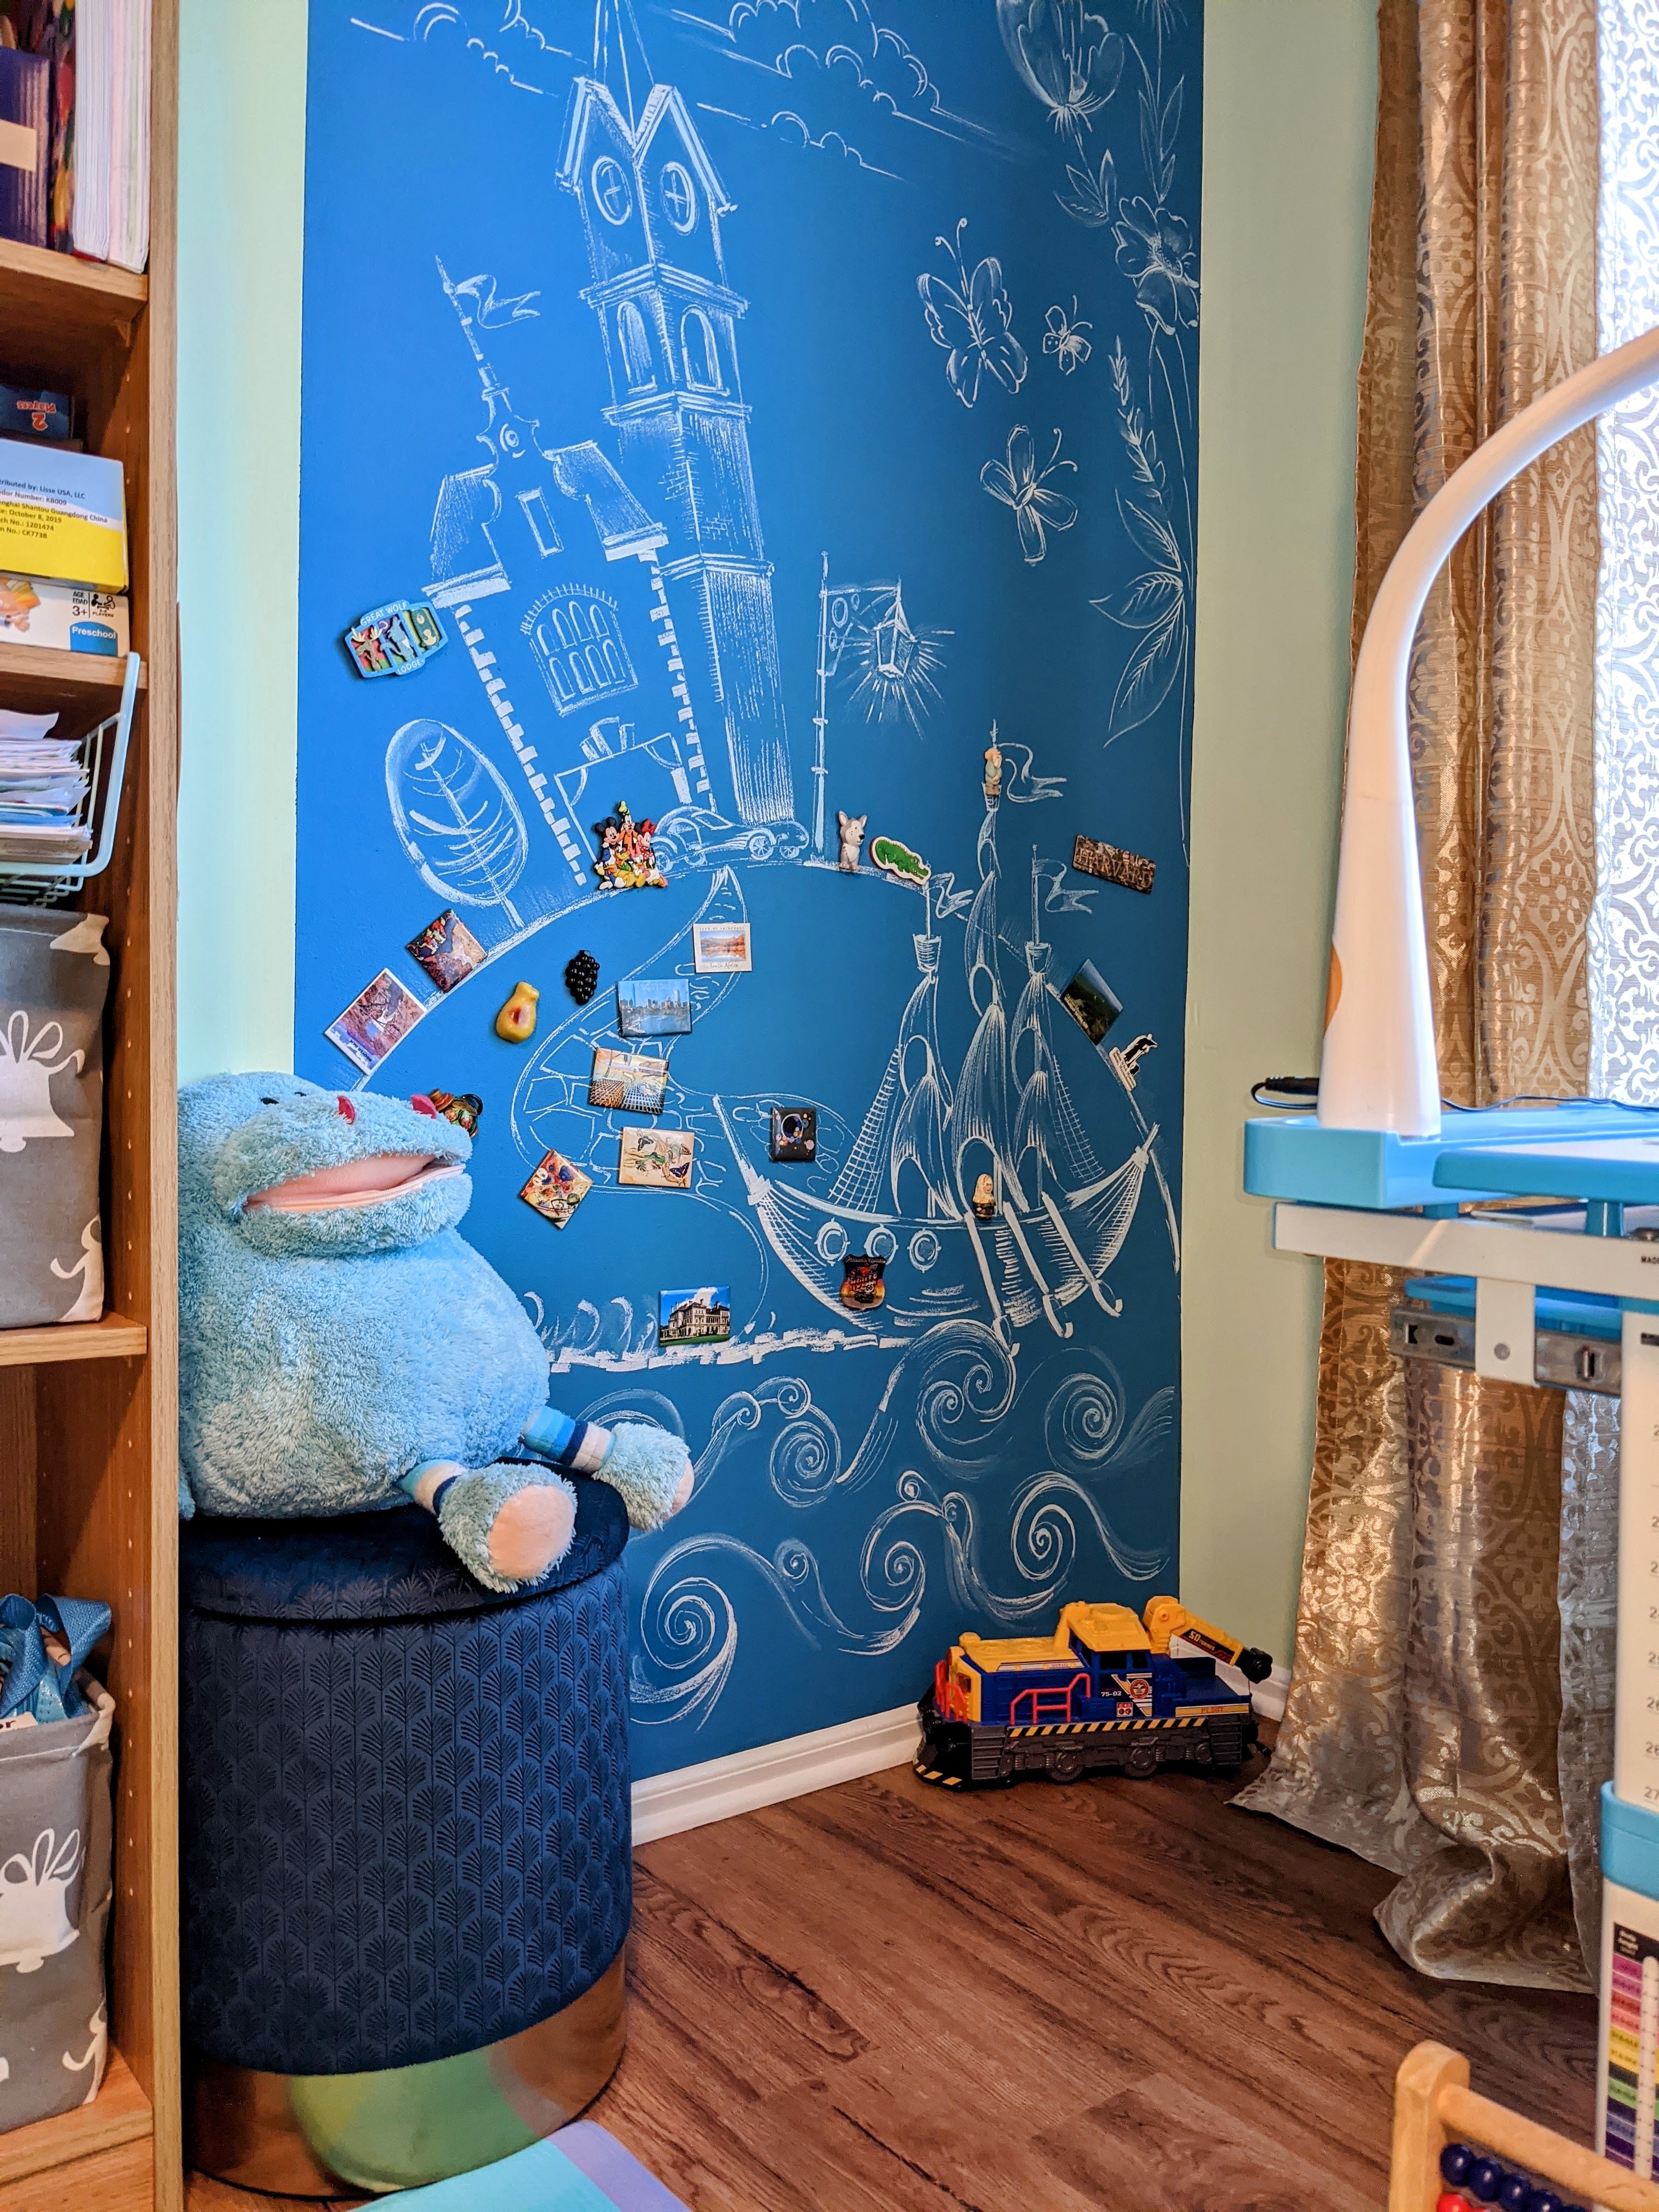
Watch our videos (Part 1 and Part 2) and step-by-step photo gallery below for amazing design ideas at kids bedroom or any room of your choice! A combination of “Magnetize-it!” paint as a base coat and blue Chalkboard paint as a top coat allows you to 1) stick magnets to the wall 2) draw on the wall with washable chalk markers! This is a sample video of what you can create on your wall fast and easy! Please like and subscribe to our YouTube channel and http://www.nikaartdecor.com for more painting tutorials and interior design DIY ideas!
Hope you enjoyed it! 🙂
!Thank you!
