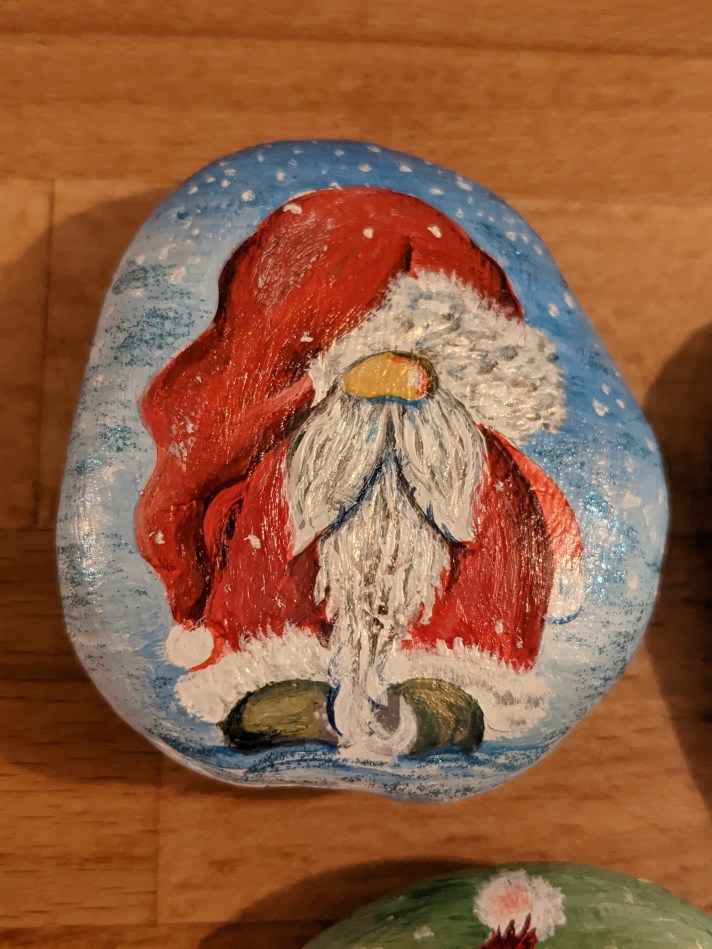
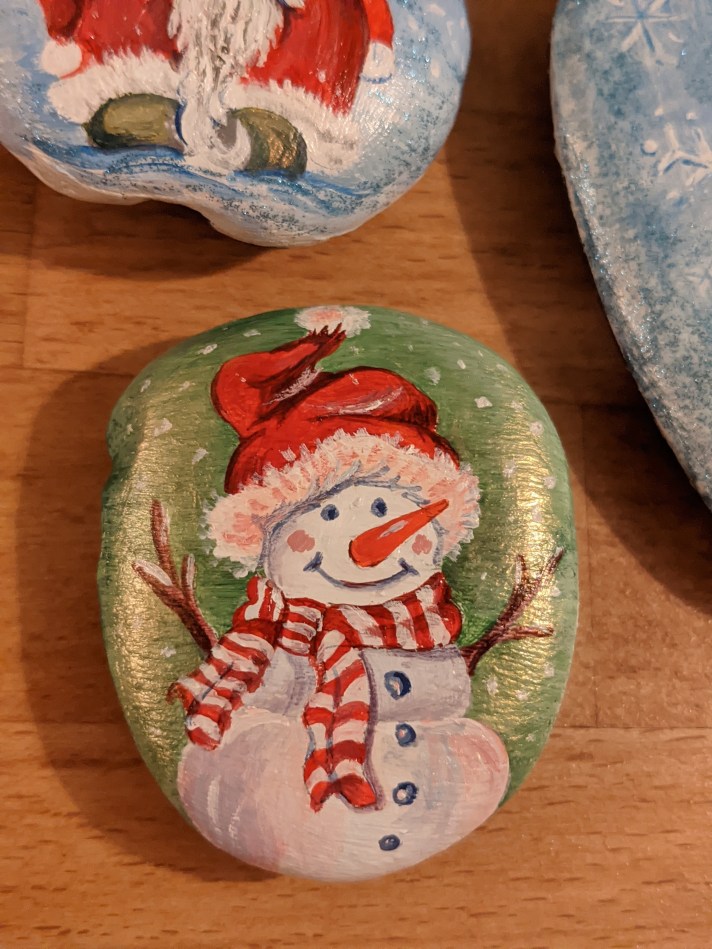


Merry Christmas and a Happy New Year to all!!! Wo-hoo!!! We had a very busy holiday break – we were doing fun-fun rock painting, decoupage (see the next post in Blog section!), water coloring, pencil drawing! So much fun and so much DIY projects! Isn’t it amazing, especially with some snow we had in the East cost right before Christmas!! “Let it snow, Let it snow, Let it snow!”
I have some quick tips for you if you just started rock painting recently. Rock painting is a wonderful craft to do with your kids and for yourself! It is easy, and no way to make it wrong! Please see the slide show to the left and detailed instructions below 🙂
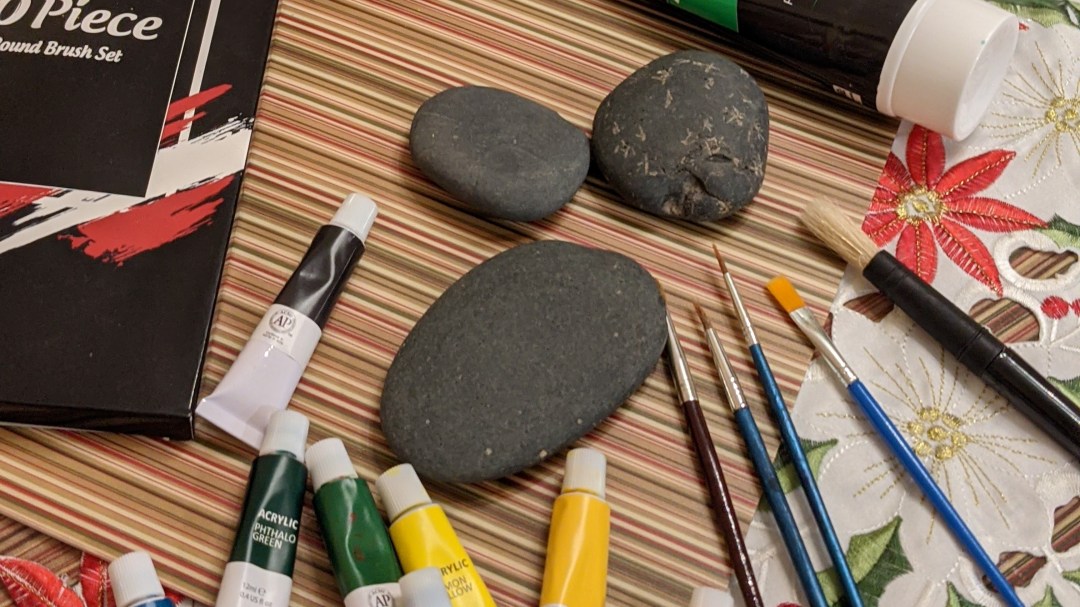
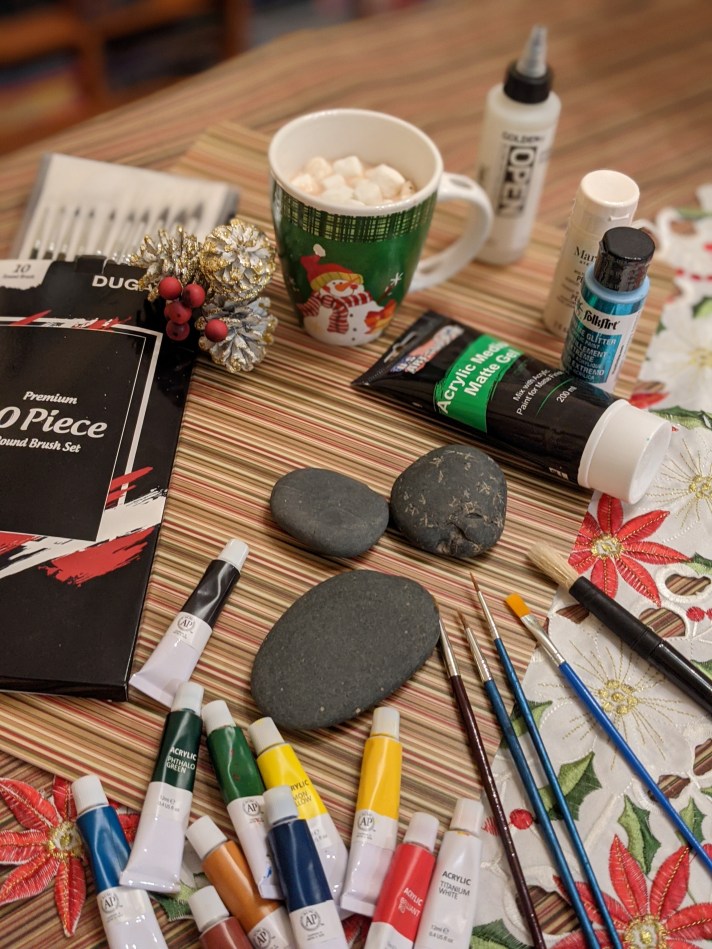
Materials & tools:
- rock
- acrylic paint (and a primer to prepare the rock surface)
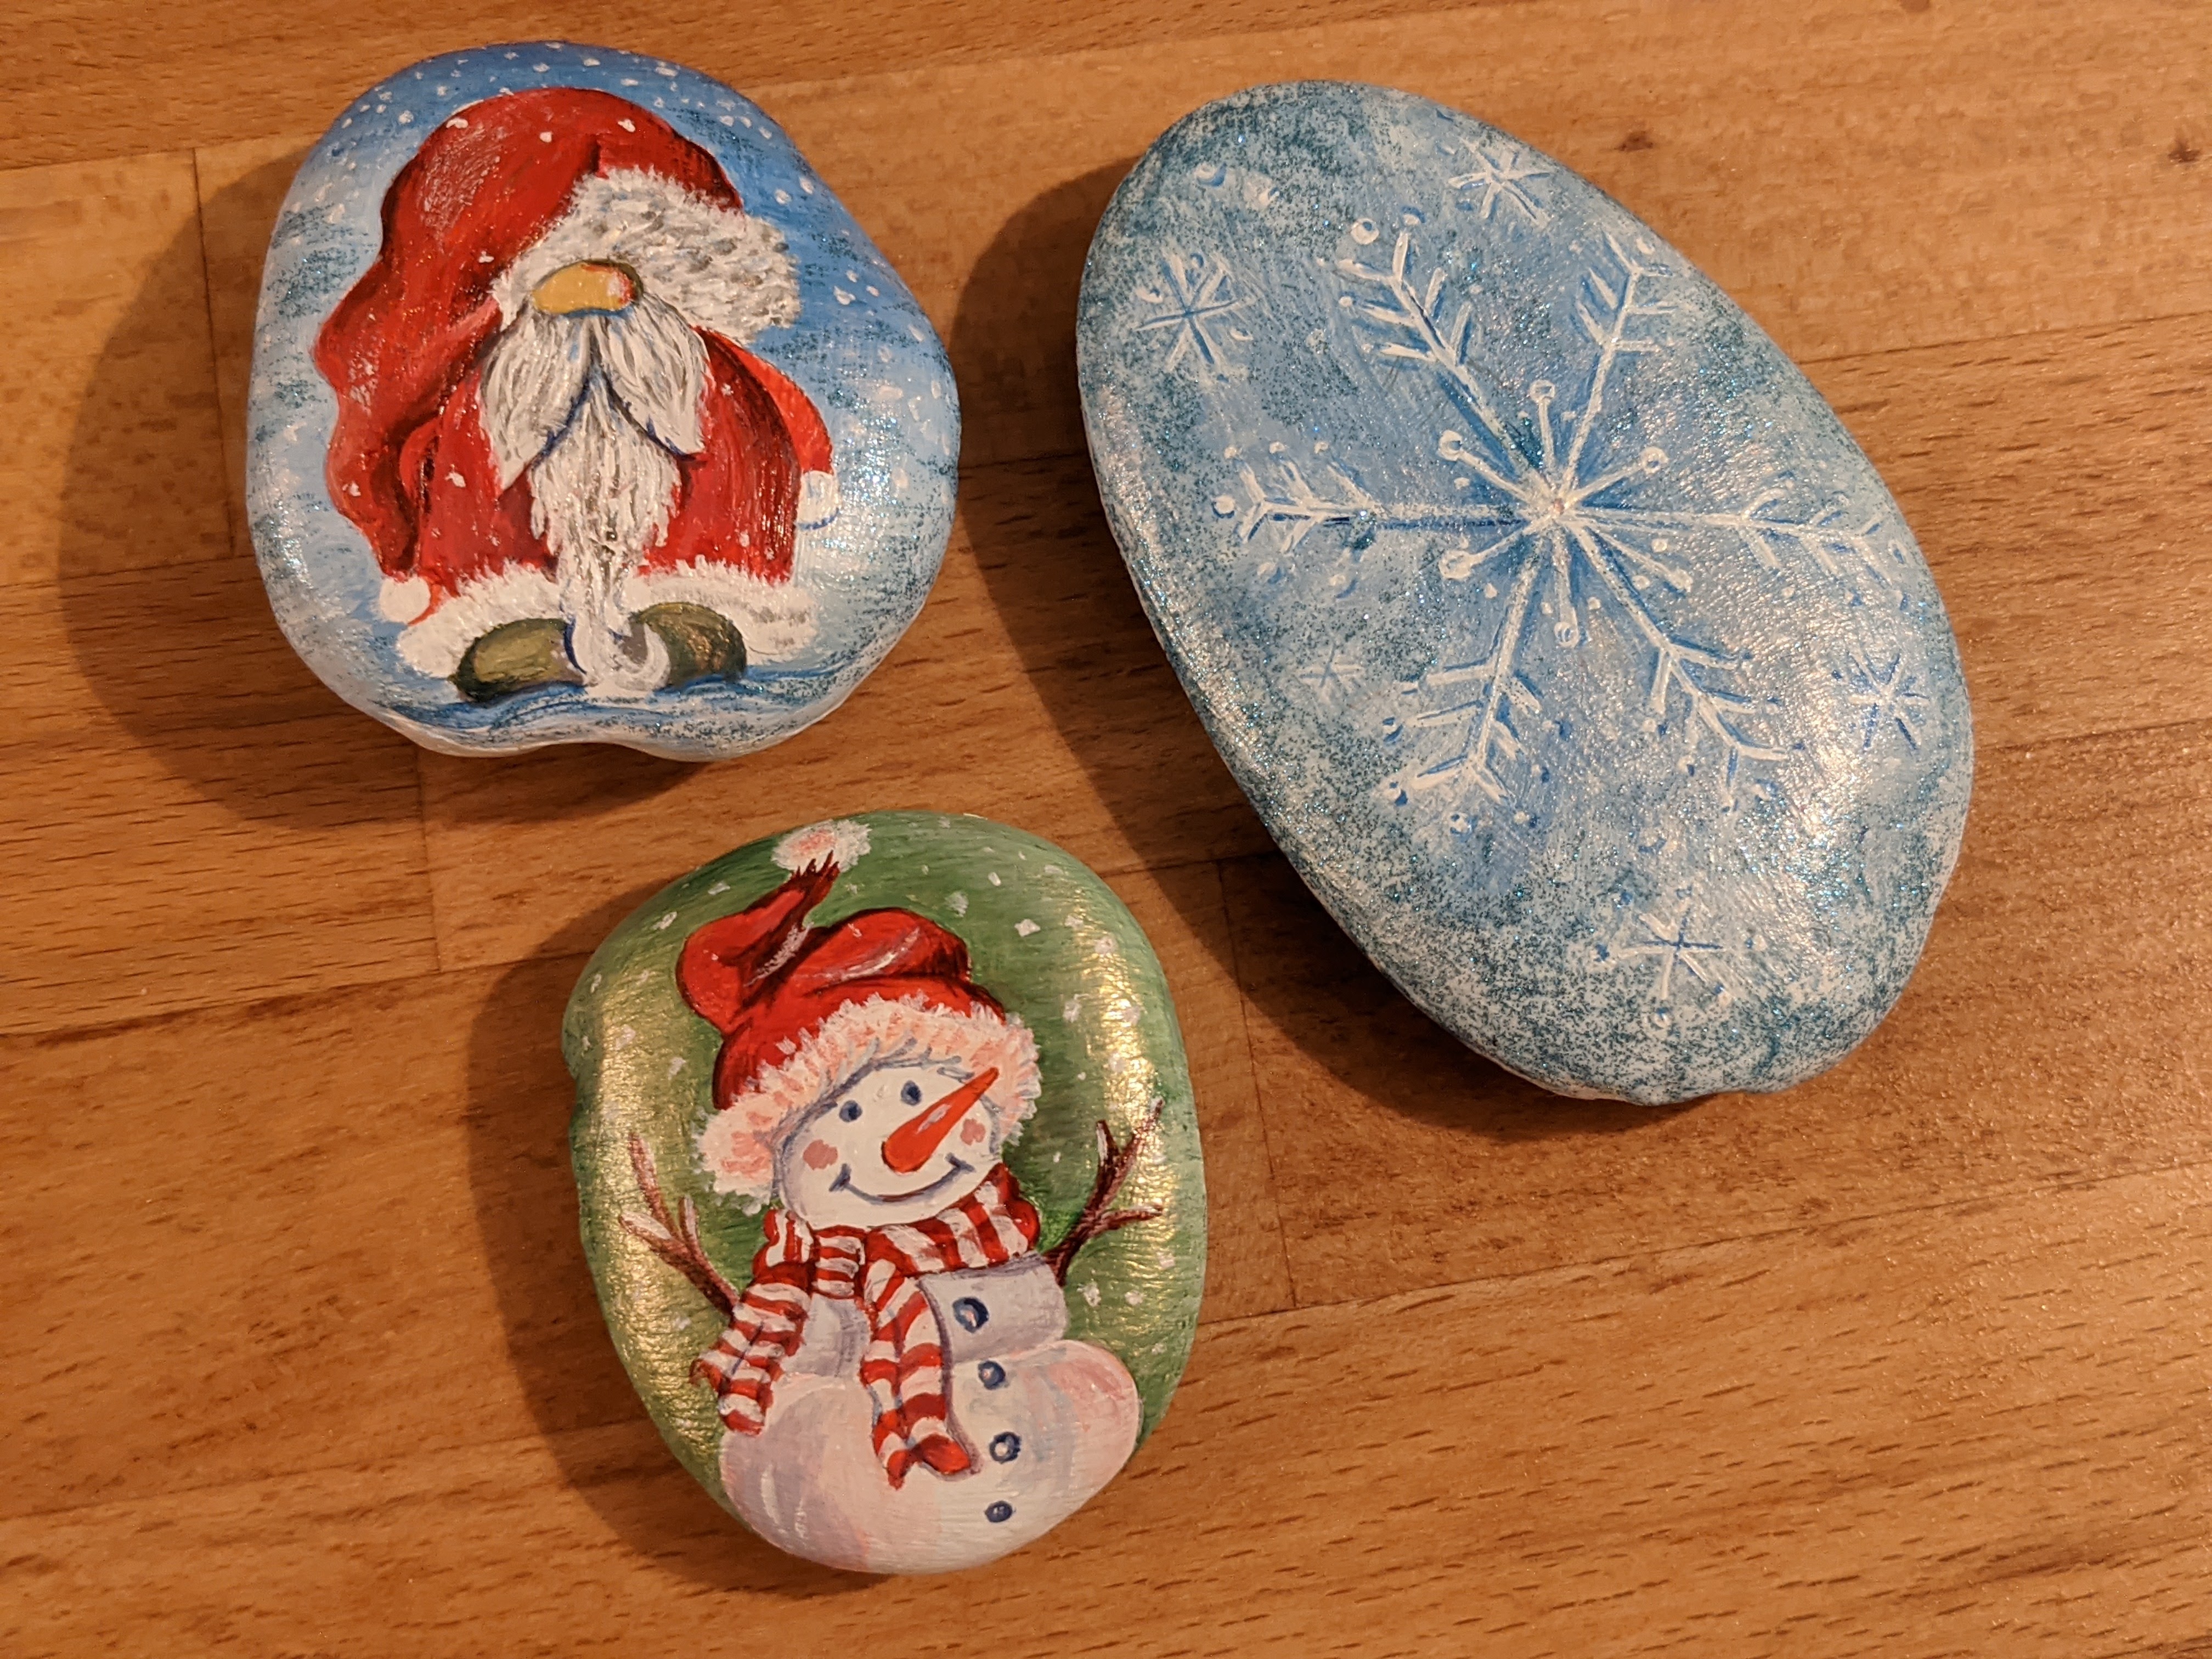
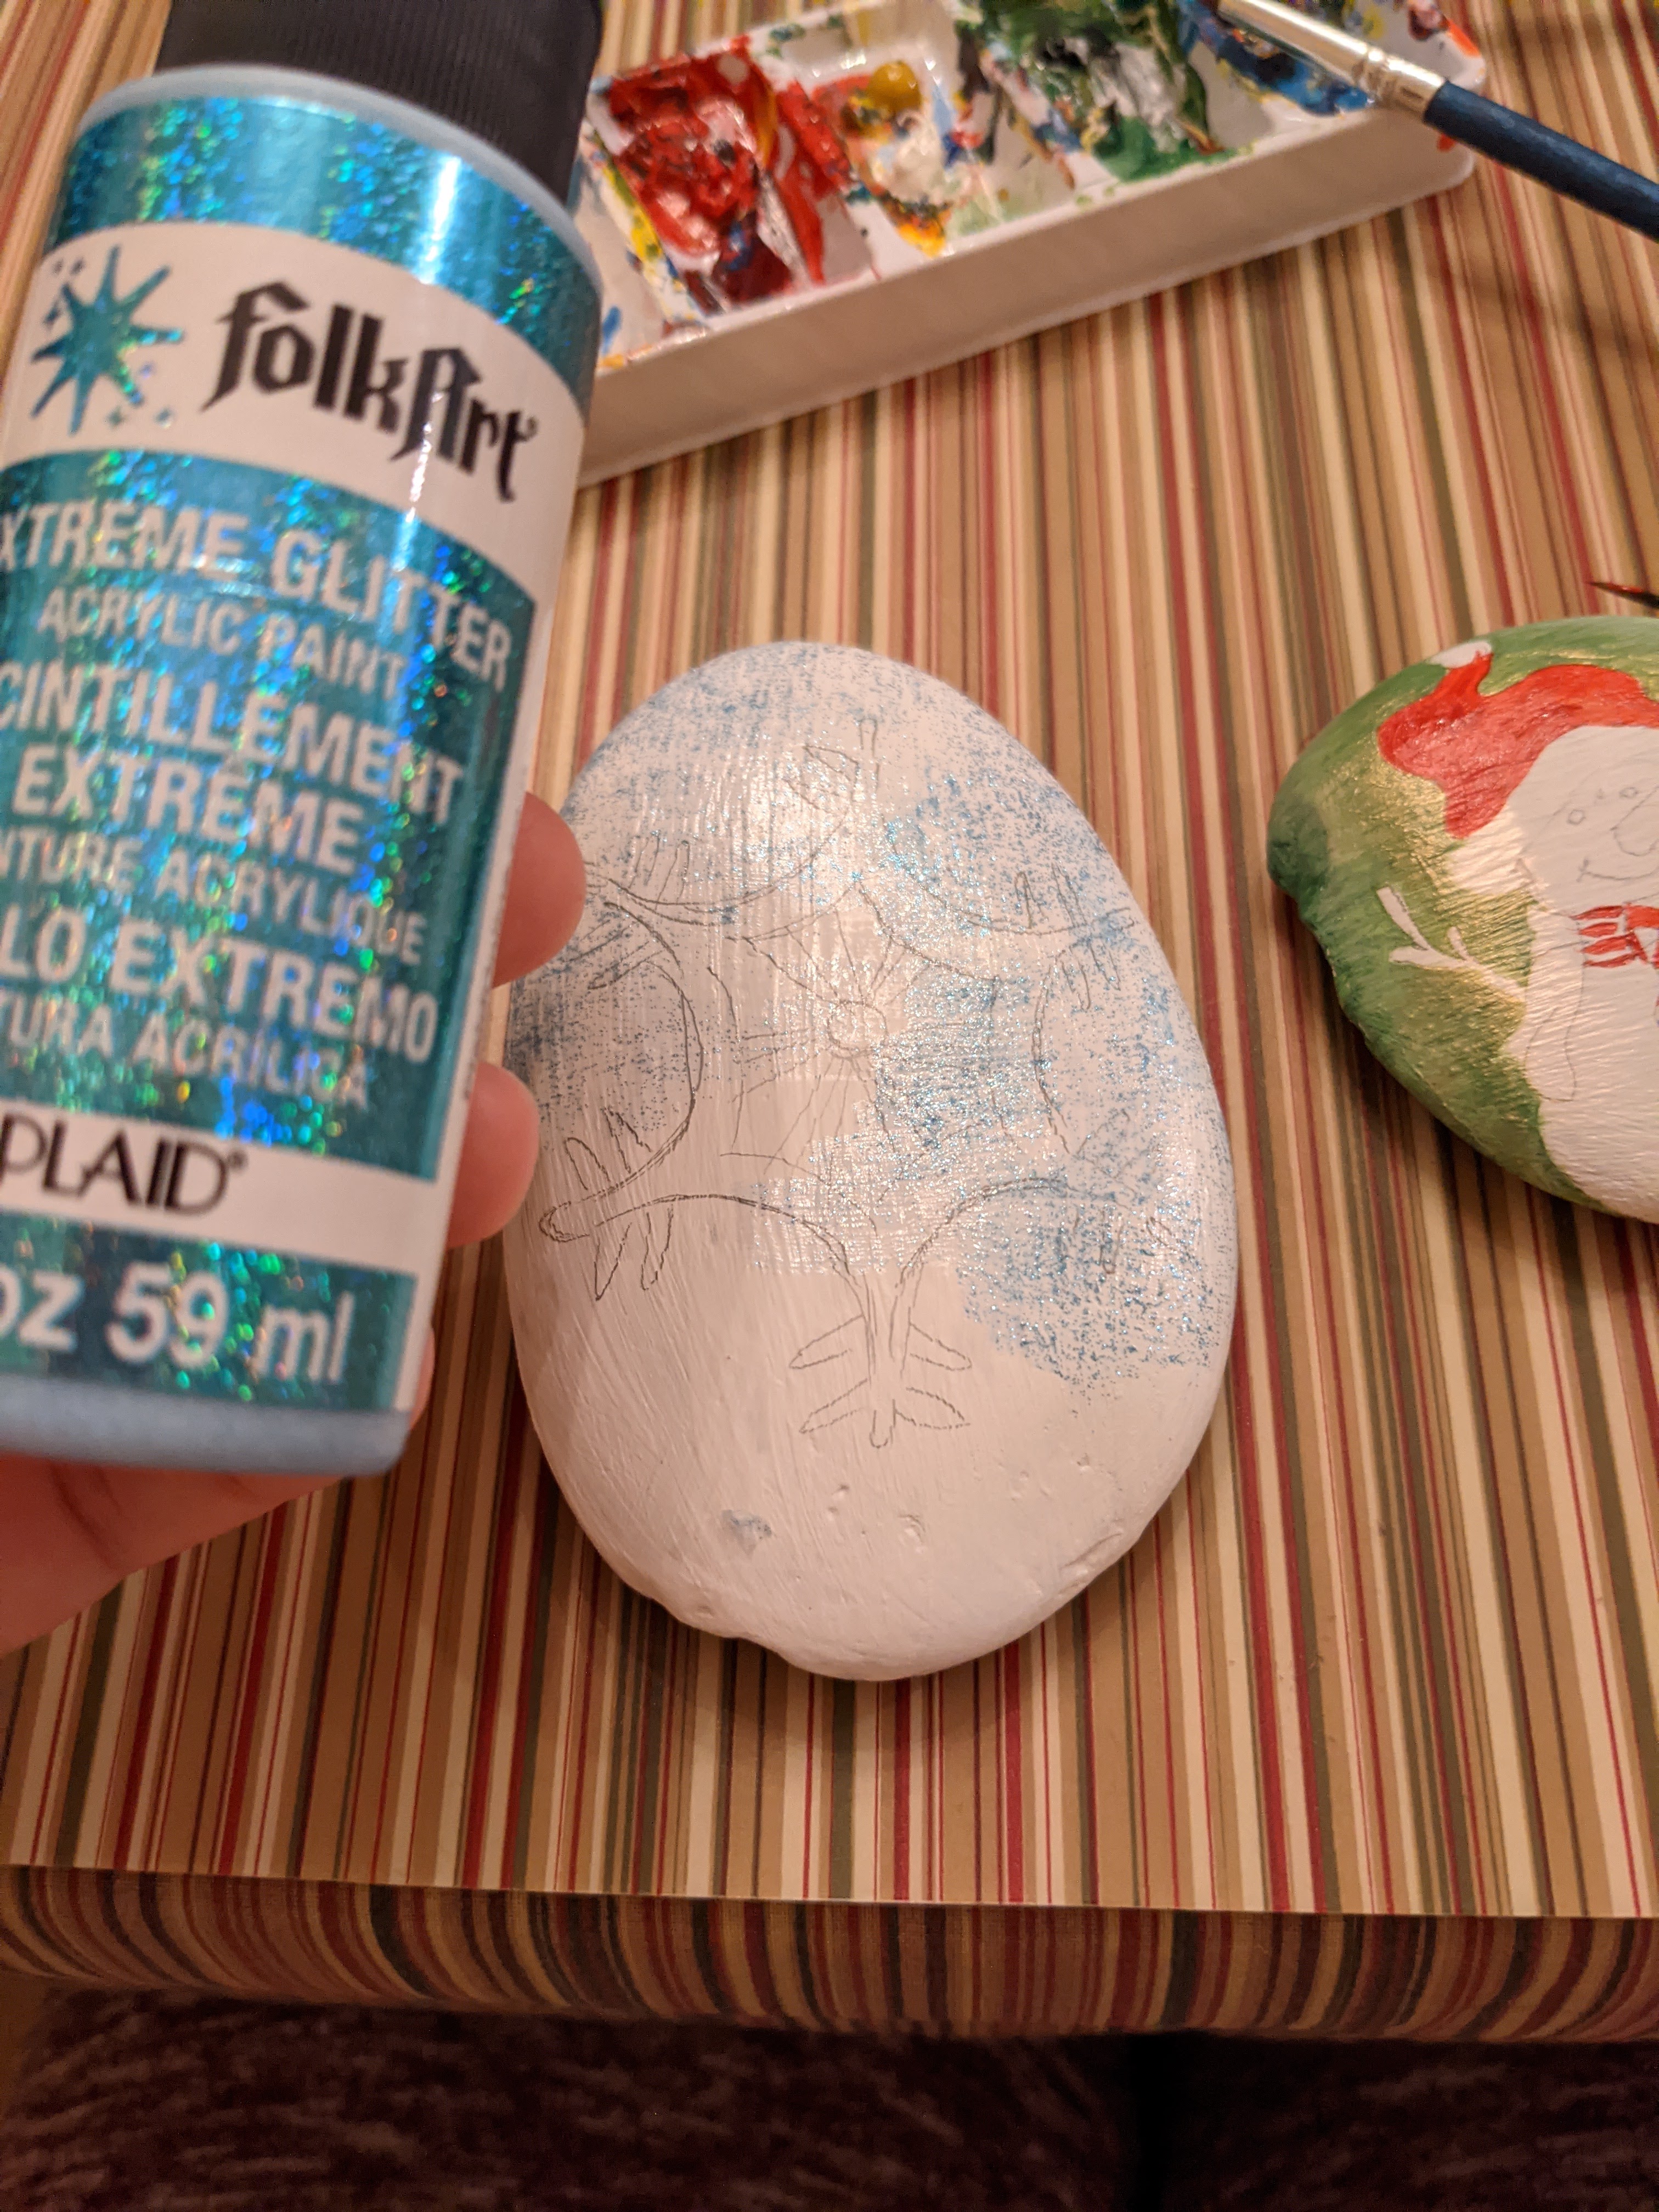
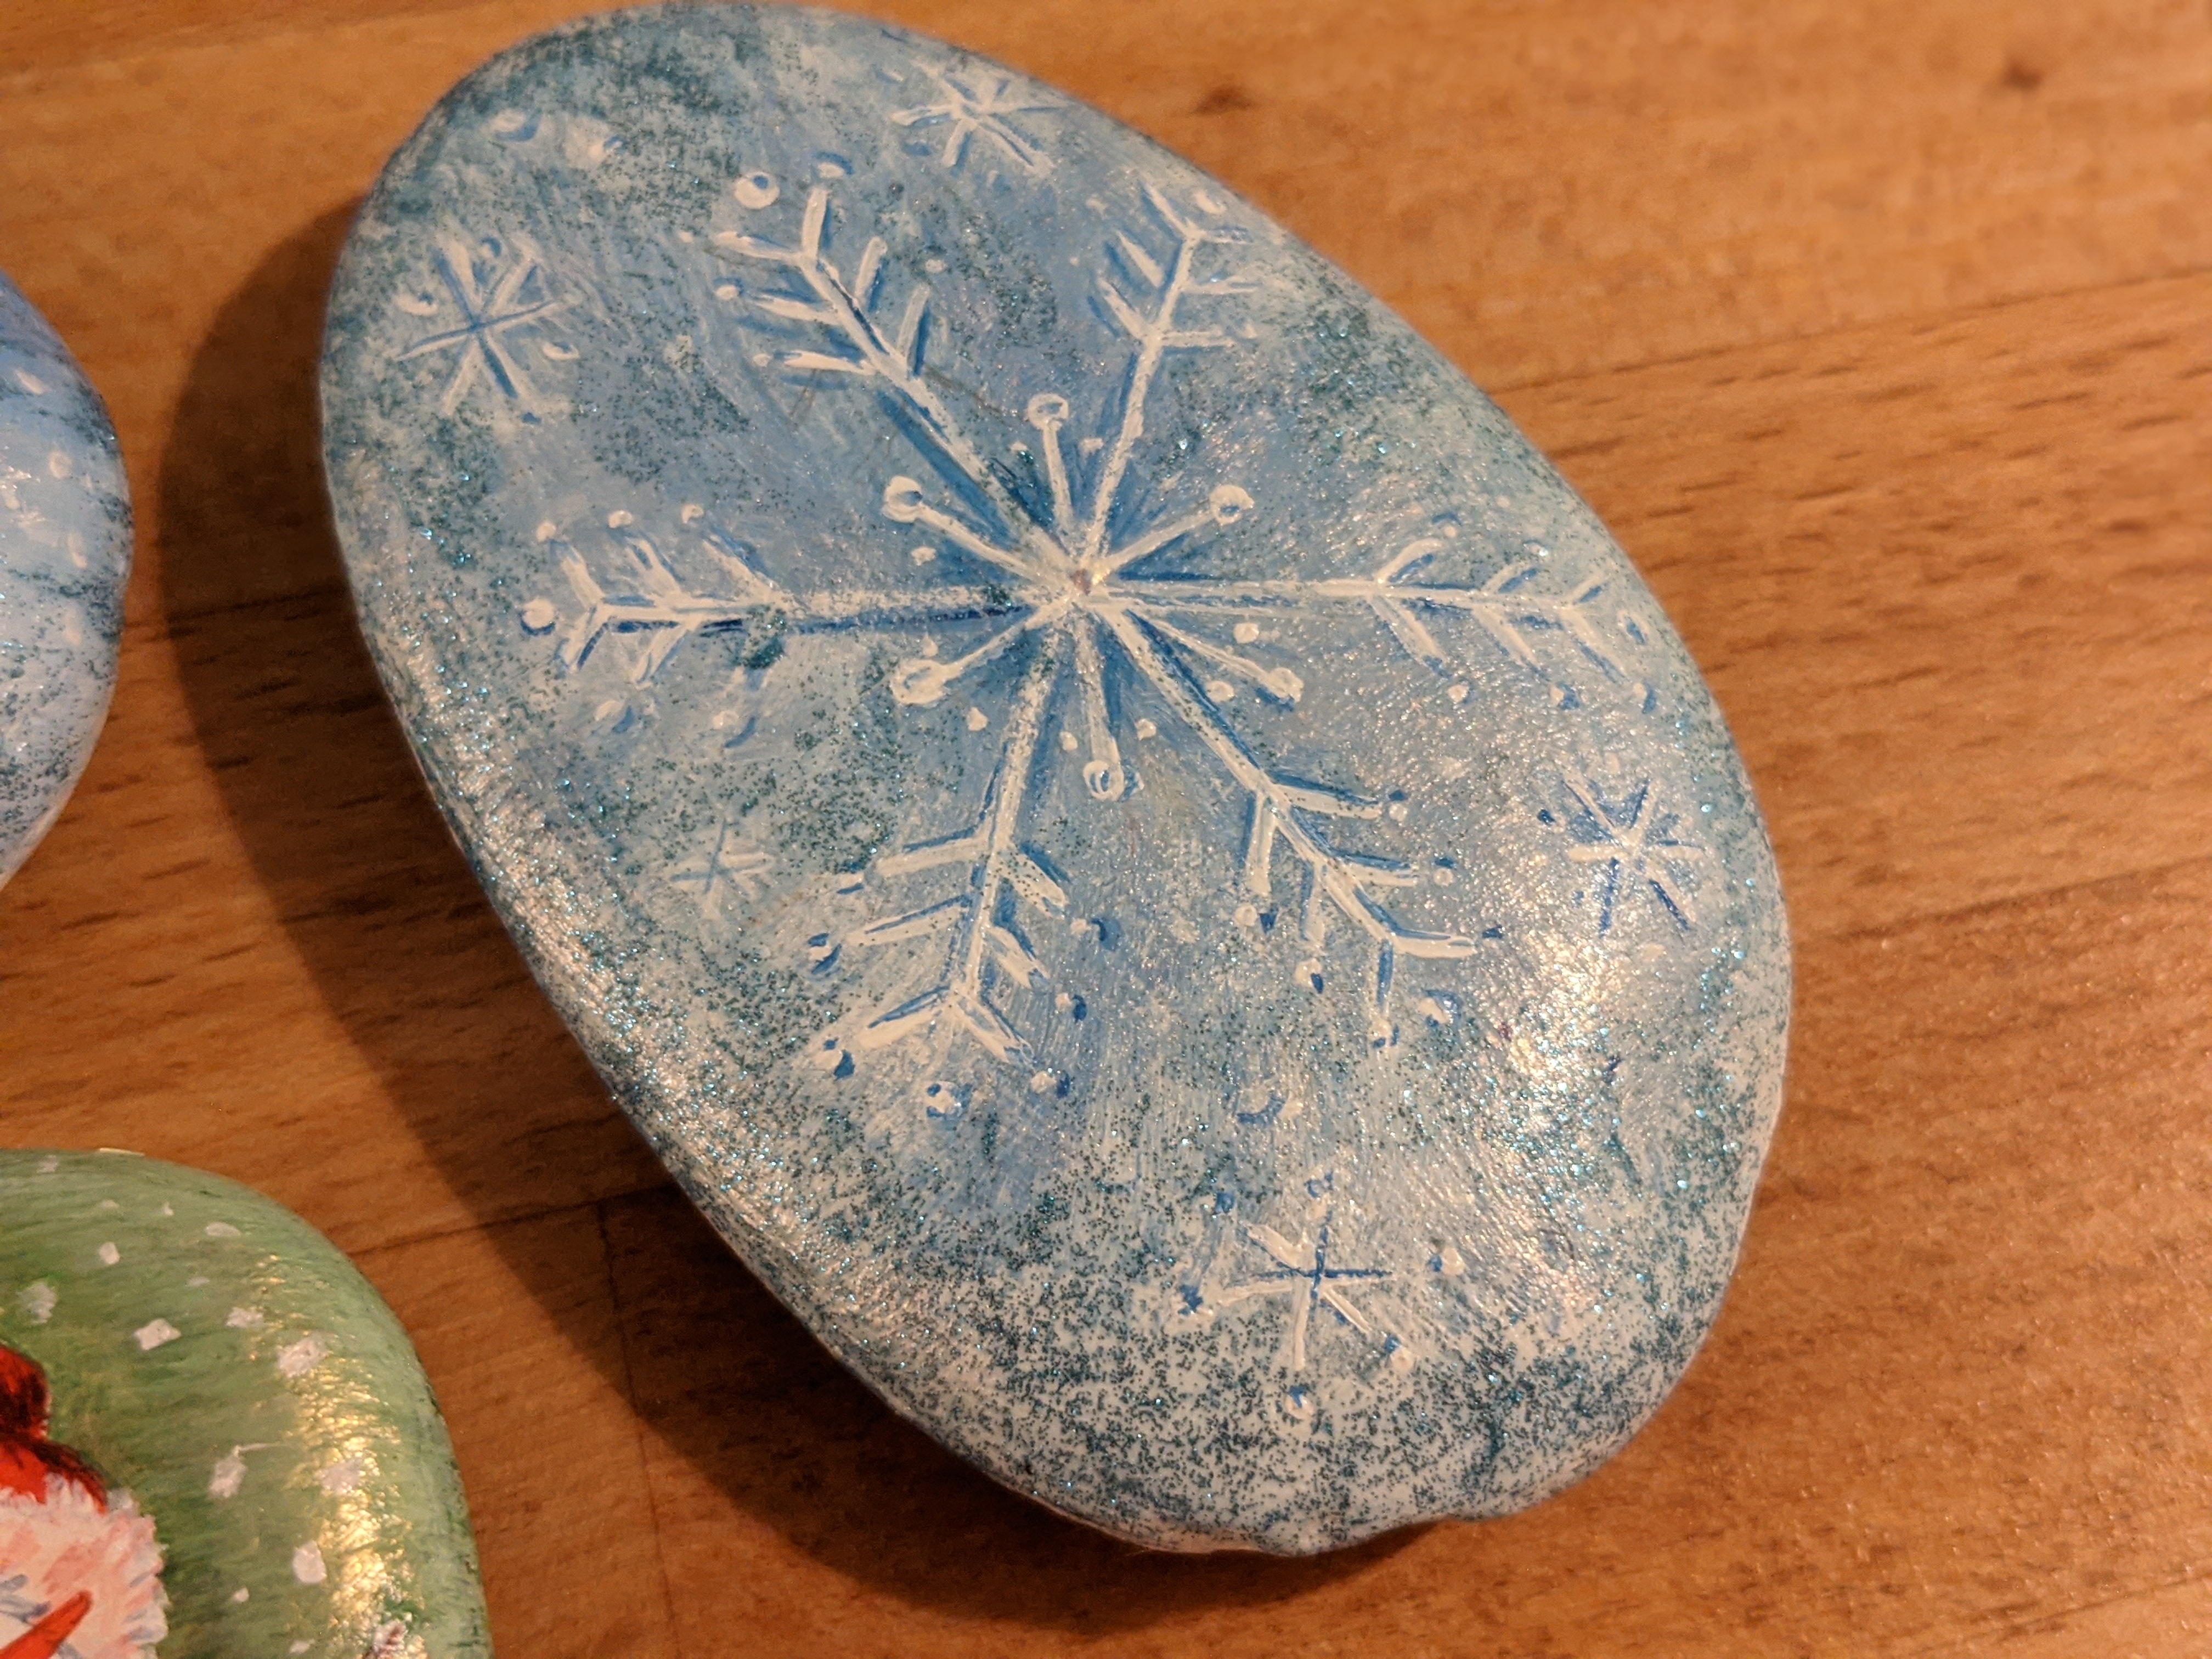
- extreme glitter acrylic paint (Folkart) for the snowflake; and Martha Stewart Pearl acrylic craft paint for all rock to make them shiny
- pencil and paint brush / or acrylic markers (if you are not using the paint)
- clear top sealer spray / or liquid varnish for safe exterior use afterwards
- jar of water and a soft cloth to clear your brush
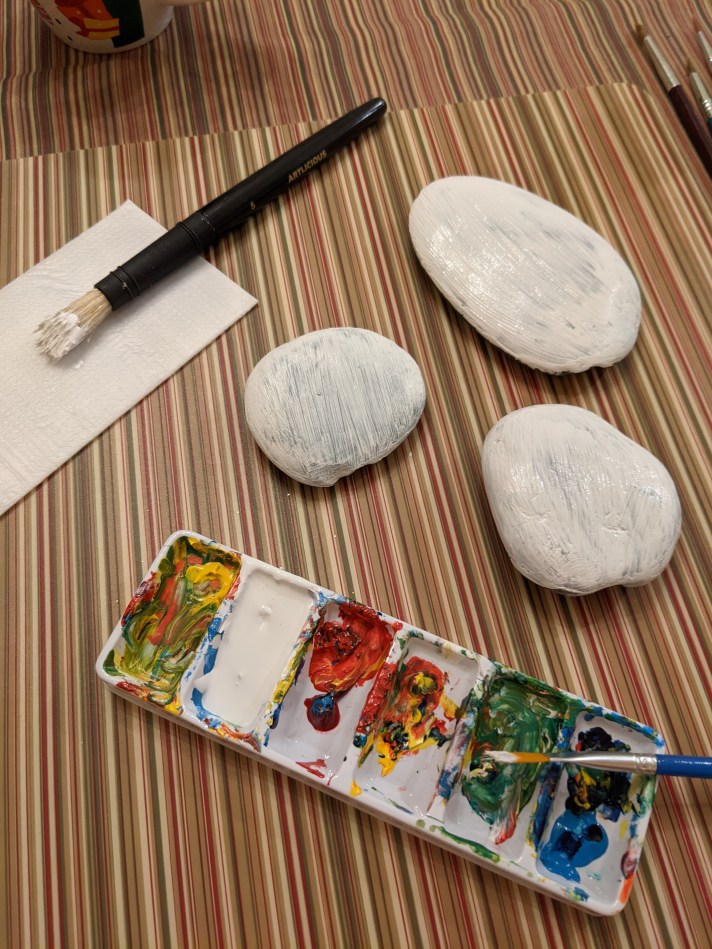
- So, first of all you need rocks – any size, any shape, any color. You can rock hunt it on the beach, or your backyard, or order them from Amazon, or buy it at a Dollar Tree & any Garden center. Then you need to wash them from debris with soapy water and let them dry (10 mins should do it).
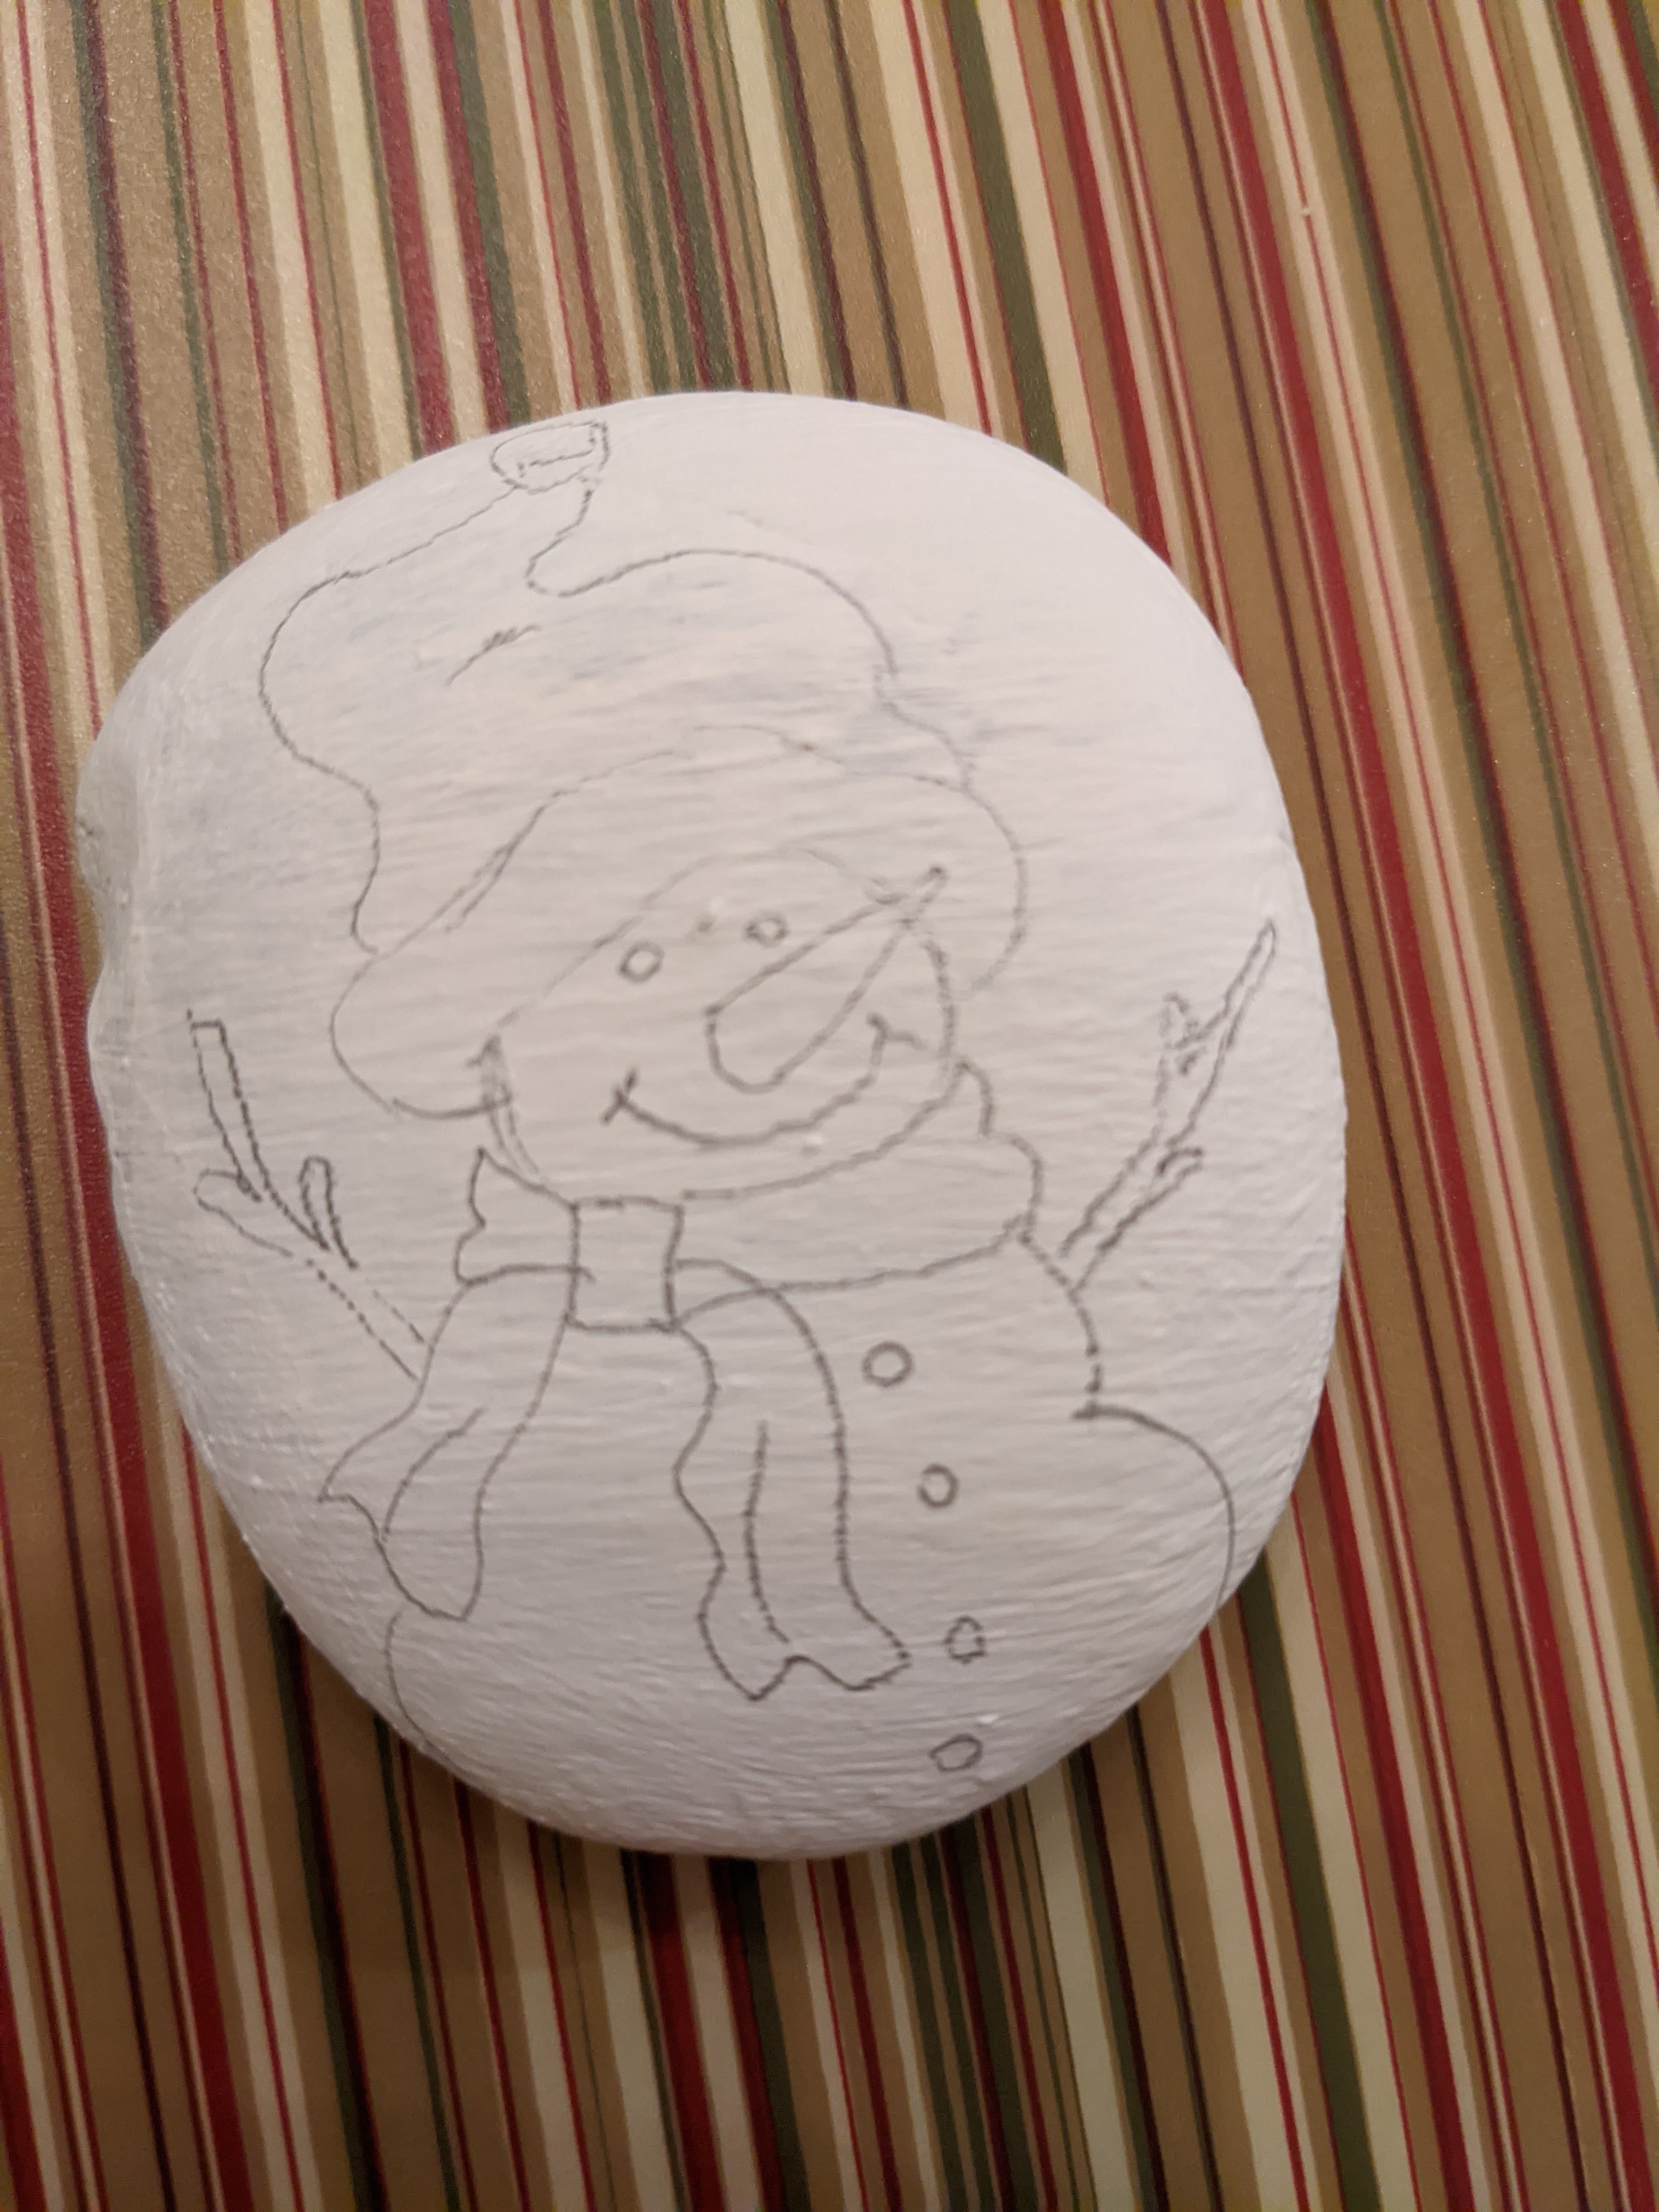
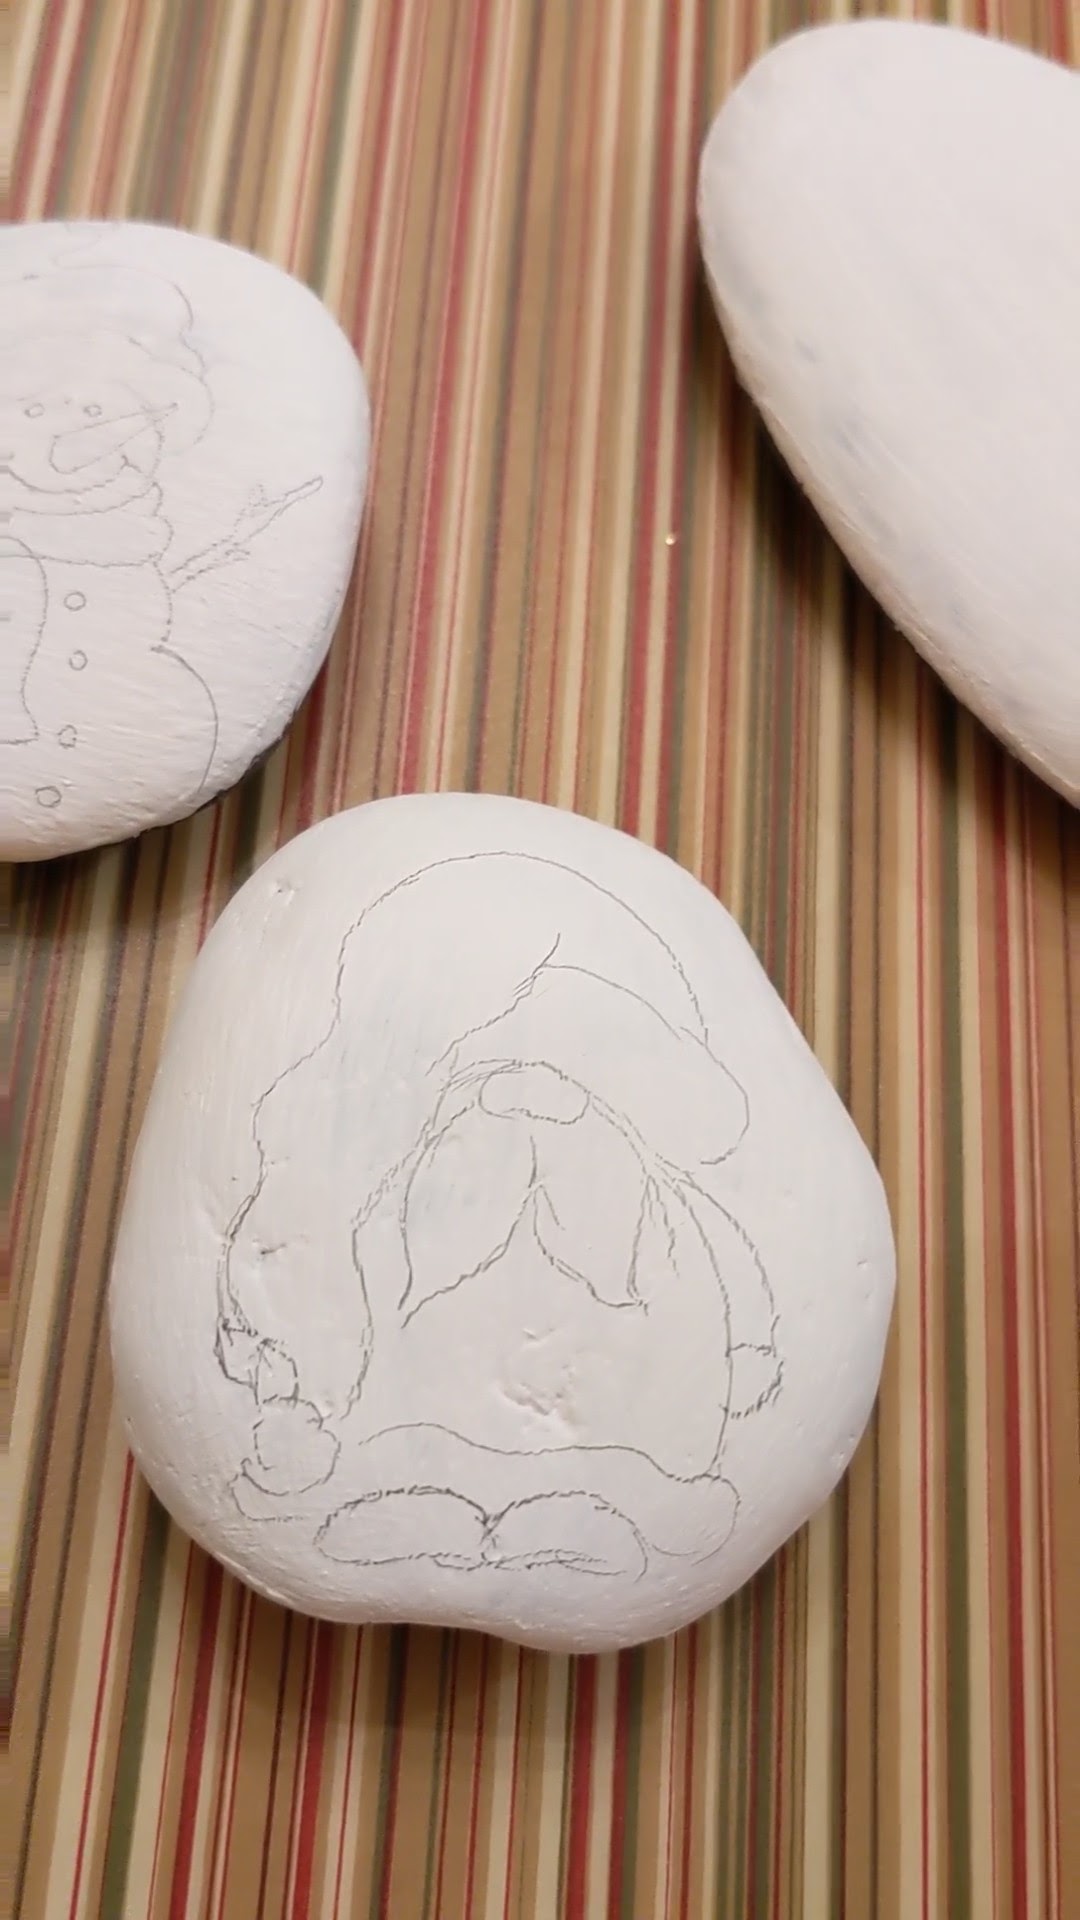
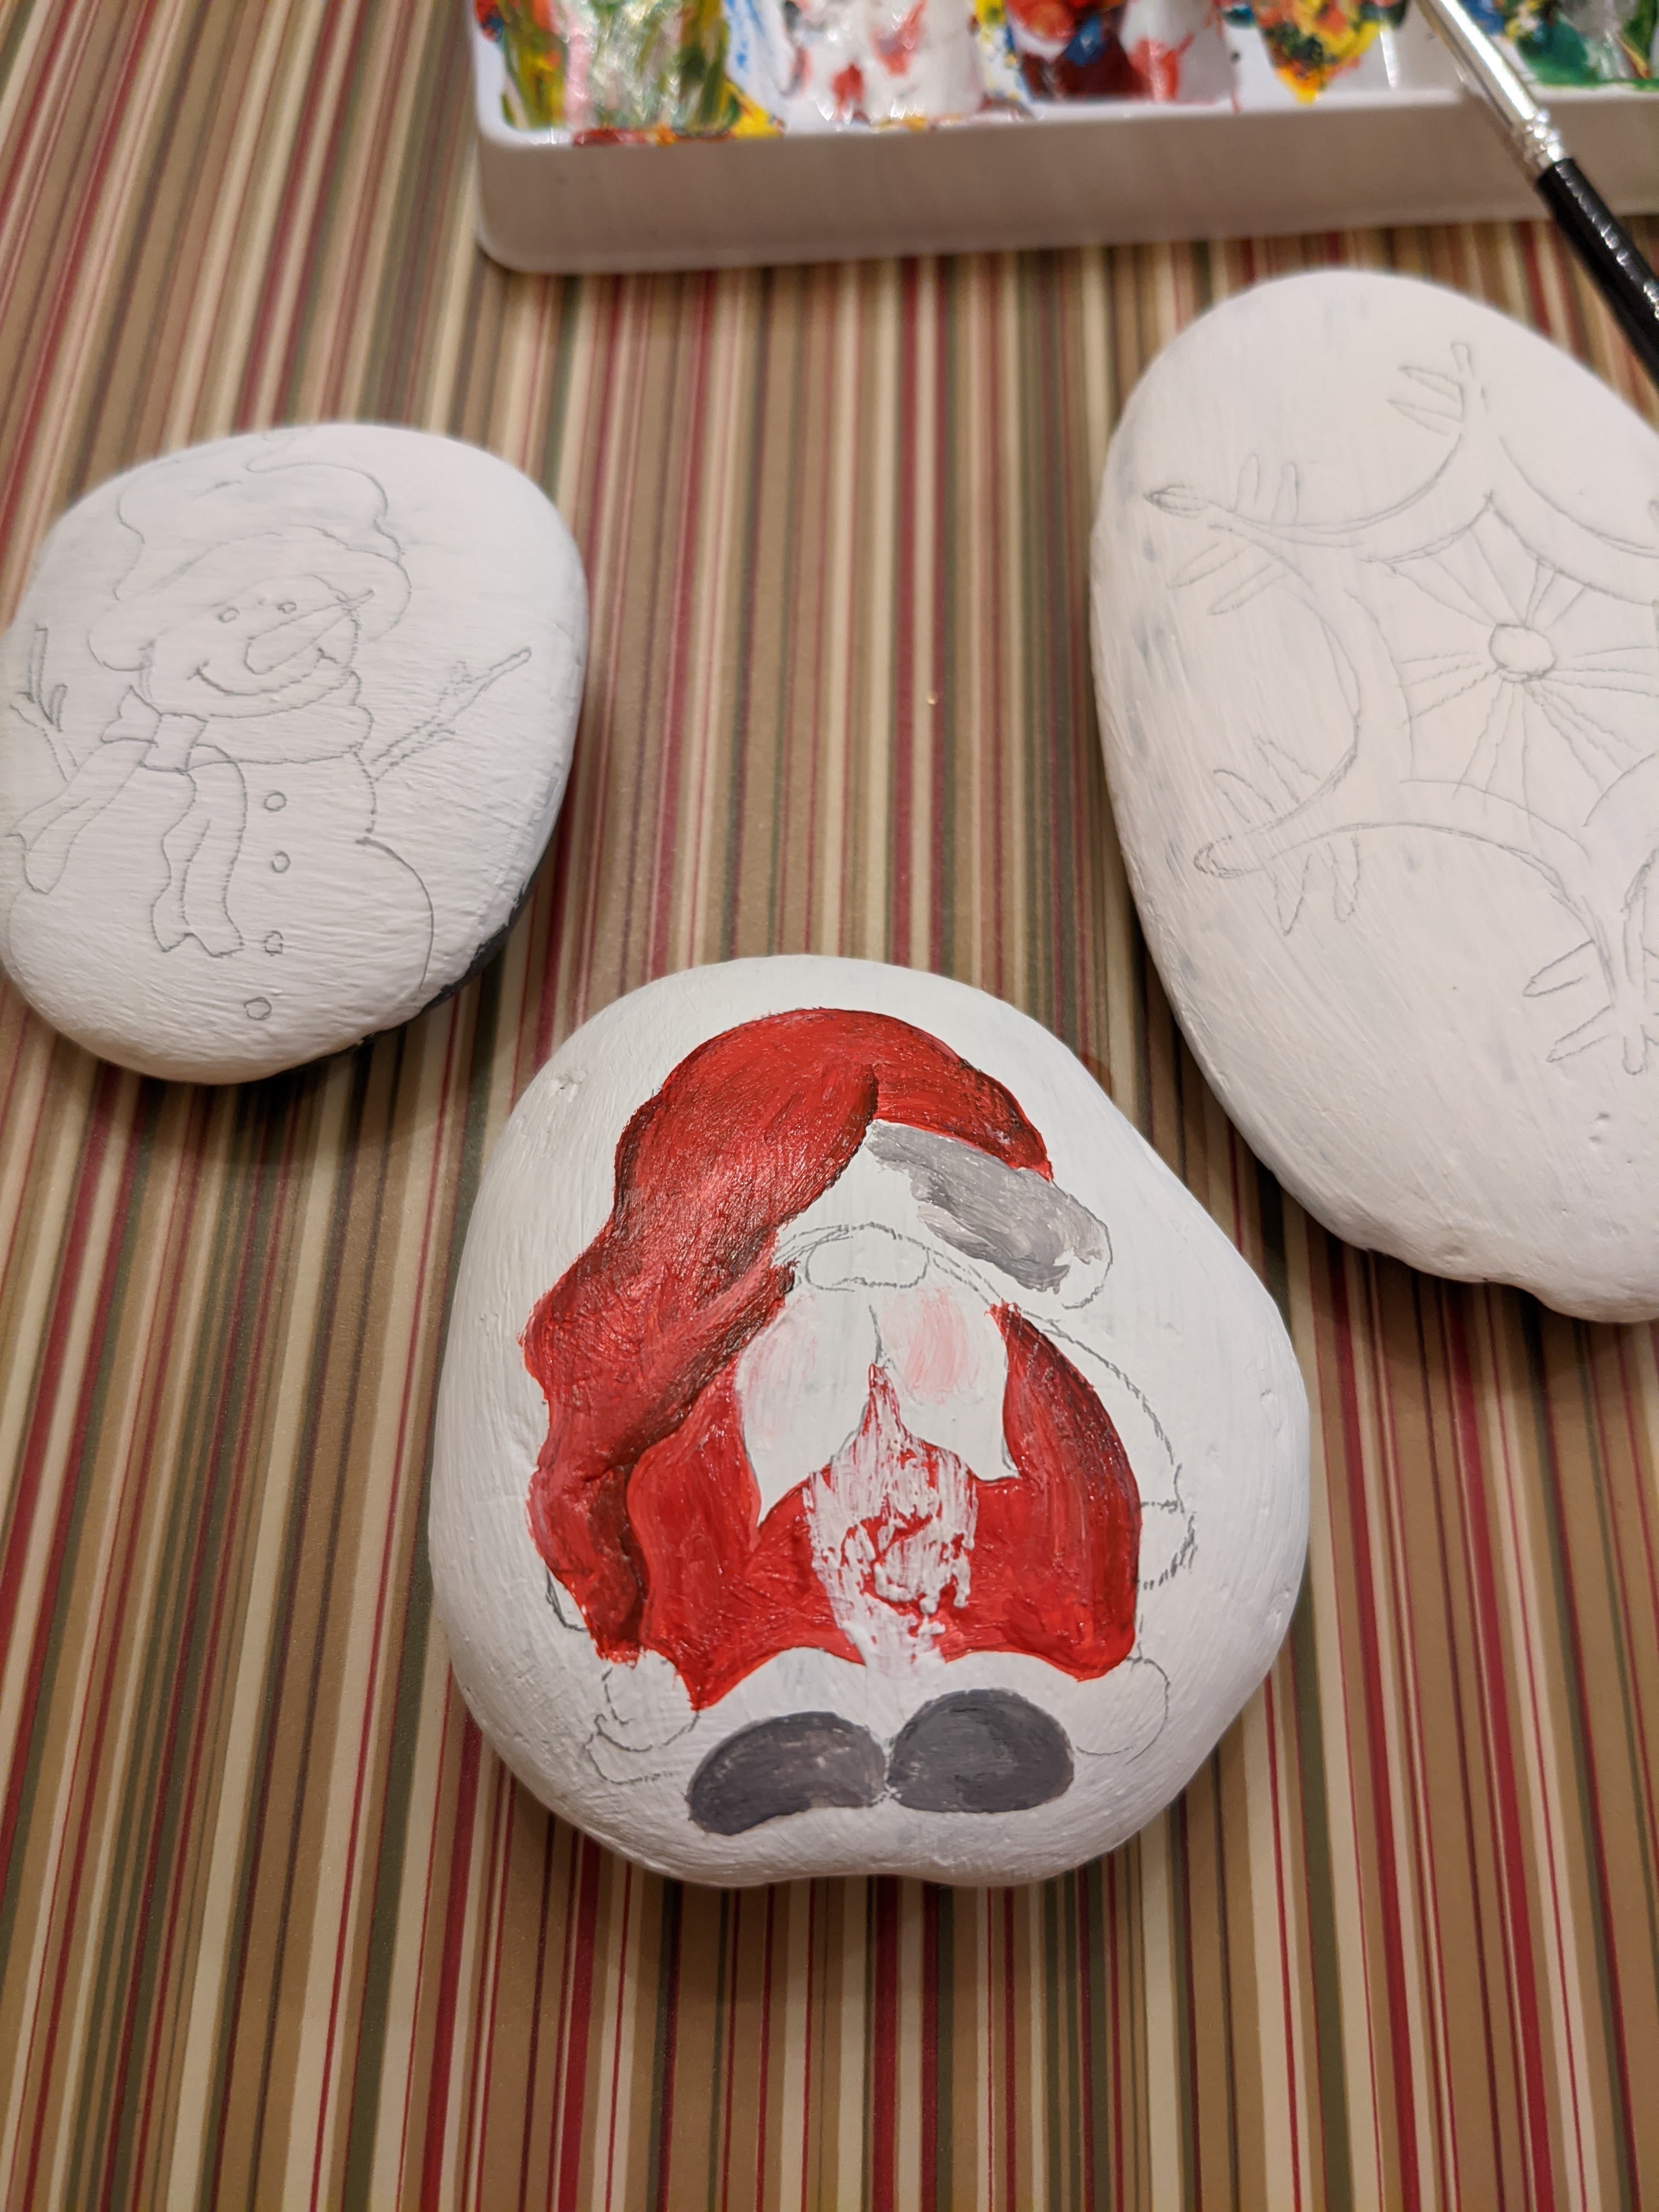
- Second step – is to paint it with the primer – it can be All-purpose primer, or acrylic paint (preferably white in our case), or chalk paint.
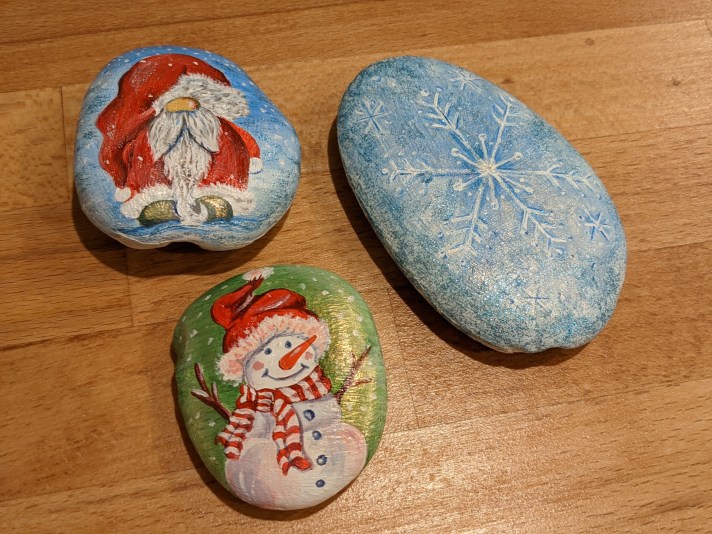
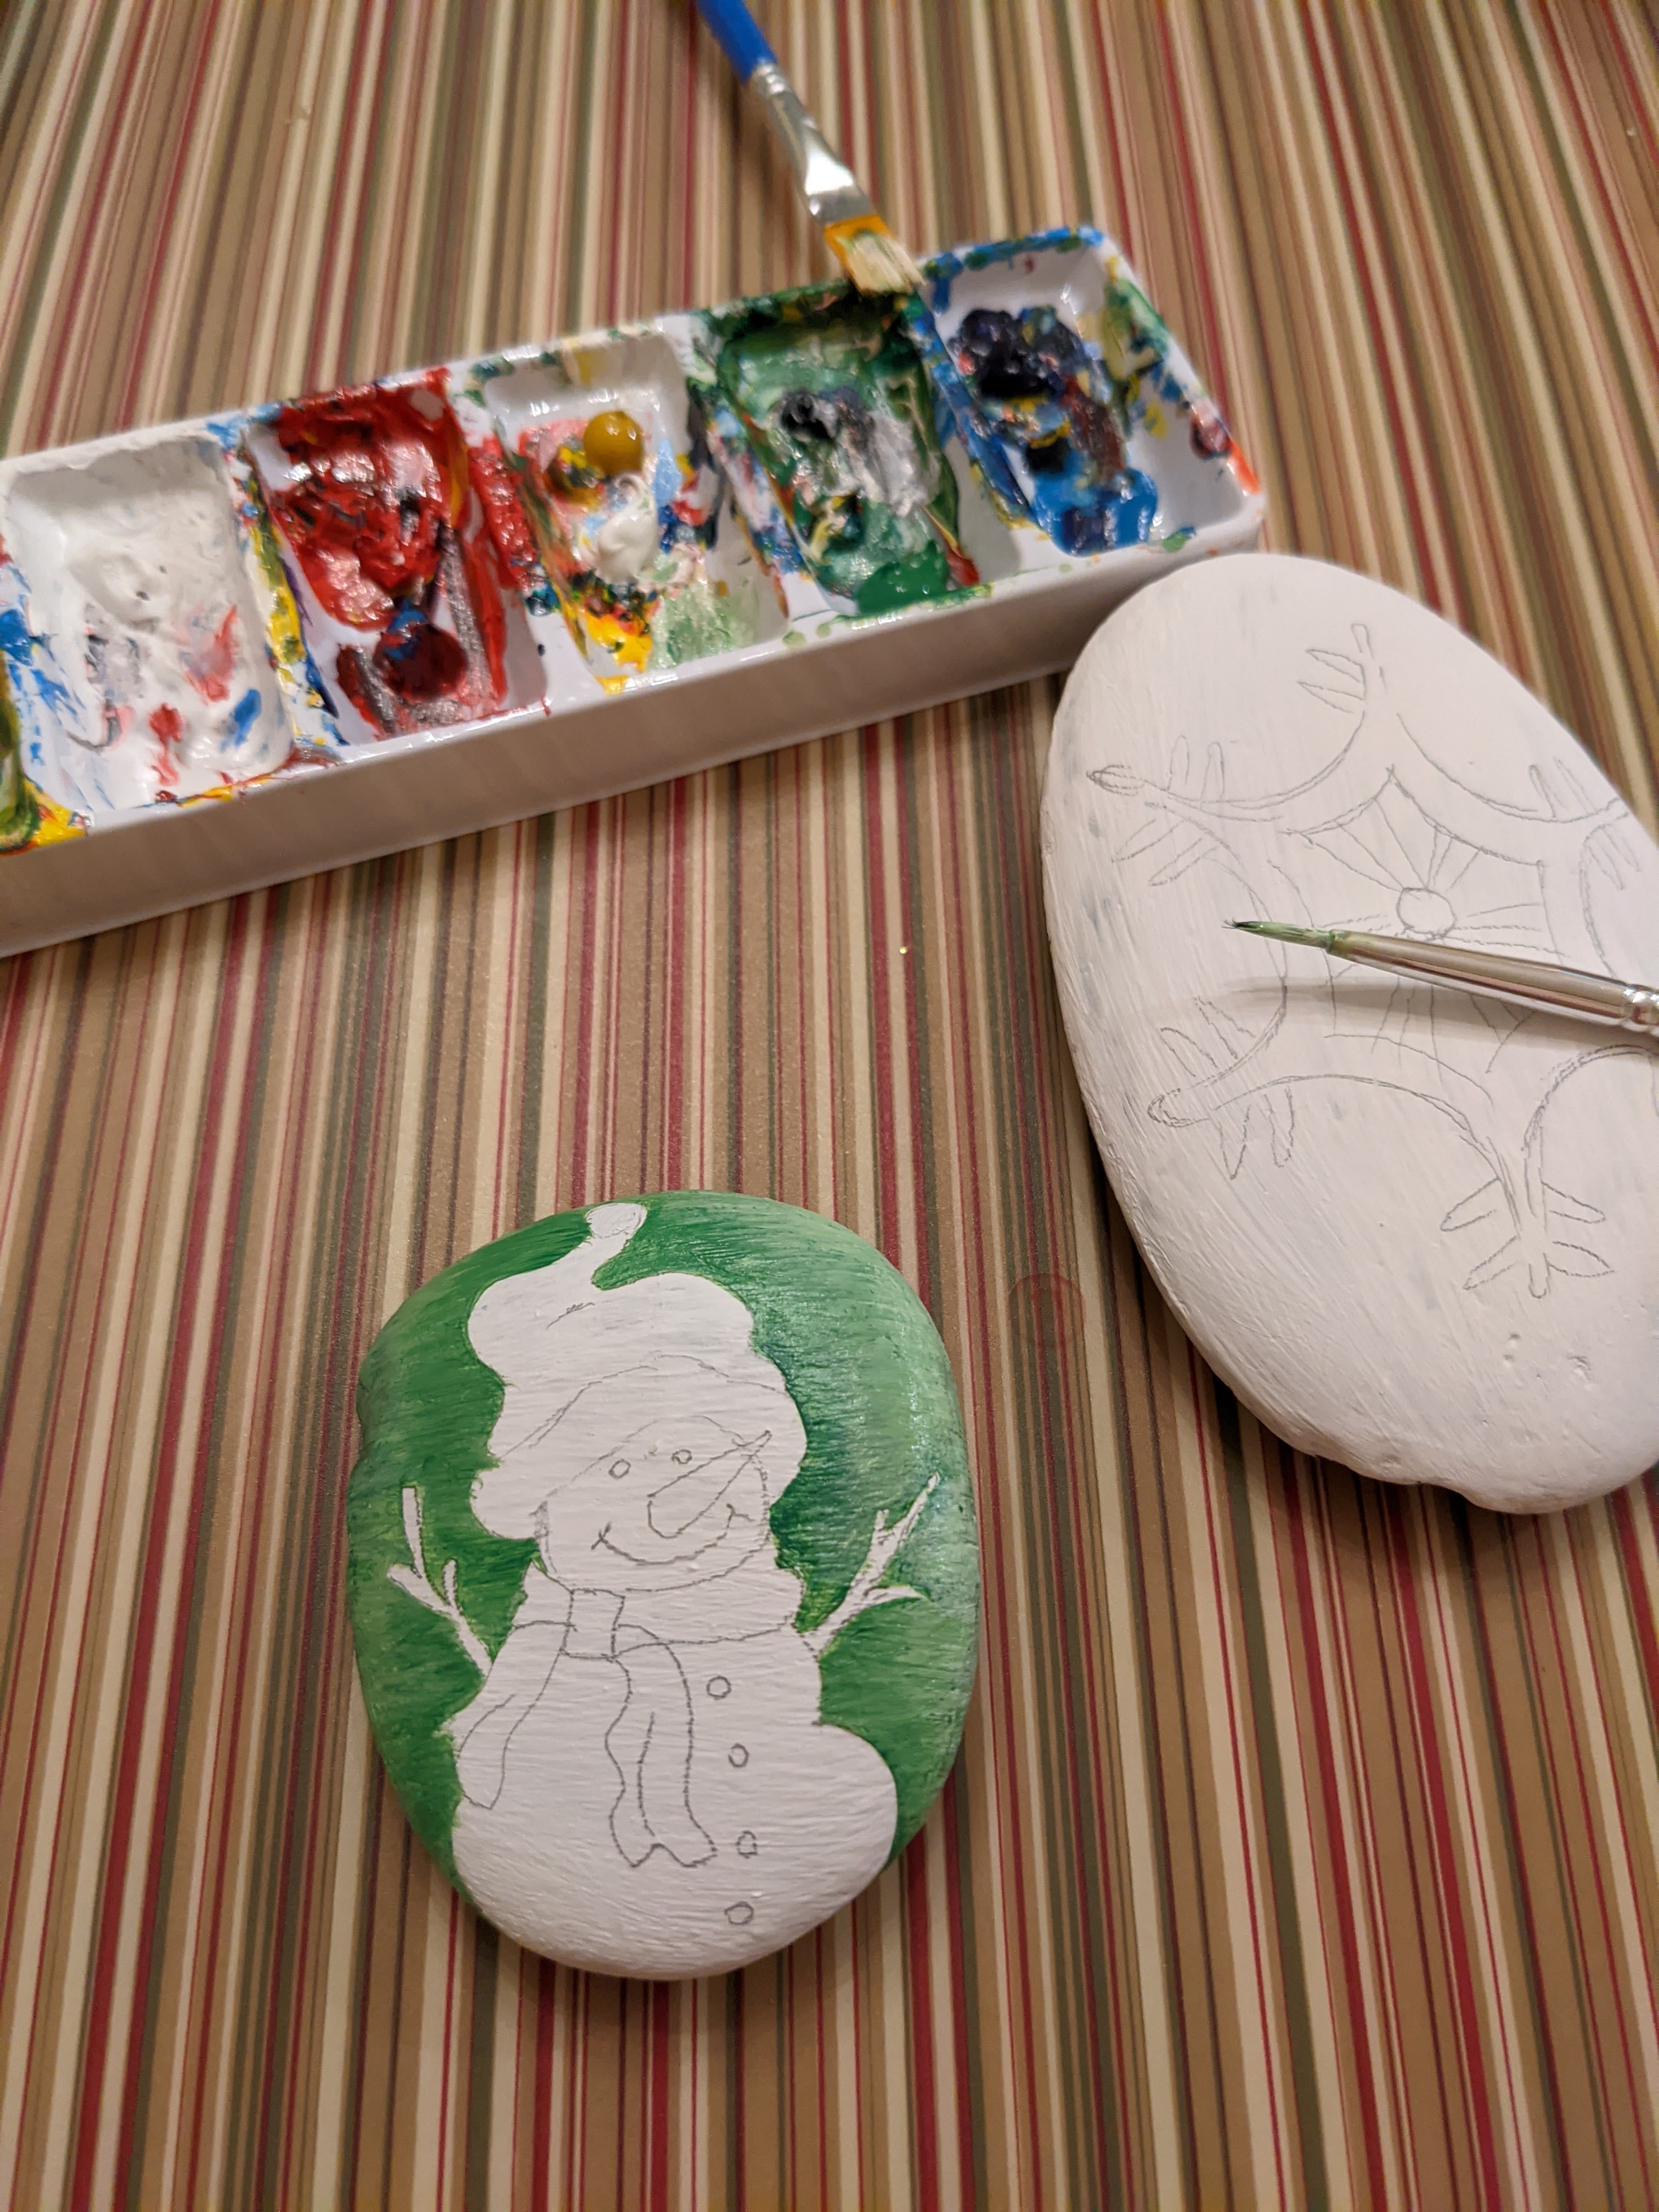
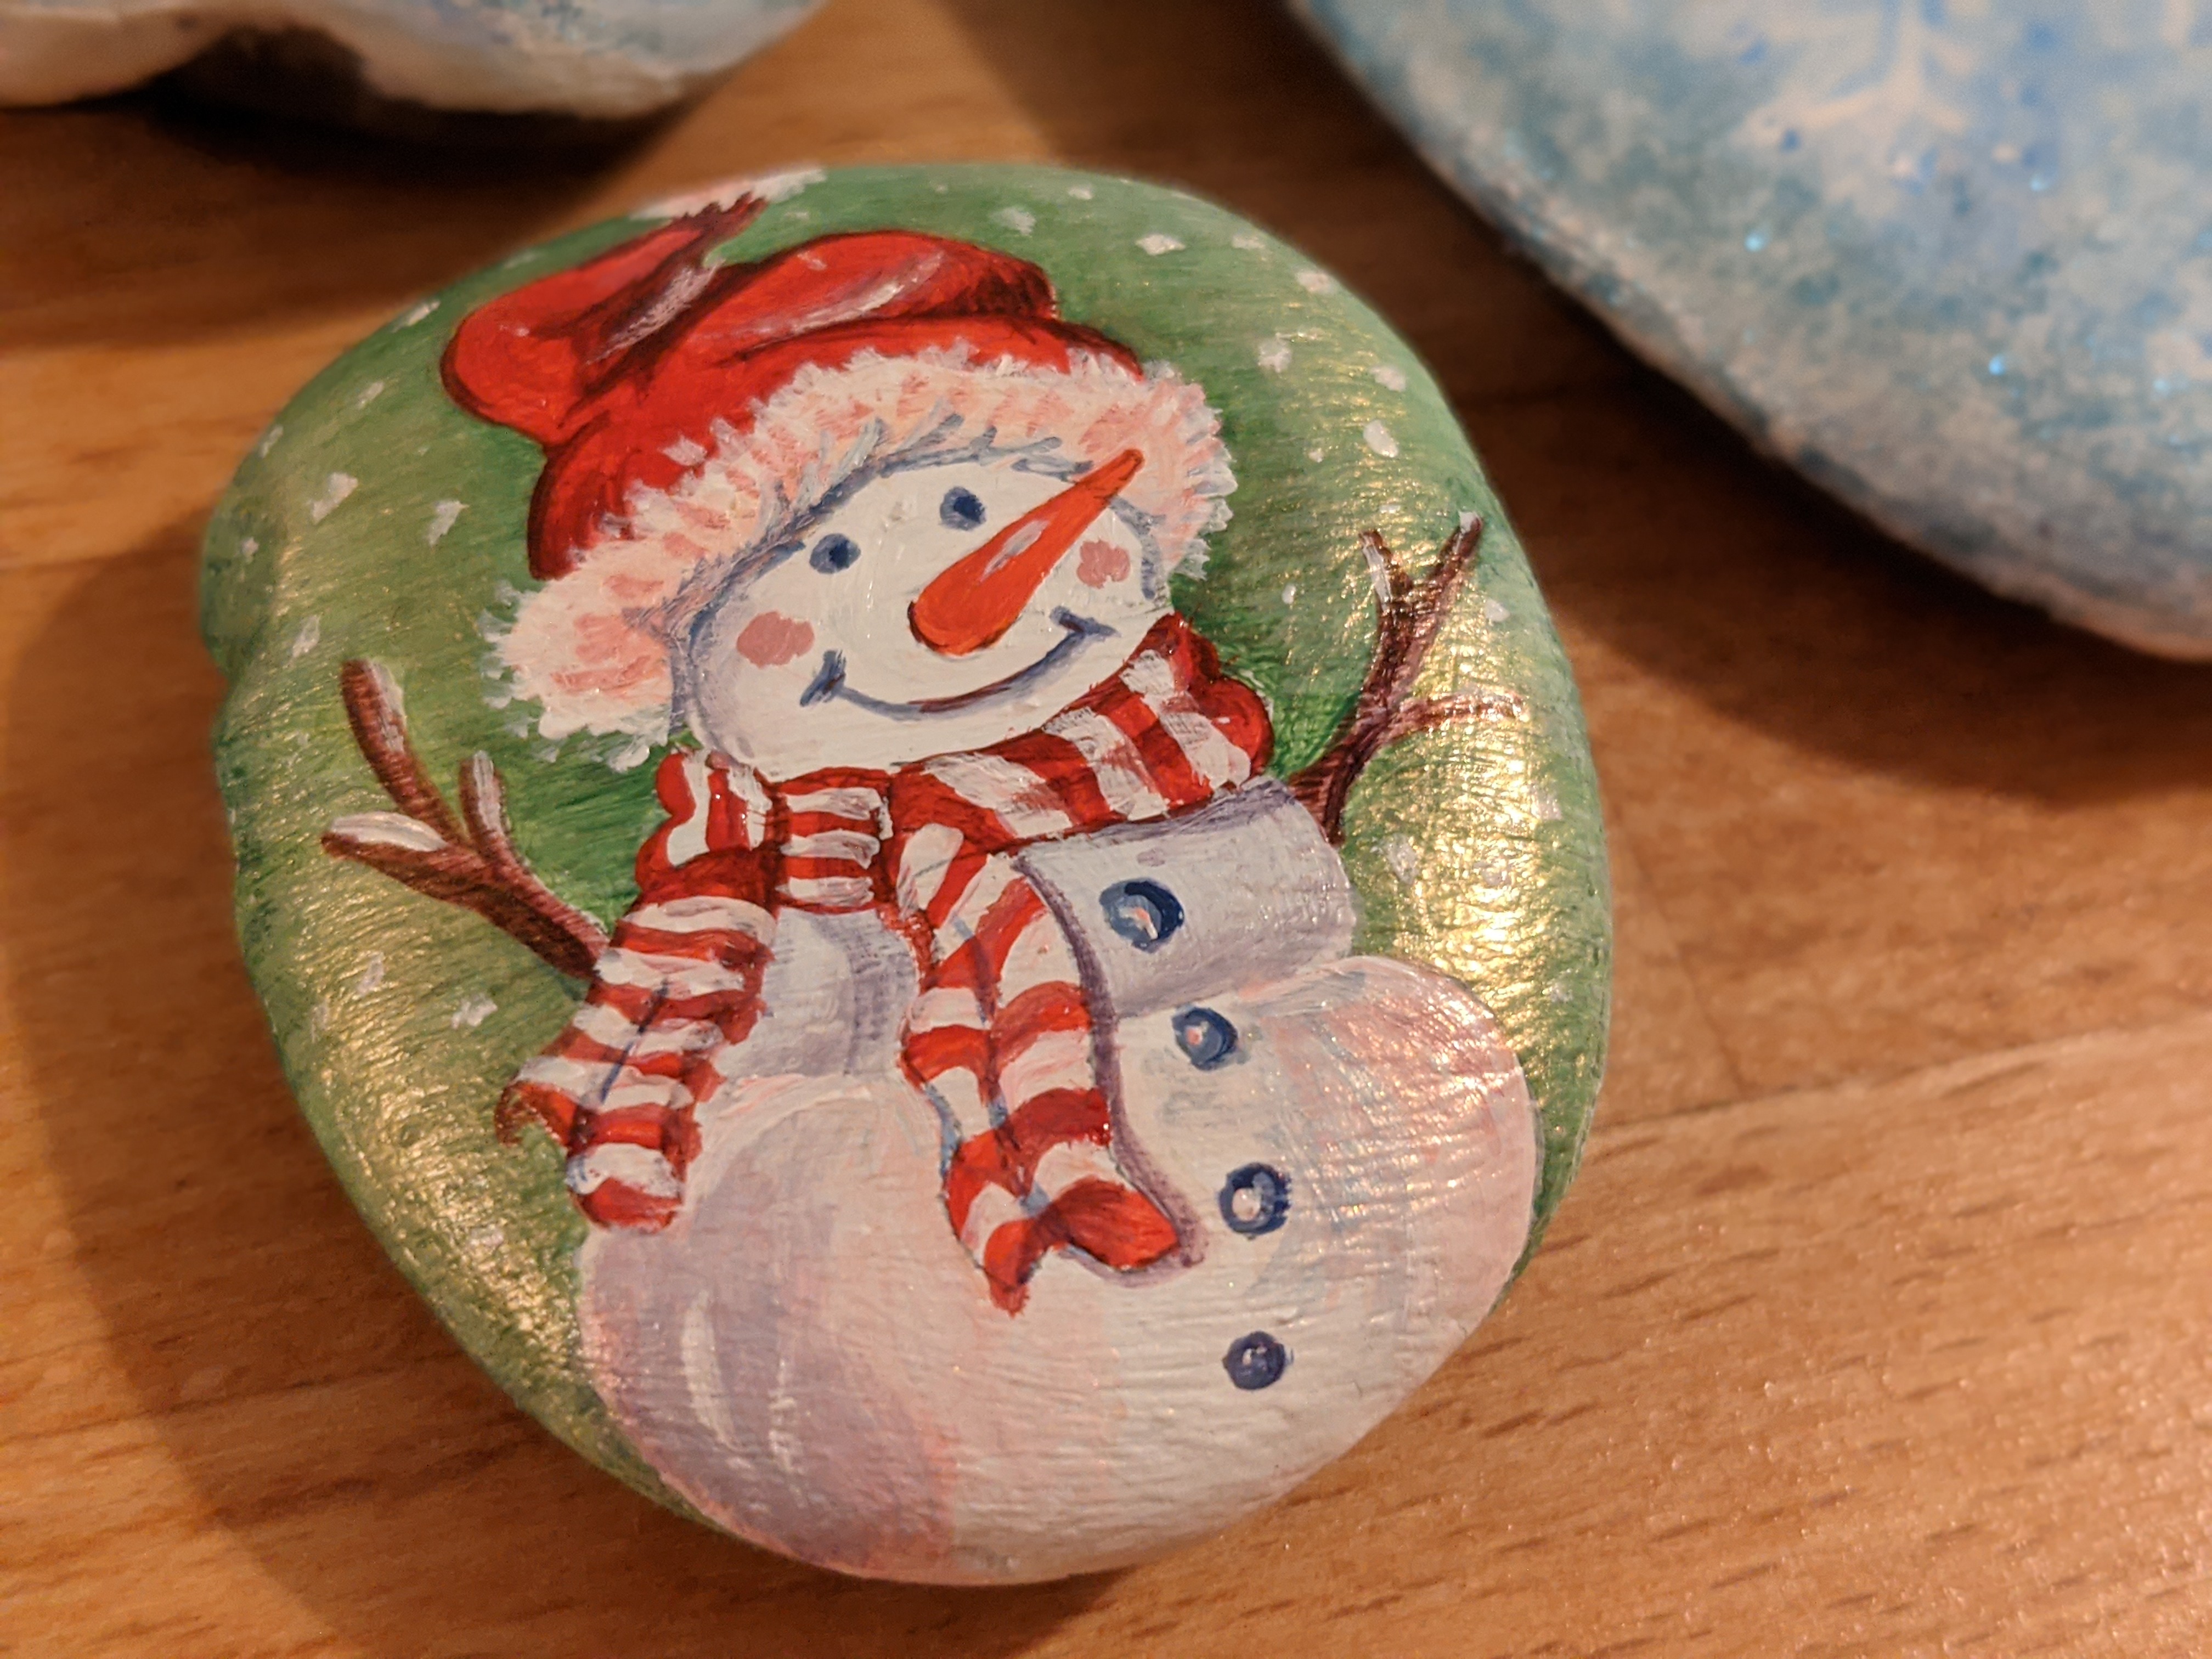
- After the primer is dry use pencil to draw the preliminary shape of the object of your choice. Then start coloring them, you can blend acrylic colors to achieve a smooth transition from one color to another, or just use a bright color if you shape is simple!
- Once you are happy with your design, let it dry for about 30-40 minutes and finish with the top coat! All set and done!
Enjoy!!!
